Distance Learning: Portraits
Activity One: Self-Portraits in the Style of Frances Hodgkins
Frances Hodgkins is one of New Zealand’s most famous artists. She lived and worked overseas for most of her life and created many beautiful artworks.
Frances Hodgkins painted still life arrangements and landscapes. She only painted a few self-portraits and she didn’t do them in the traditional way. Instead she assembled some of her favourite things and items that represented her and painted those. What can you see in her paintings that might represent her? What message was she trying to share? What questions to you have about her work?
Frances Hodgkins, Self Portrait: Still Life, circa 1935, oil on cardboard, Auckland Art Gallery Toi o Tāmaki
Frances Hodgkins, Still life: Self-portrait, circa 1935, oil on panel, The Museum of New Zealand Te Papa Tongarewa
Have a look at my self-portrait photos. My two portraits are quite different but both represent me. Notice how I didn't try to squeeze everything into one photograph? I thought carefully about what I wanted each photograph to represent. What do you think I was trying to show? And did you notice my son’s self-portrait at the top? He is only two years old but he chose all of the items and put them in the order all by himself. It is a photograph of his favourite things, green gumboots included!
You can give your artwork a name, just like artists do!
Kristy Holly, Self Portrait: Lockdown 1, 2020, various assembled items
Kristy Holly, Self Portrait: Lockdown 2, 2020, various assembled items
Watch this video to see how I assembled my artwork. You can see how I try the items out in a few different places before I am happy with where they are. You might choose to go for a more structured look, like my son did, or your composition might be flowing and overlapping. Either way, be sure to think about balance of colours and shapes.
Activity Two: Nature Portrait
Go for an explore in your garden or go for a nature walk around your neighbourhood to collect some treasures from nature. Watch the video to see just one idea for making a portrait - I bet you will come up with lots of different ideas. You might like to do a full-length portrait, a family portrait or even a portrait of your pet. I made my portrait on the kitchen table, where might you make yours?
How cool is this idea that Eddie, Griffin and April’s dad, shared with me? They got it from a fabulous book called See Play Do: A Kid's Handbook for Everyday Creative Fun by Louise Cuckow. This activity is a spot-the-difference activity. Just take a photo of your finished nature portrait and then change 6 to 8 things in it. You might add, move or take away items. Take a new photo and then put them next to each other. Post the spot-the-difference pictures on Seesaw for your friends, family and teachers to do!
Activity Three: Blind Contour Portraits
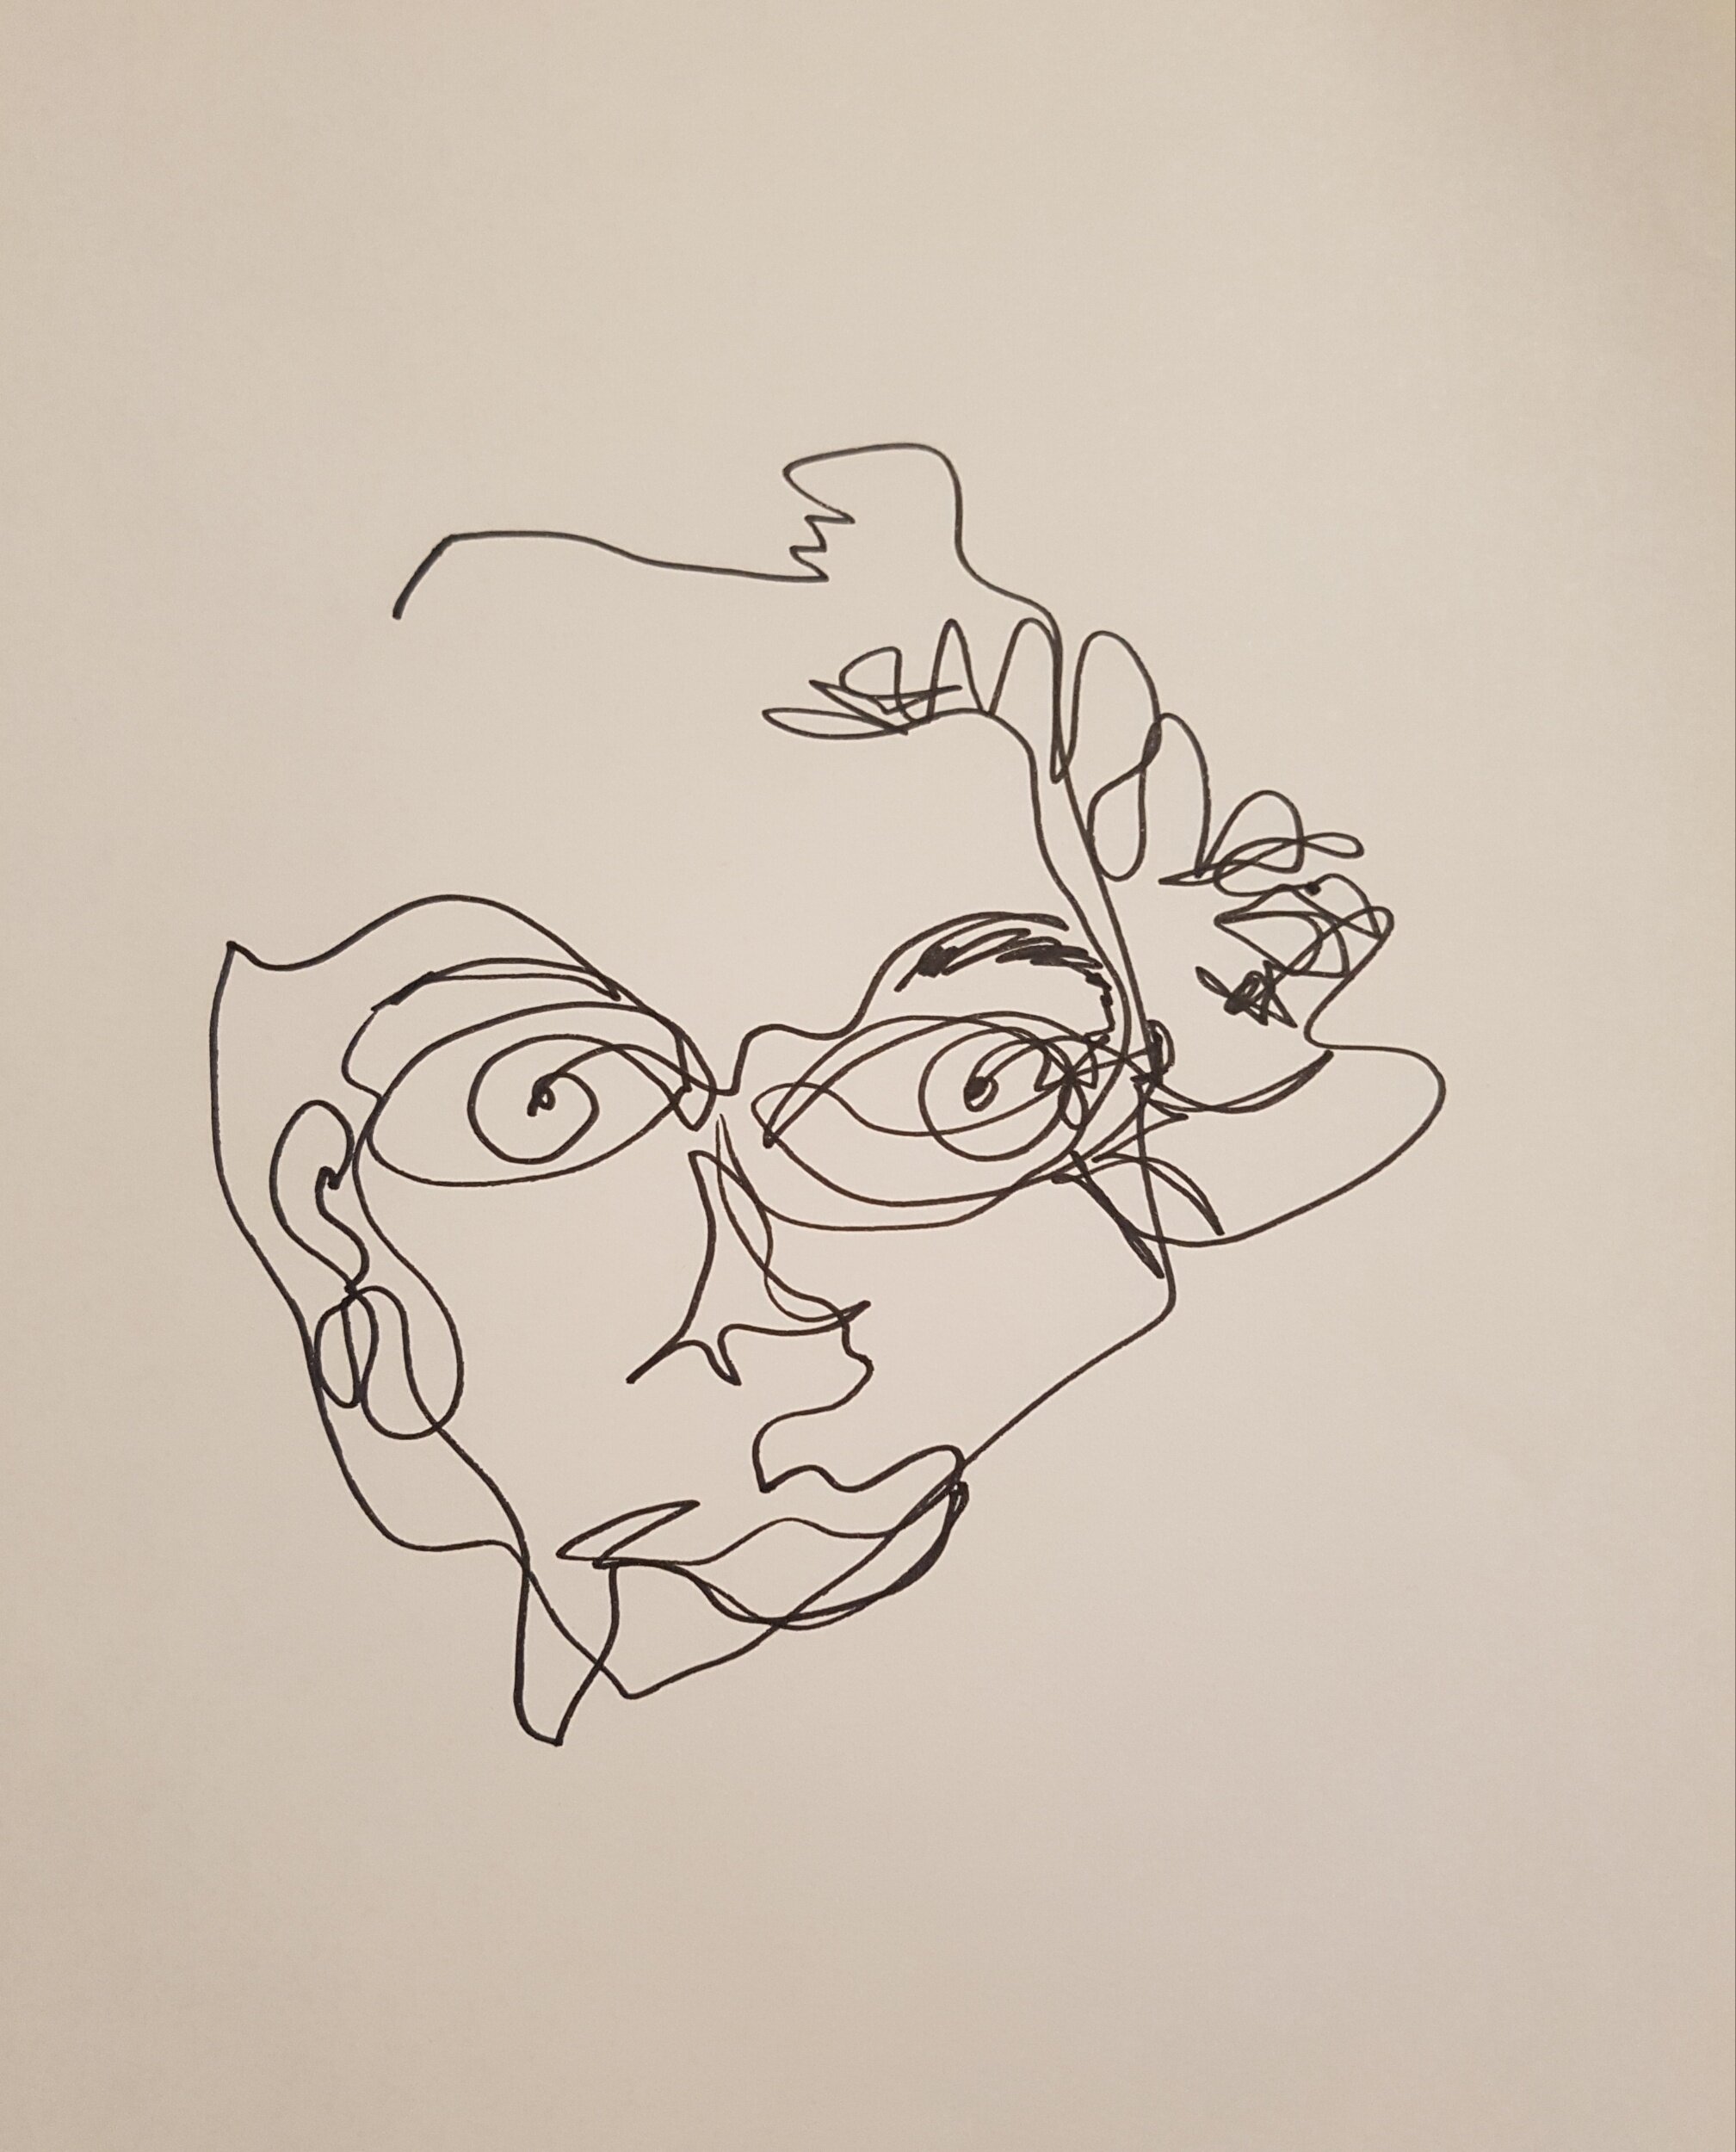
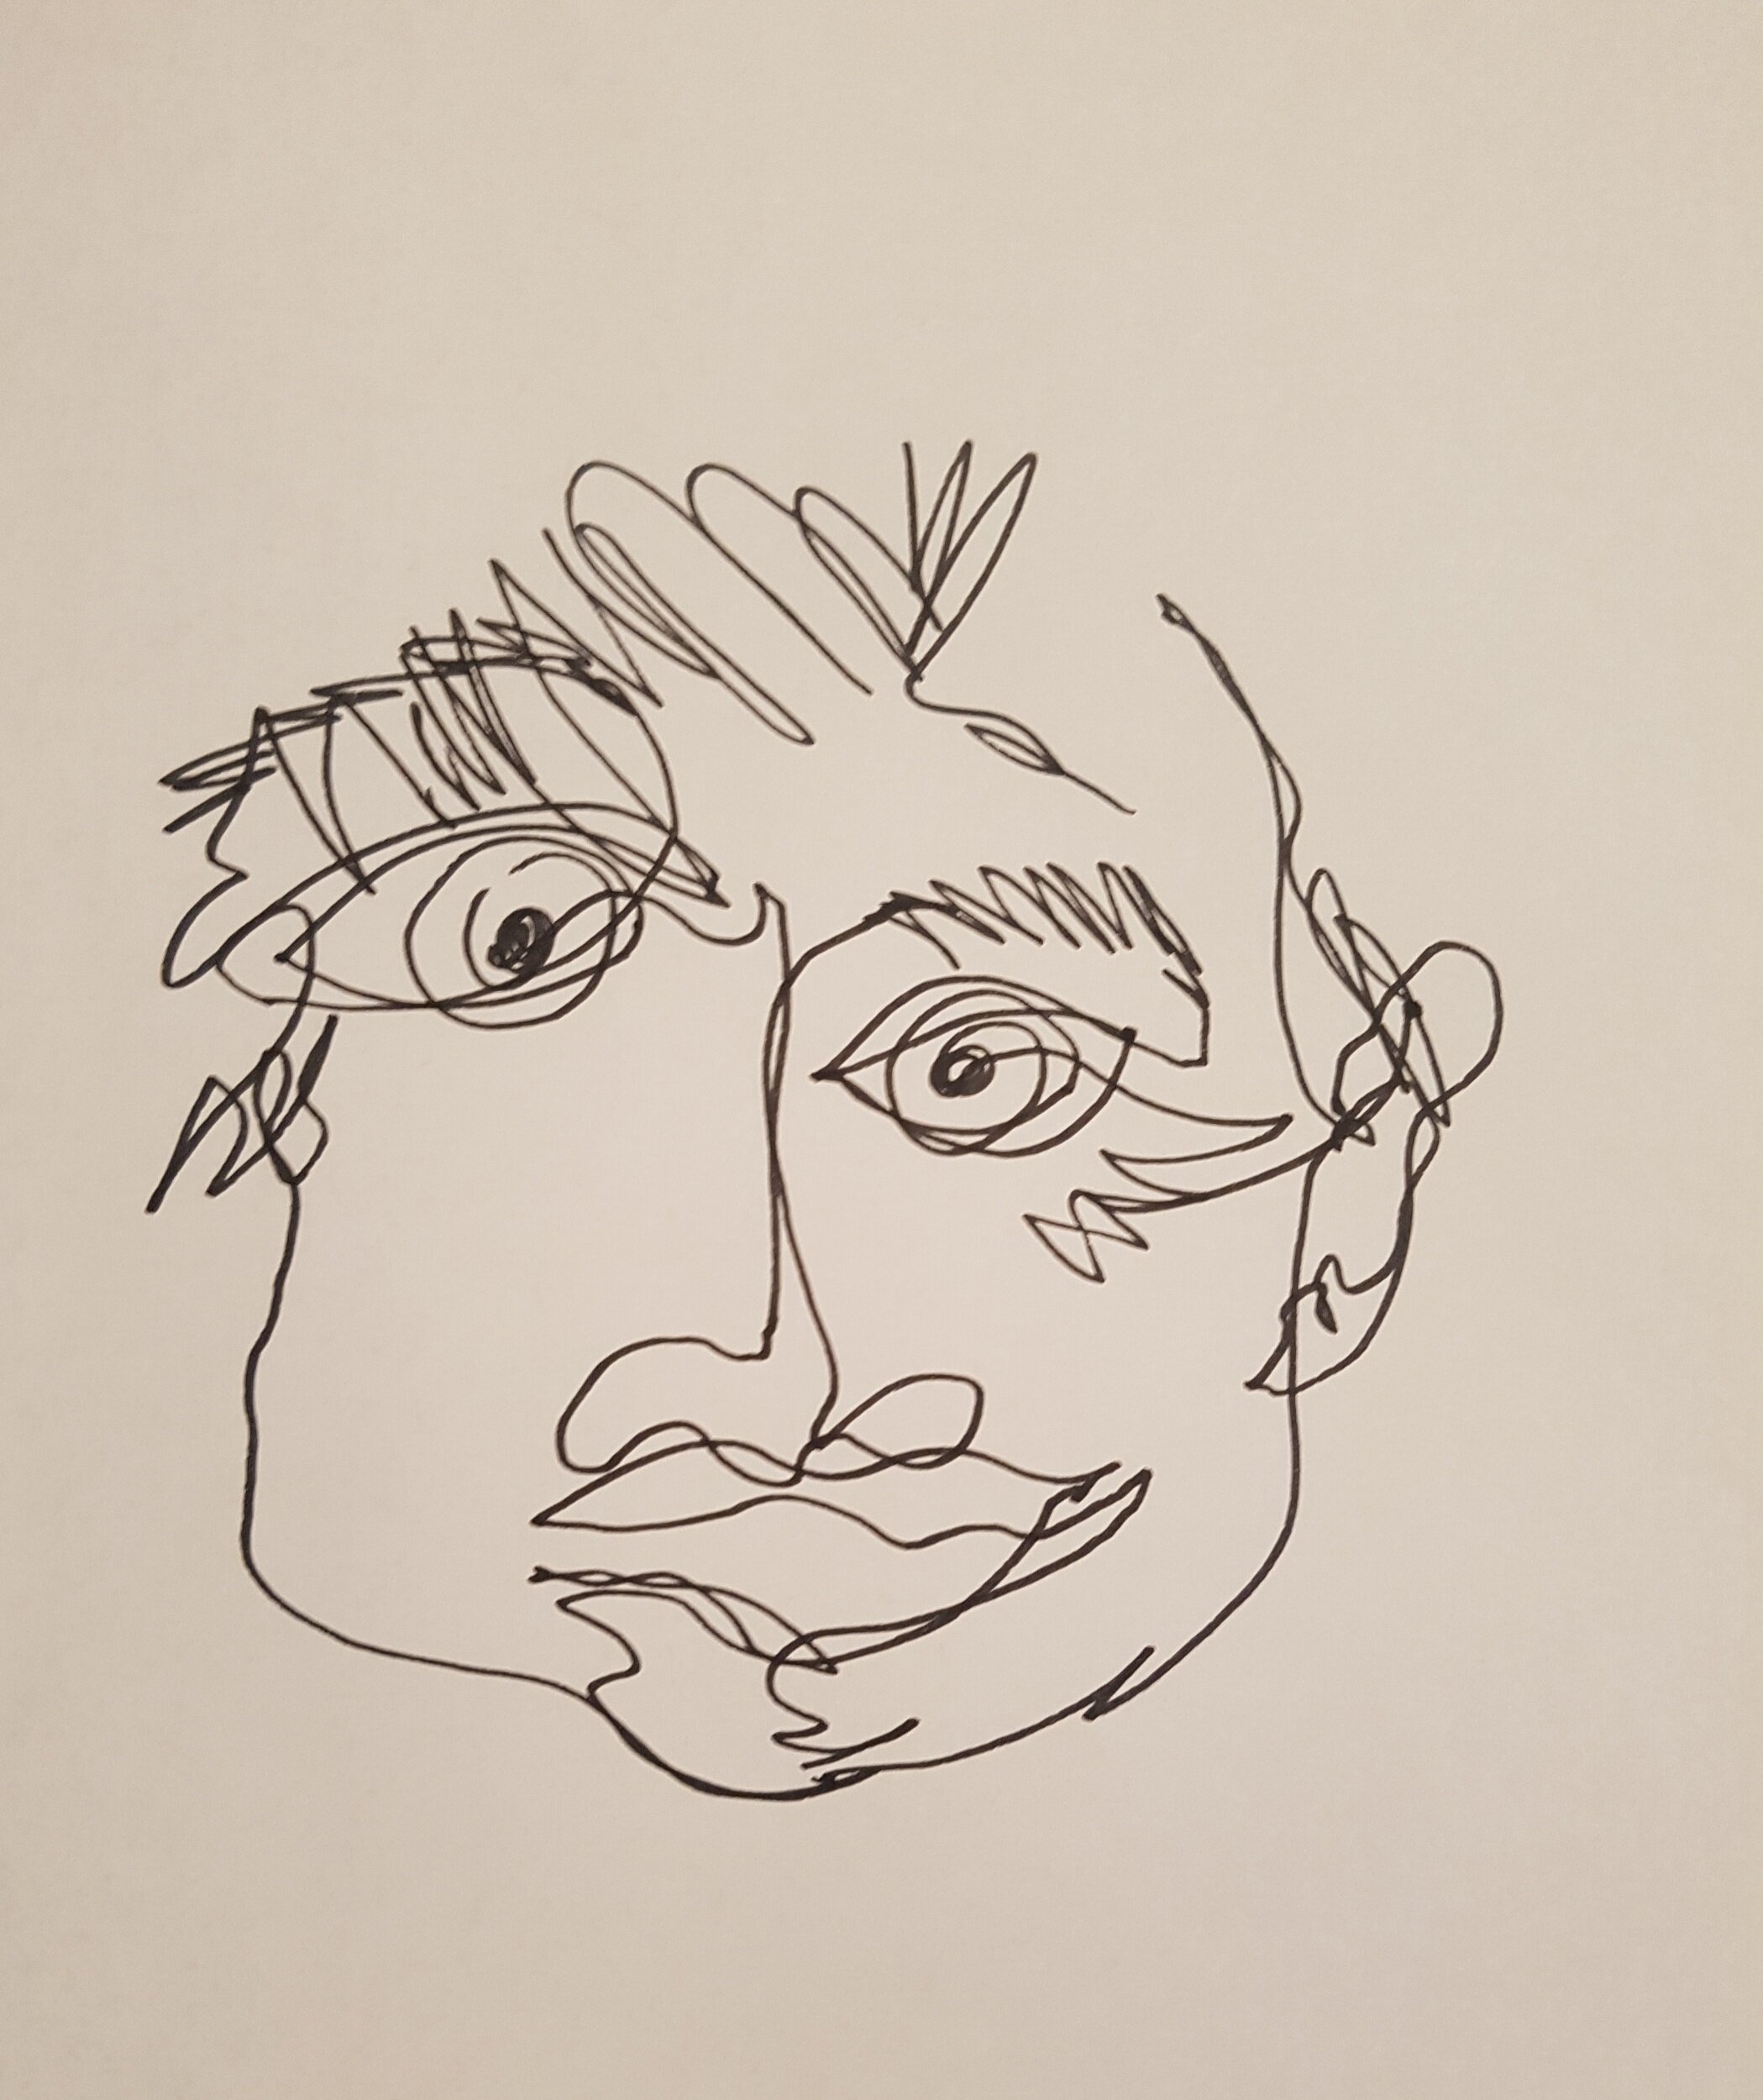
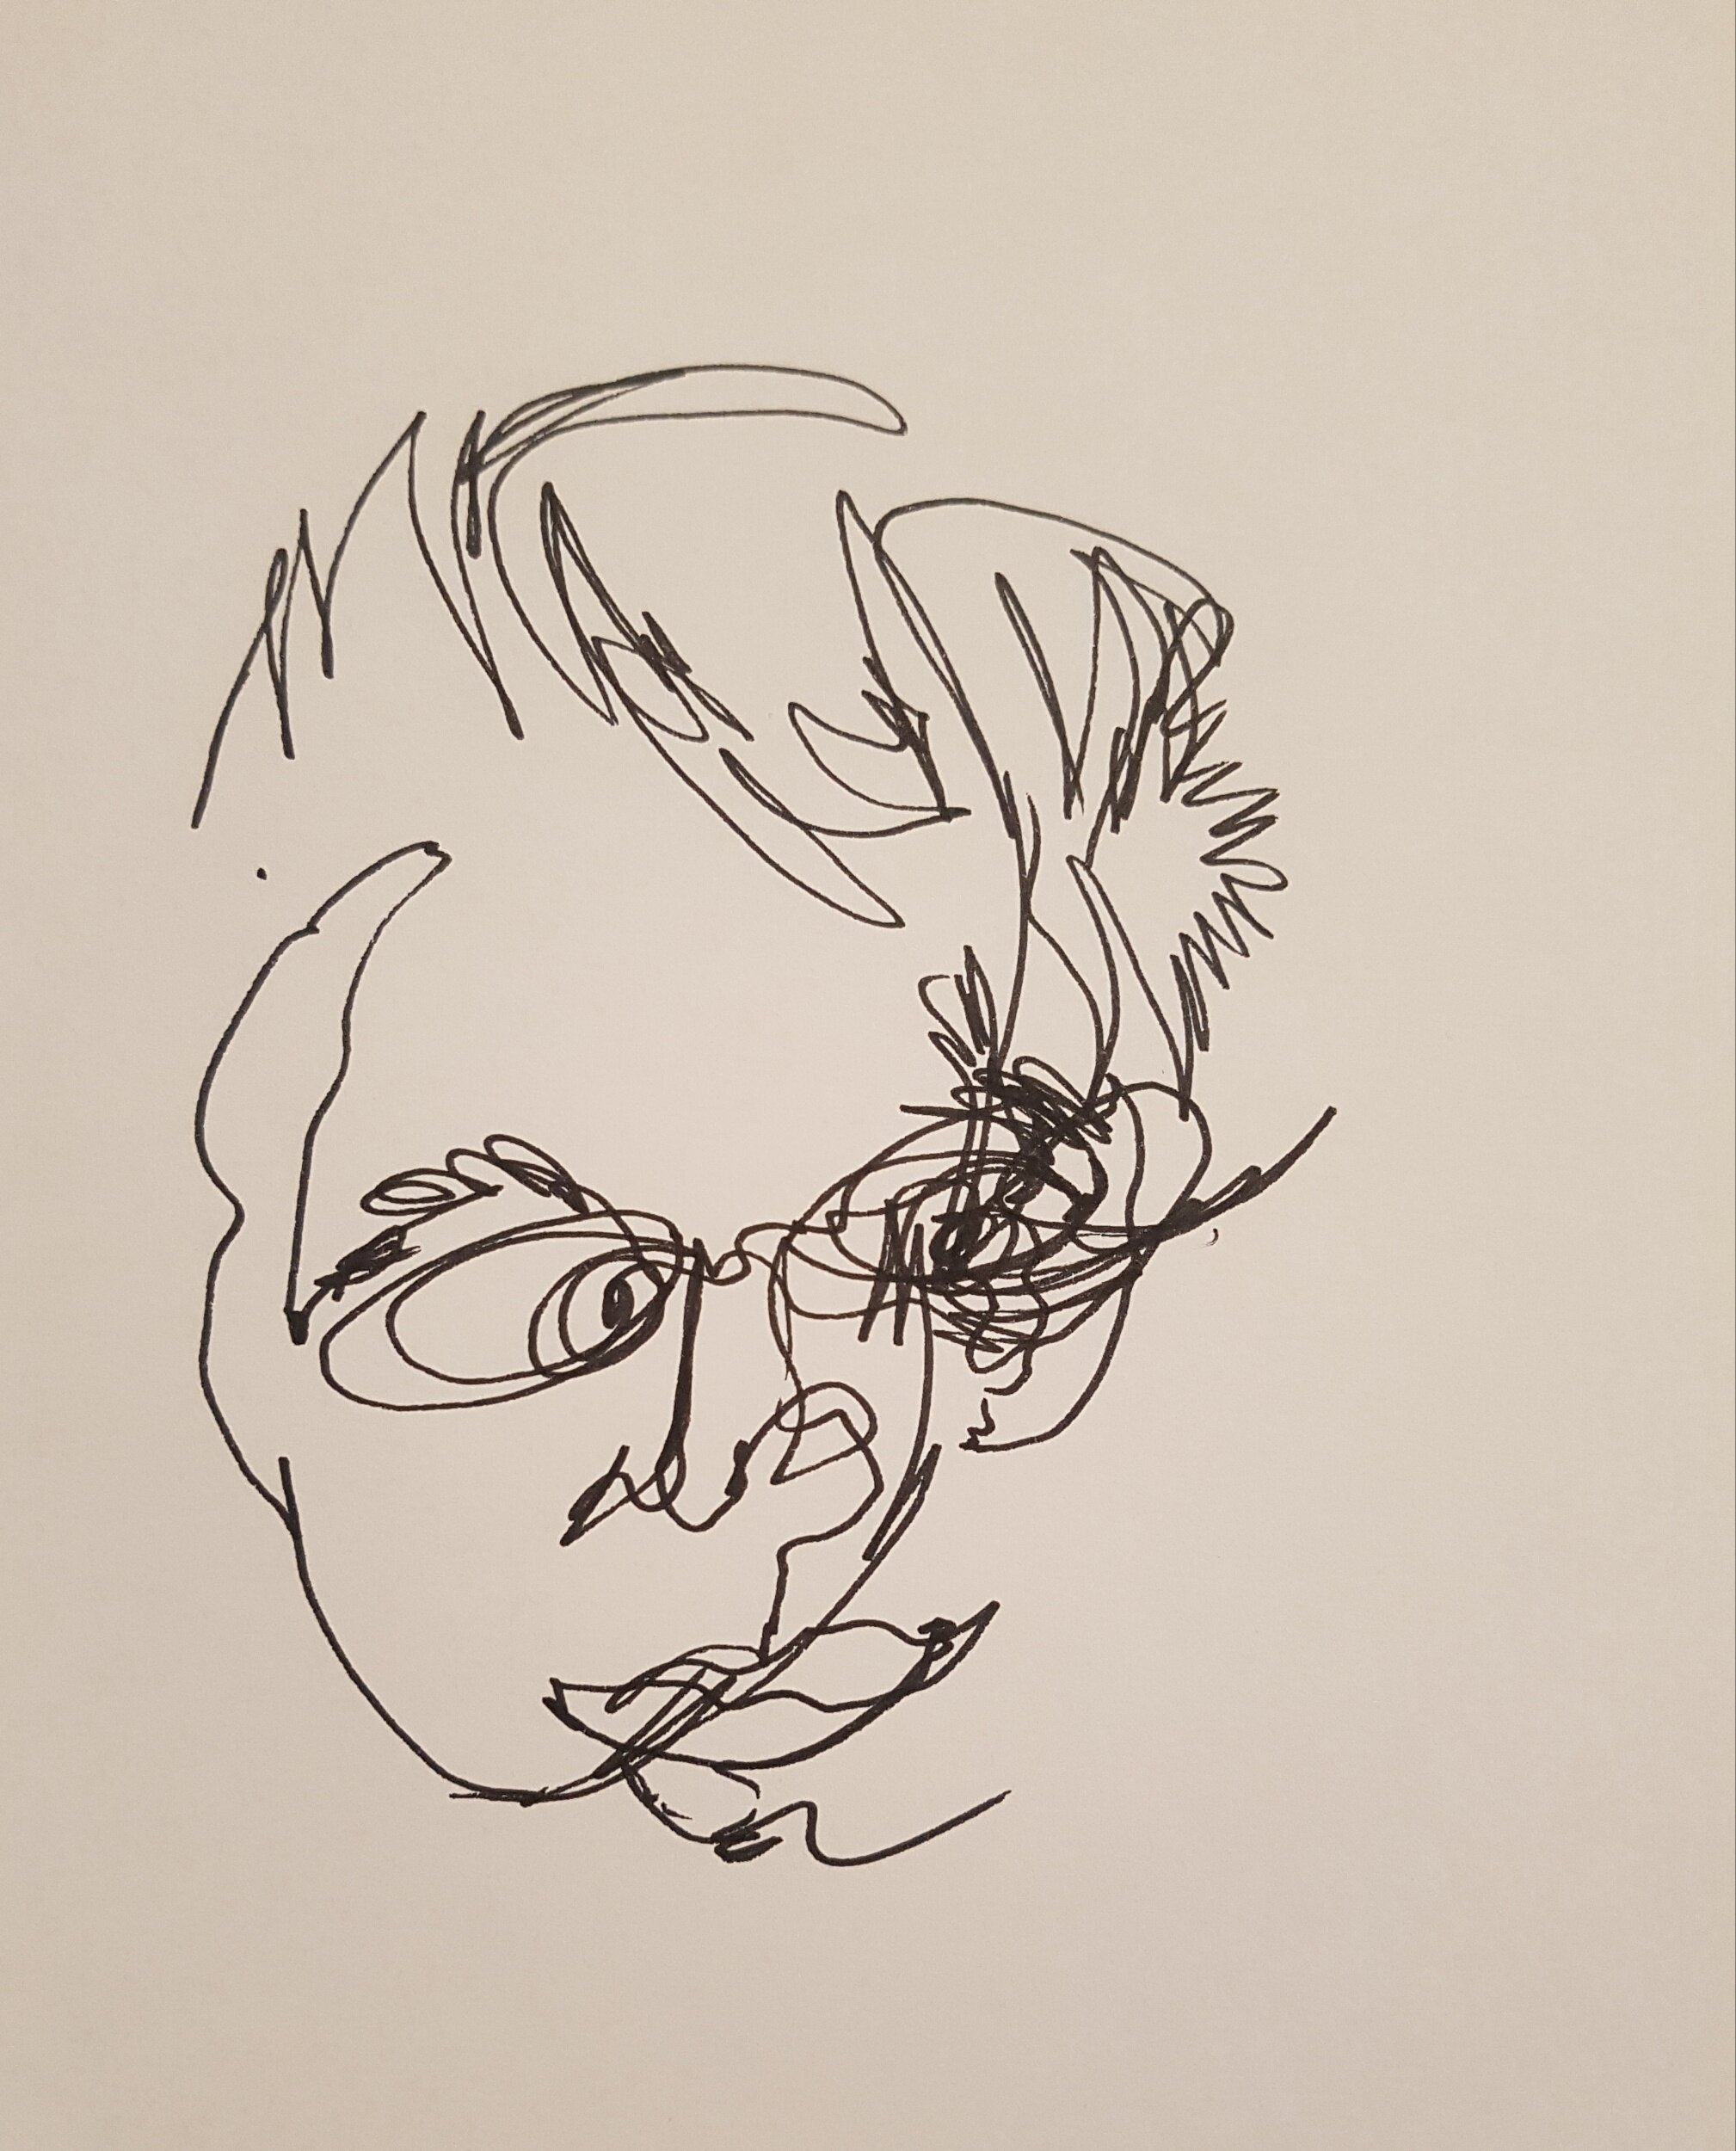
Watch this wonderful video by artist Allison Kunath and then have a go at blind contour drawing yourself. It is a fantastic activity to train your eye to really see the shapes of what or who you are drawing. Remember the trick is to draw with one continuous line and to keep your eye on your subject, not your paper as you draw.
These are three blind contour drawings that I made of my husband. Look how different they are! Each portrait has a different starting point, I wonder if you can tell where the pictures start and finish?
If you want to, you can add colour to your drawings. Check out the video below to see how I painted my portrait. You can use whatever art equipment that you have at home, I look forward to seeing your blind contour drawings.


