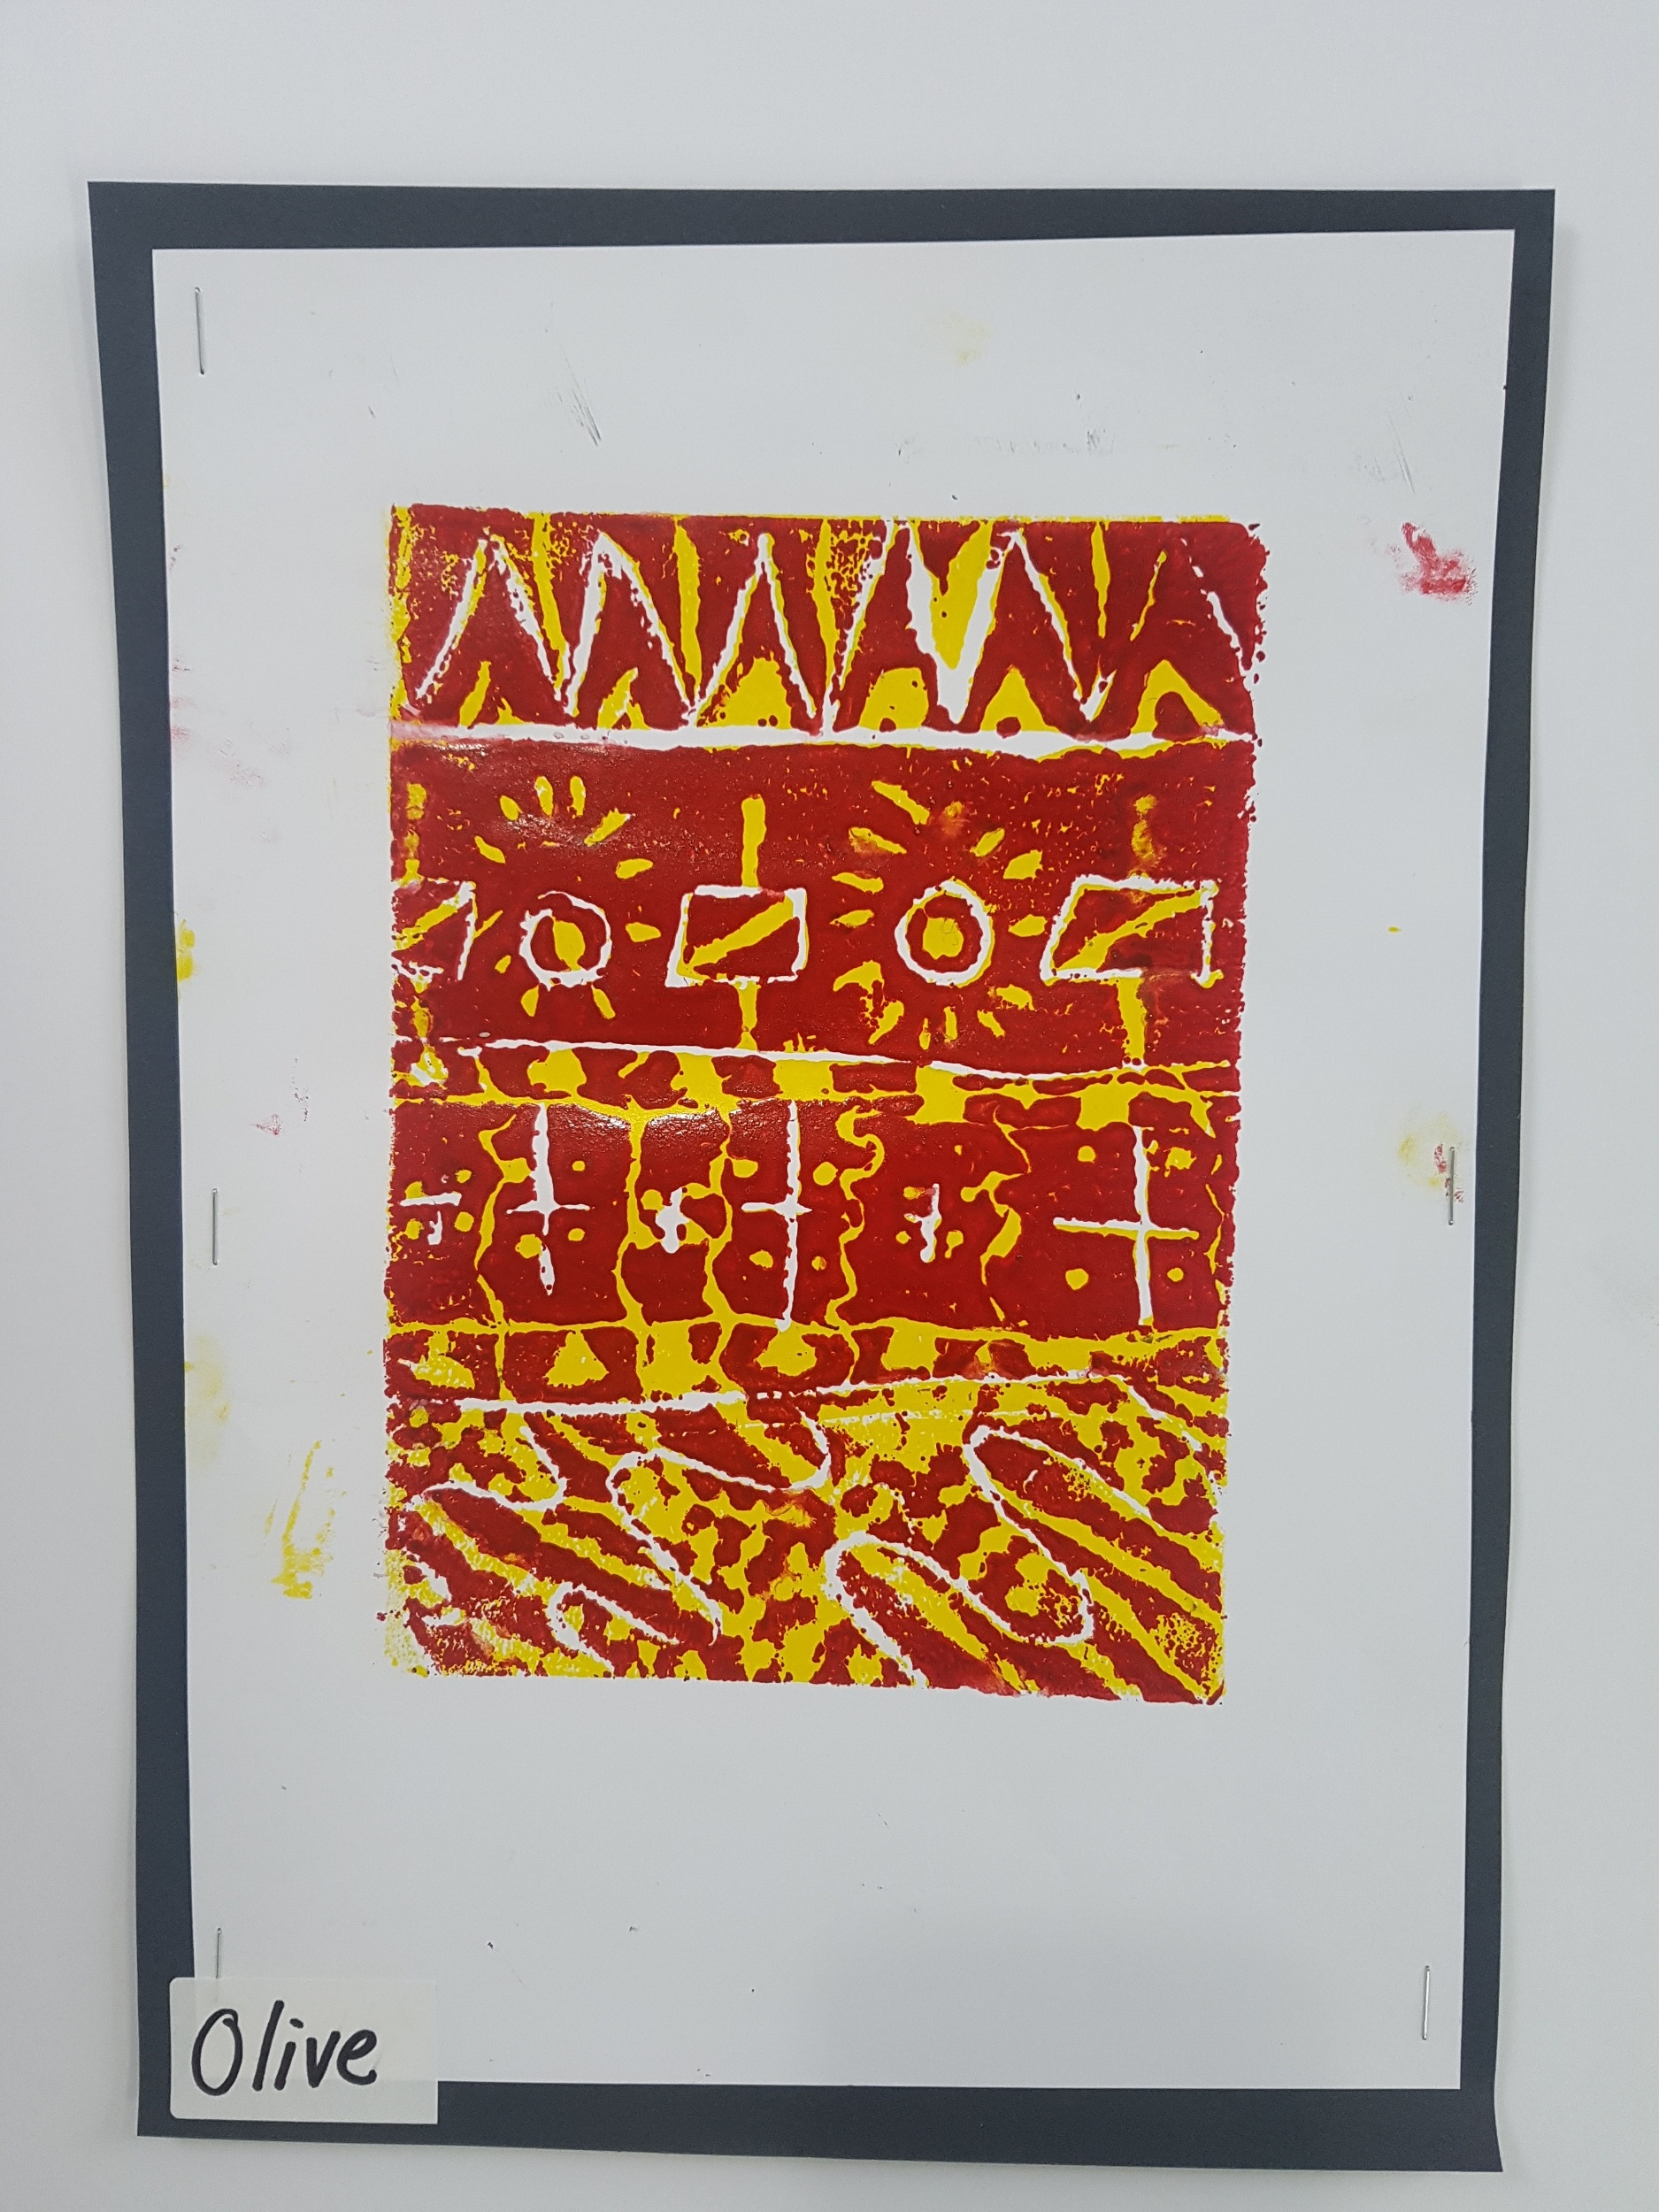
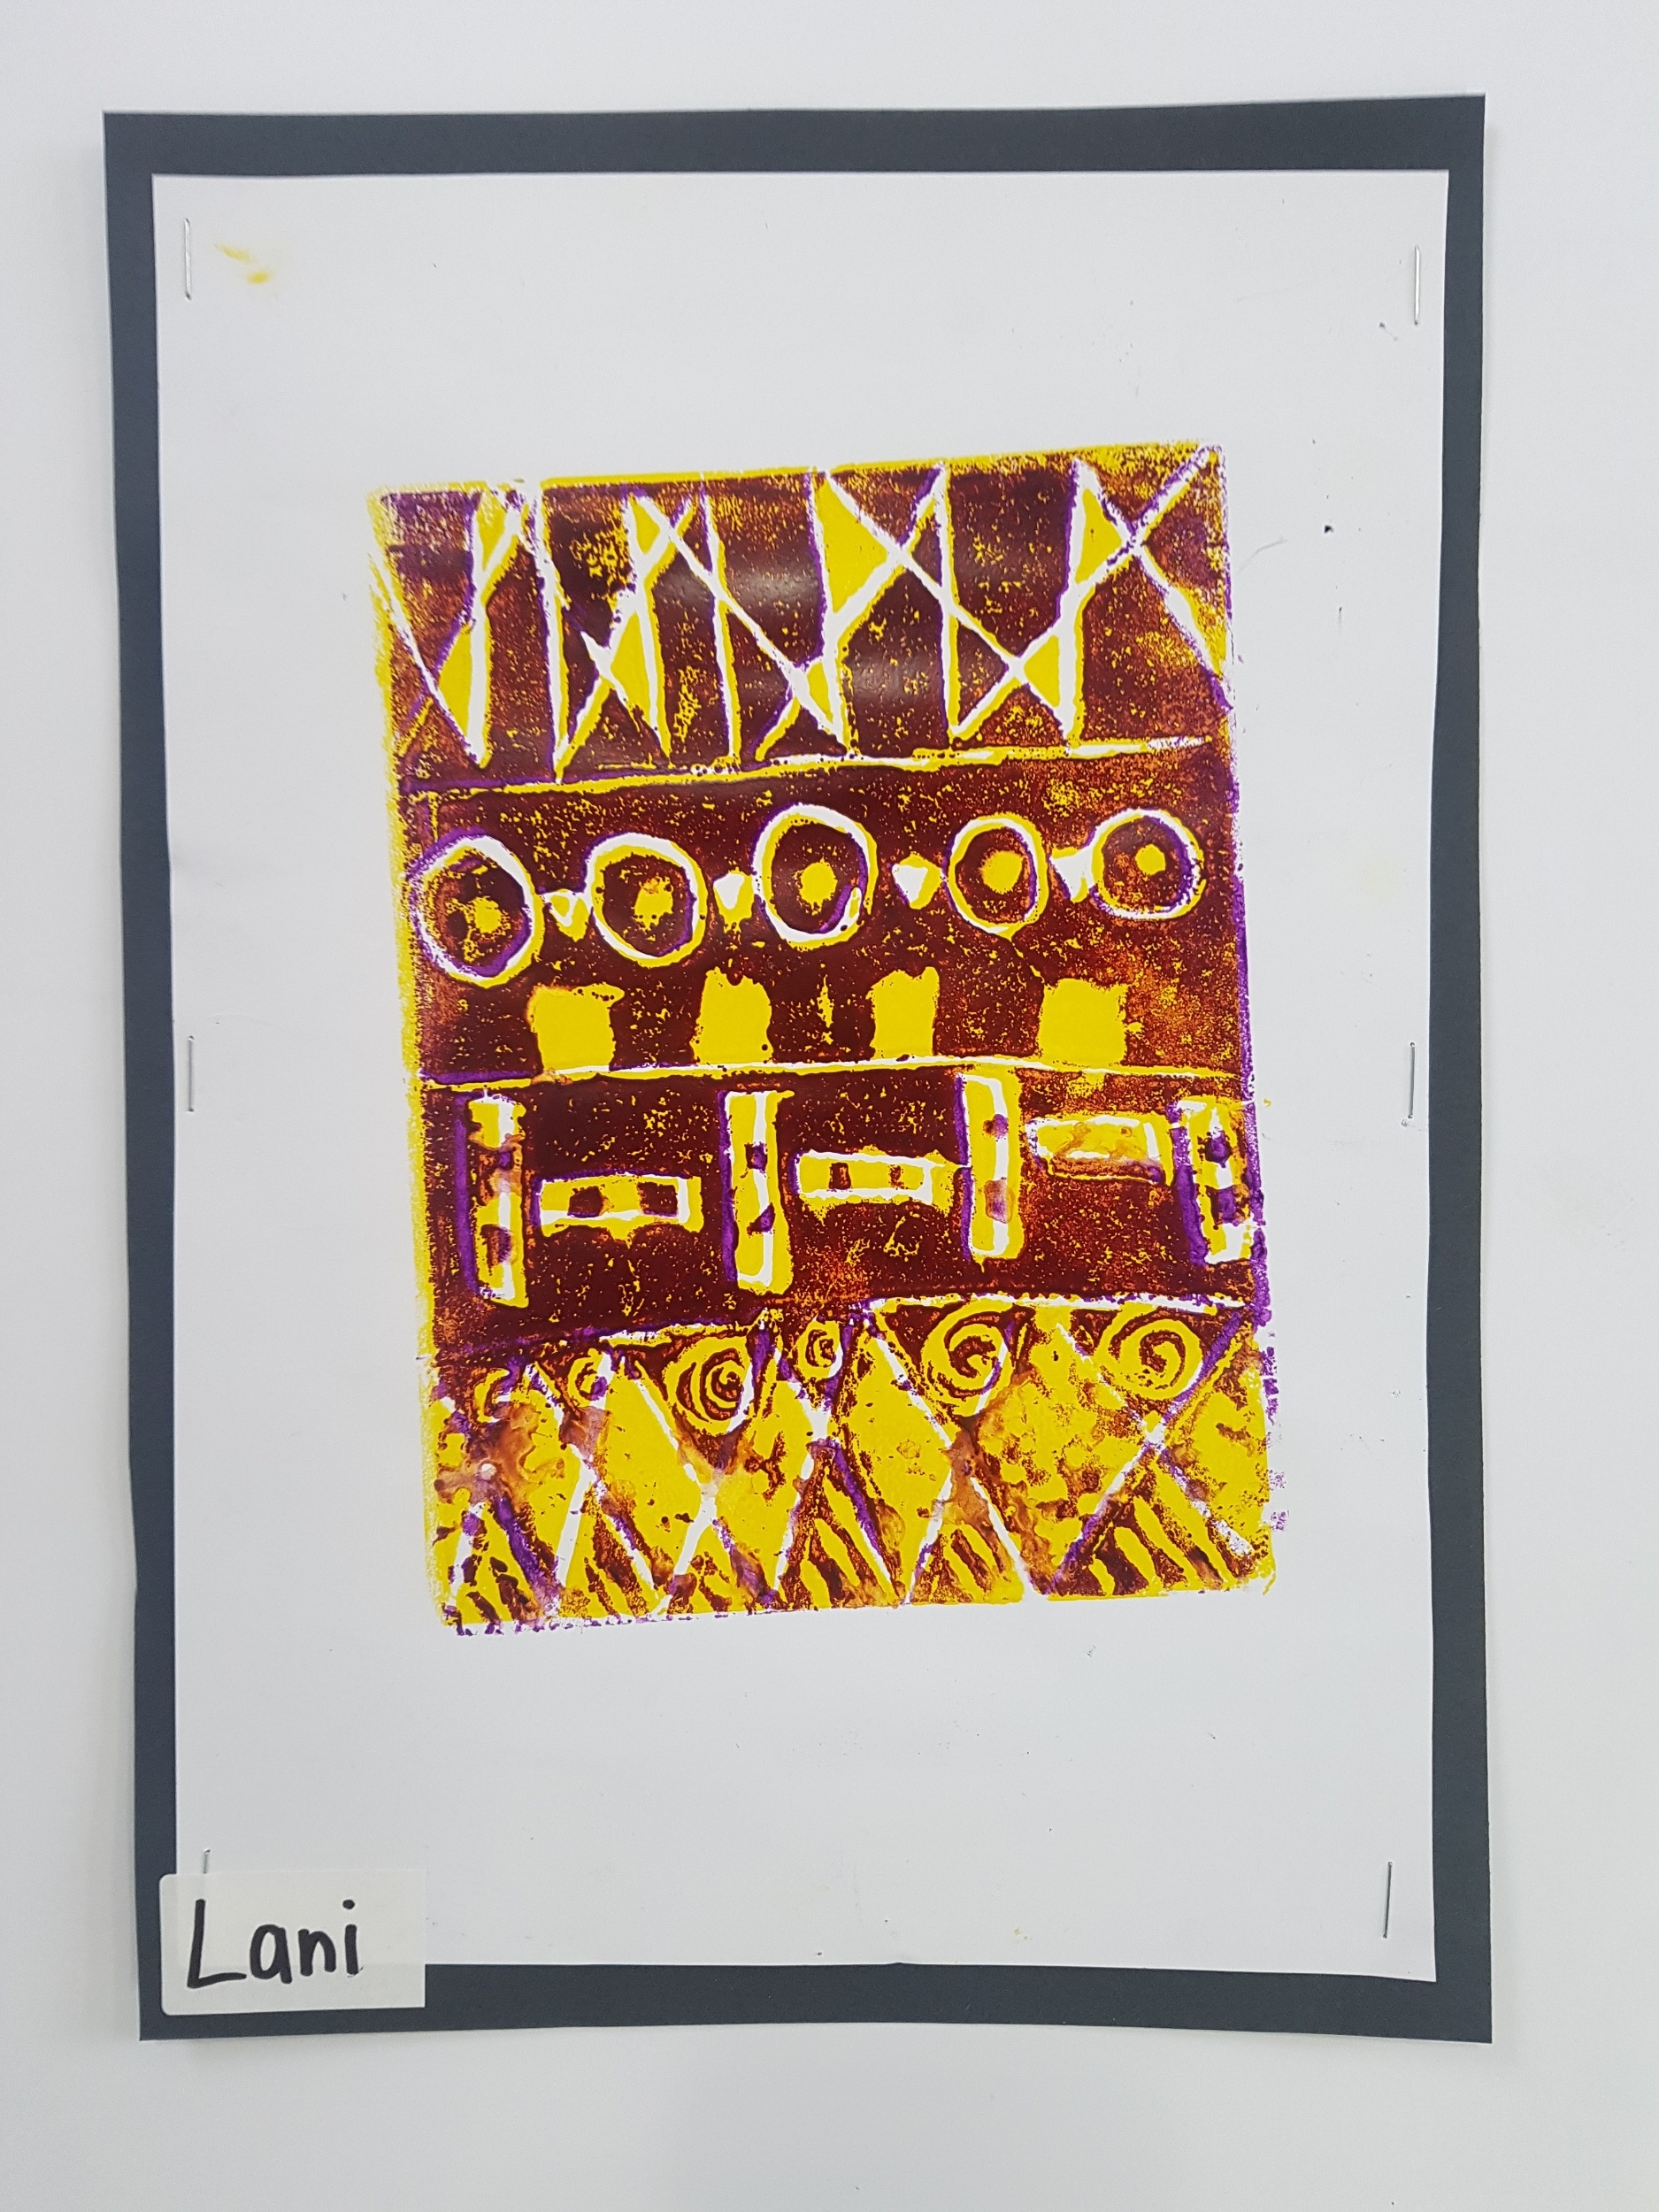
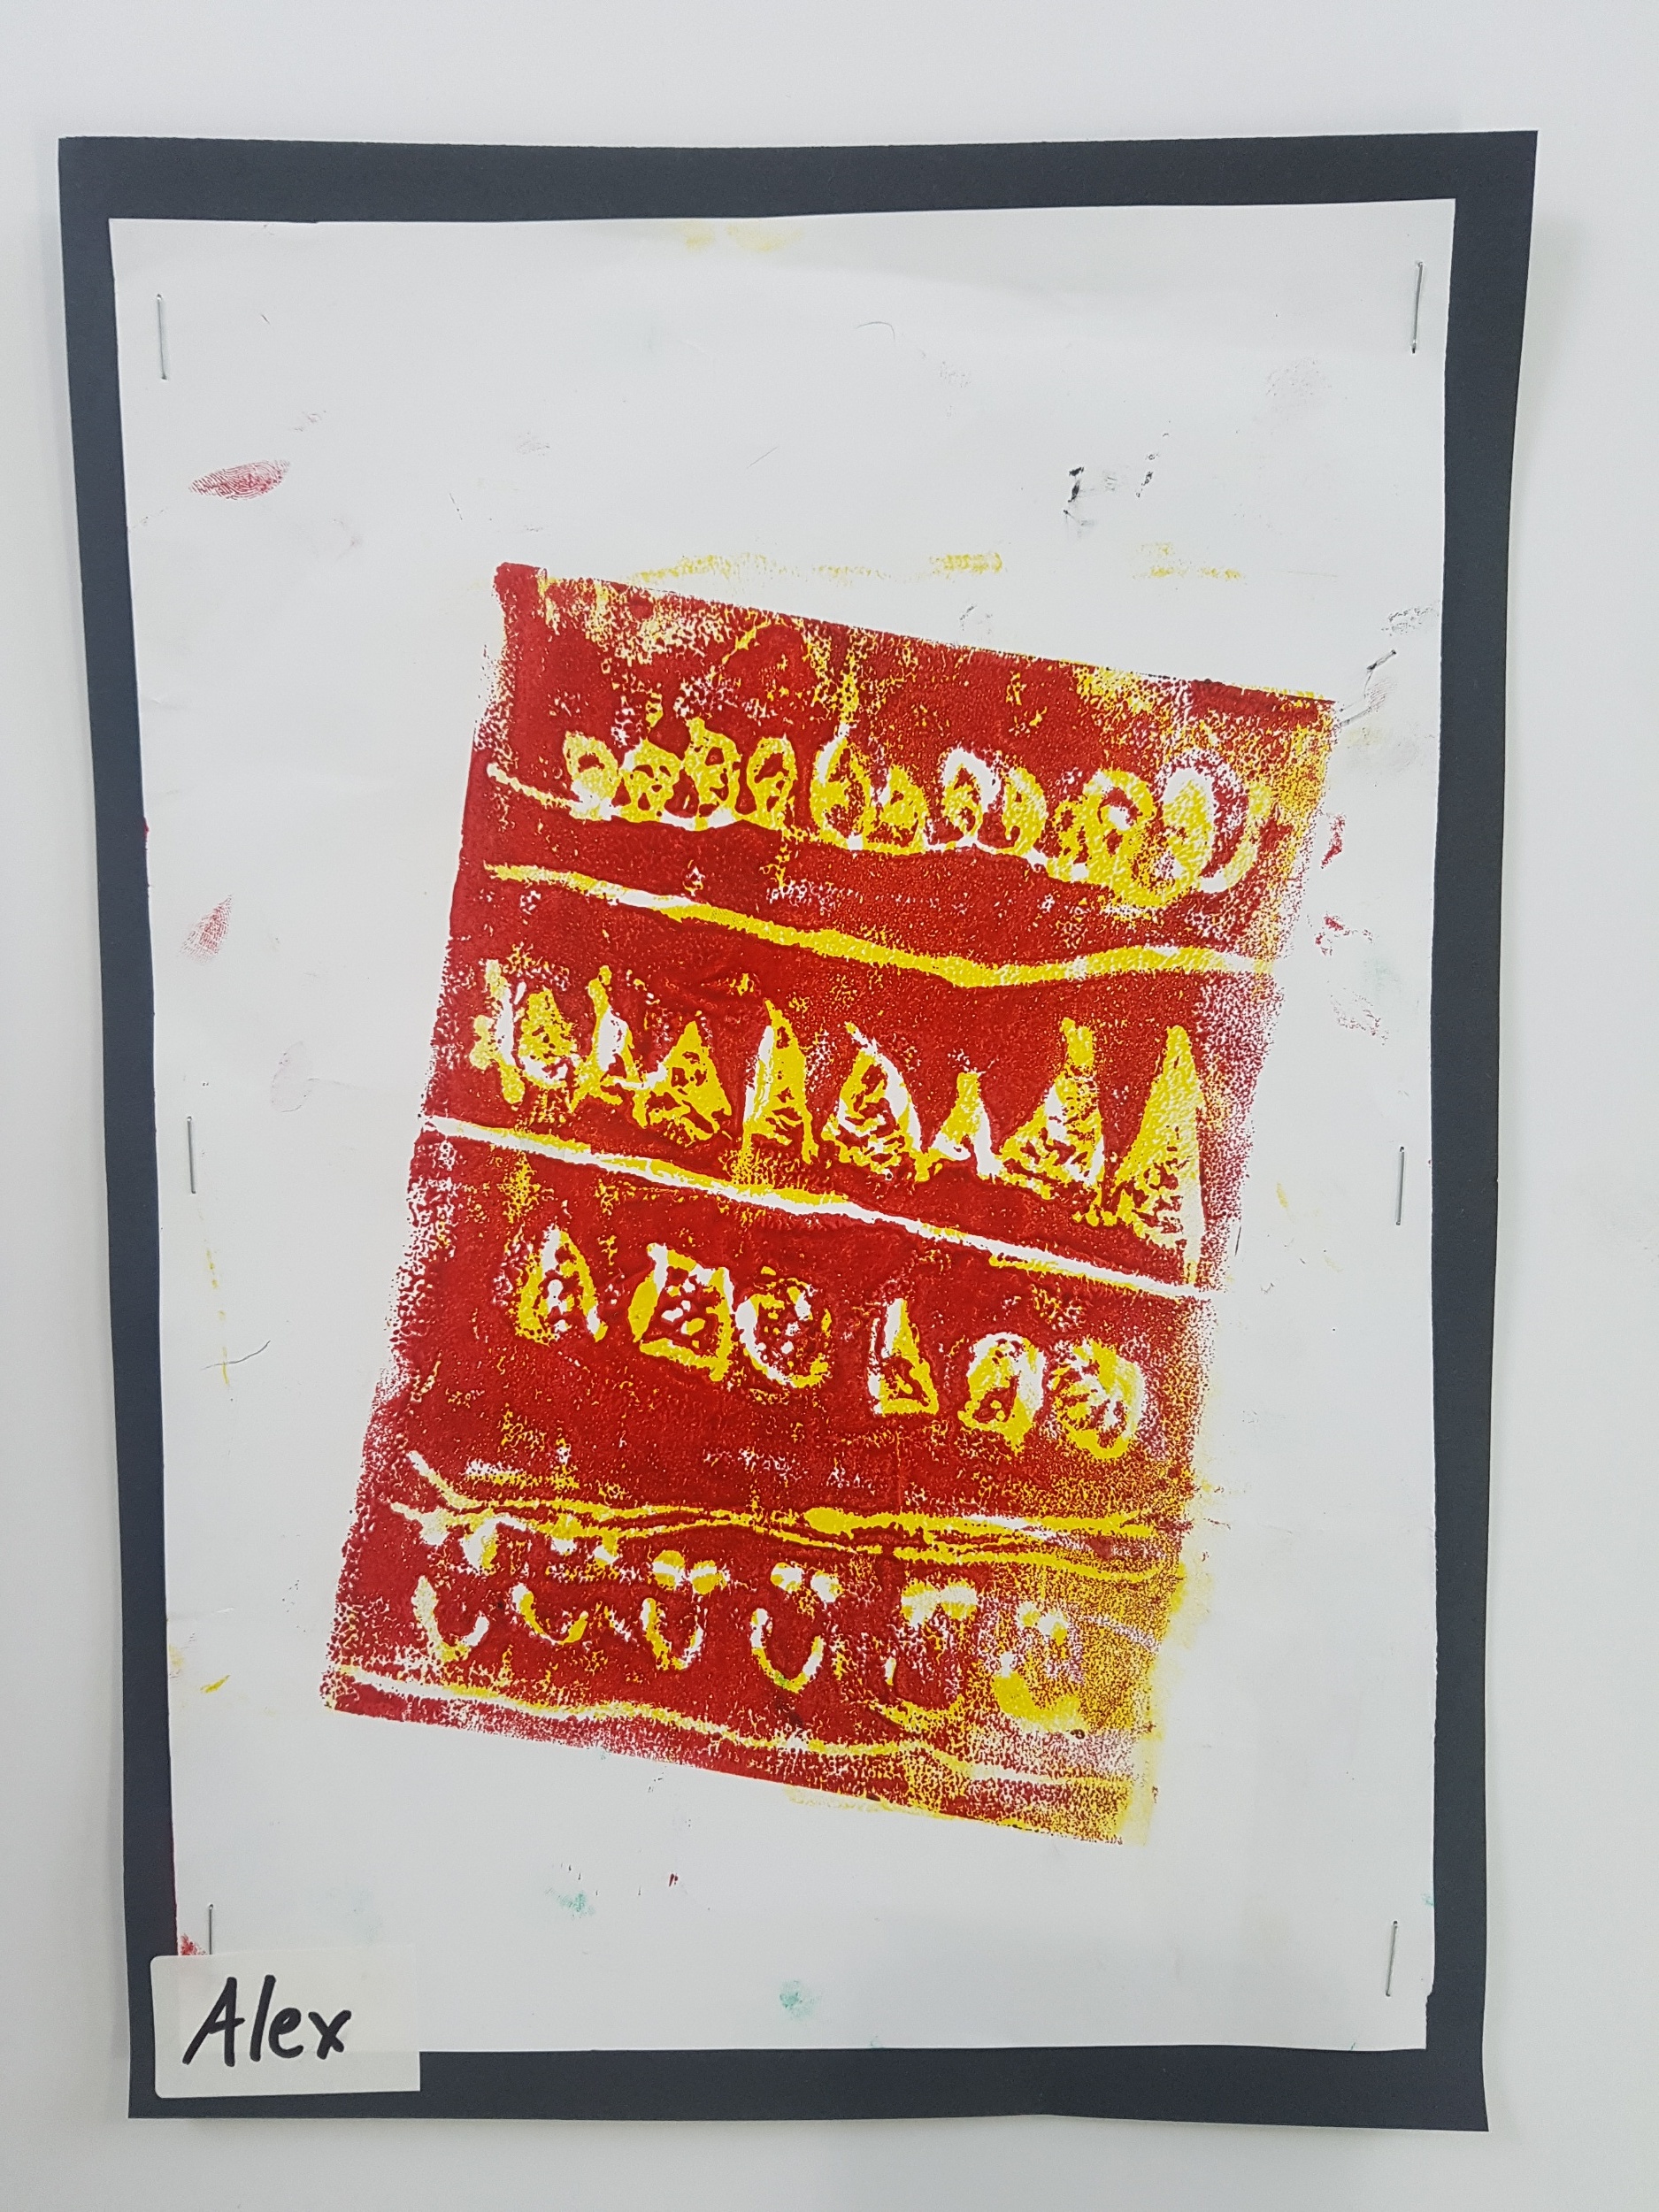
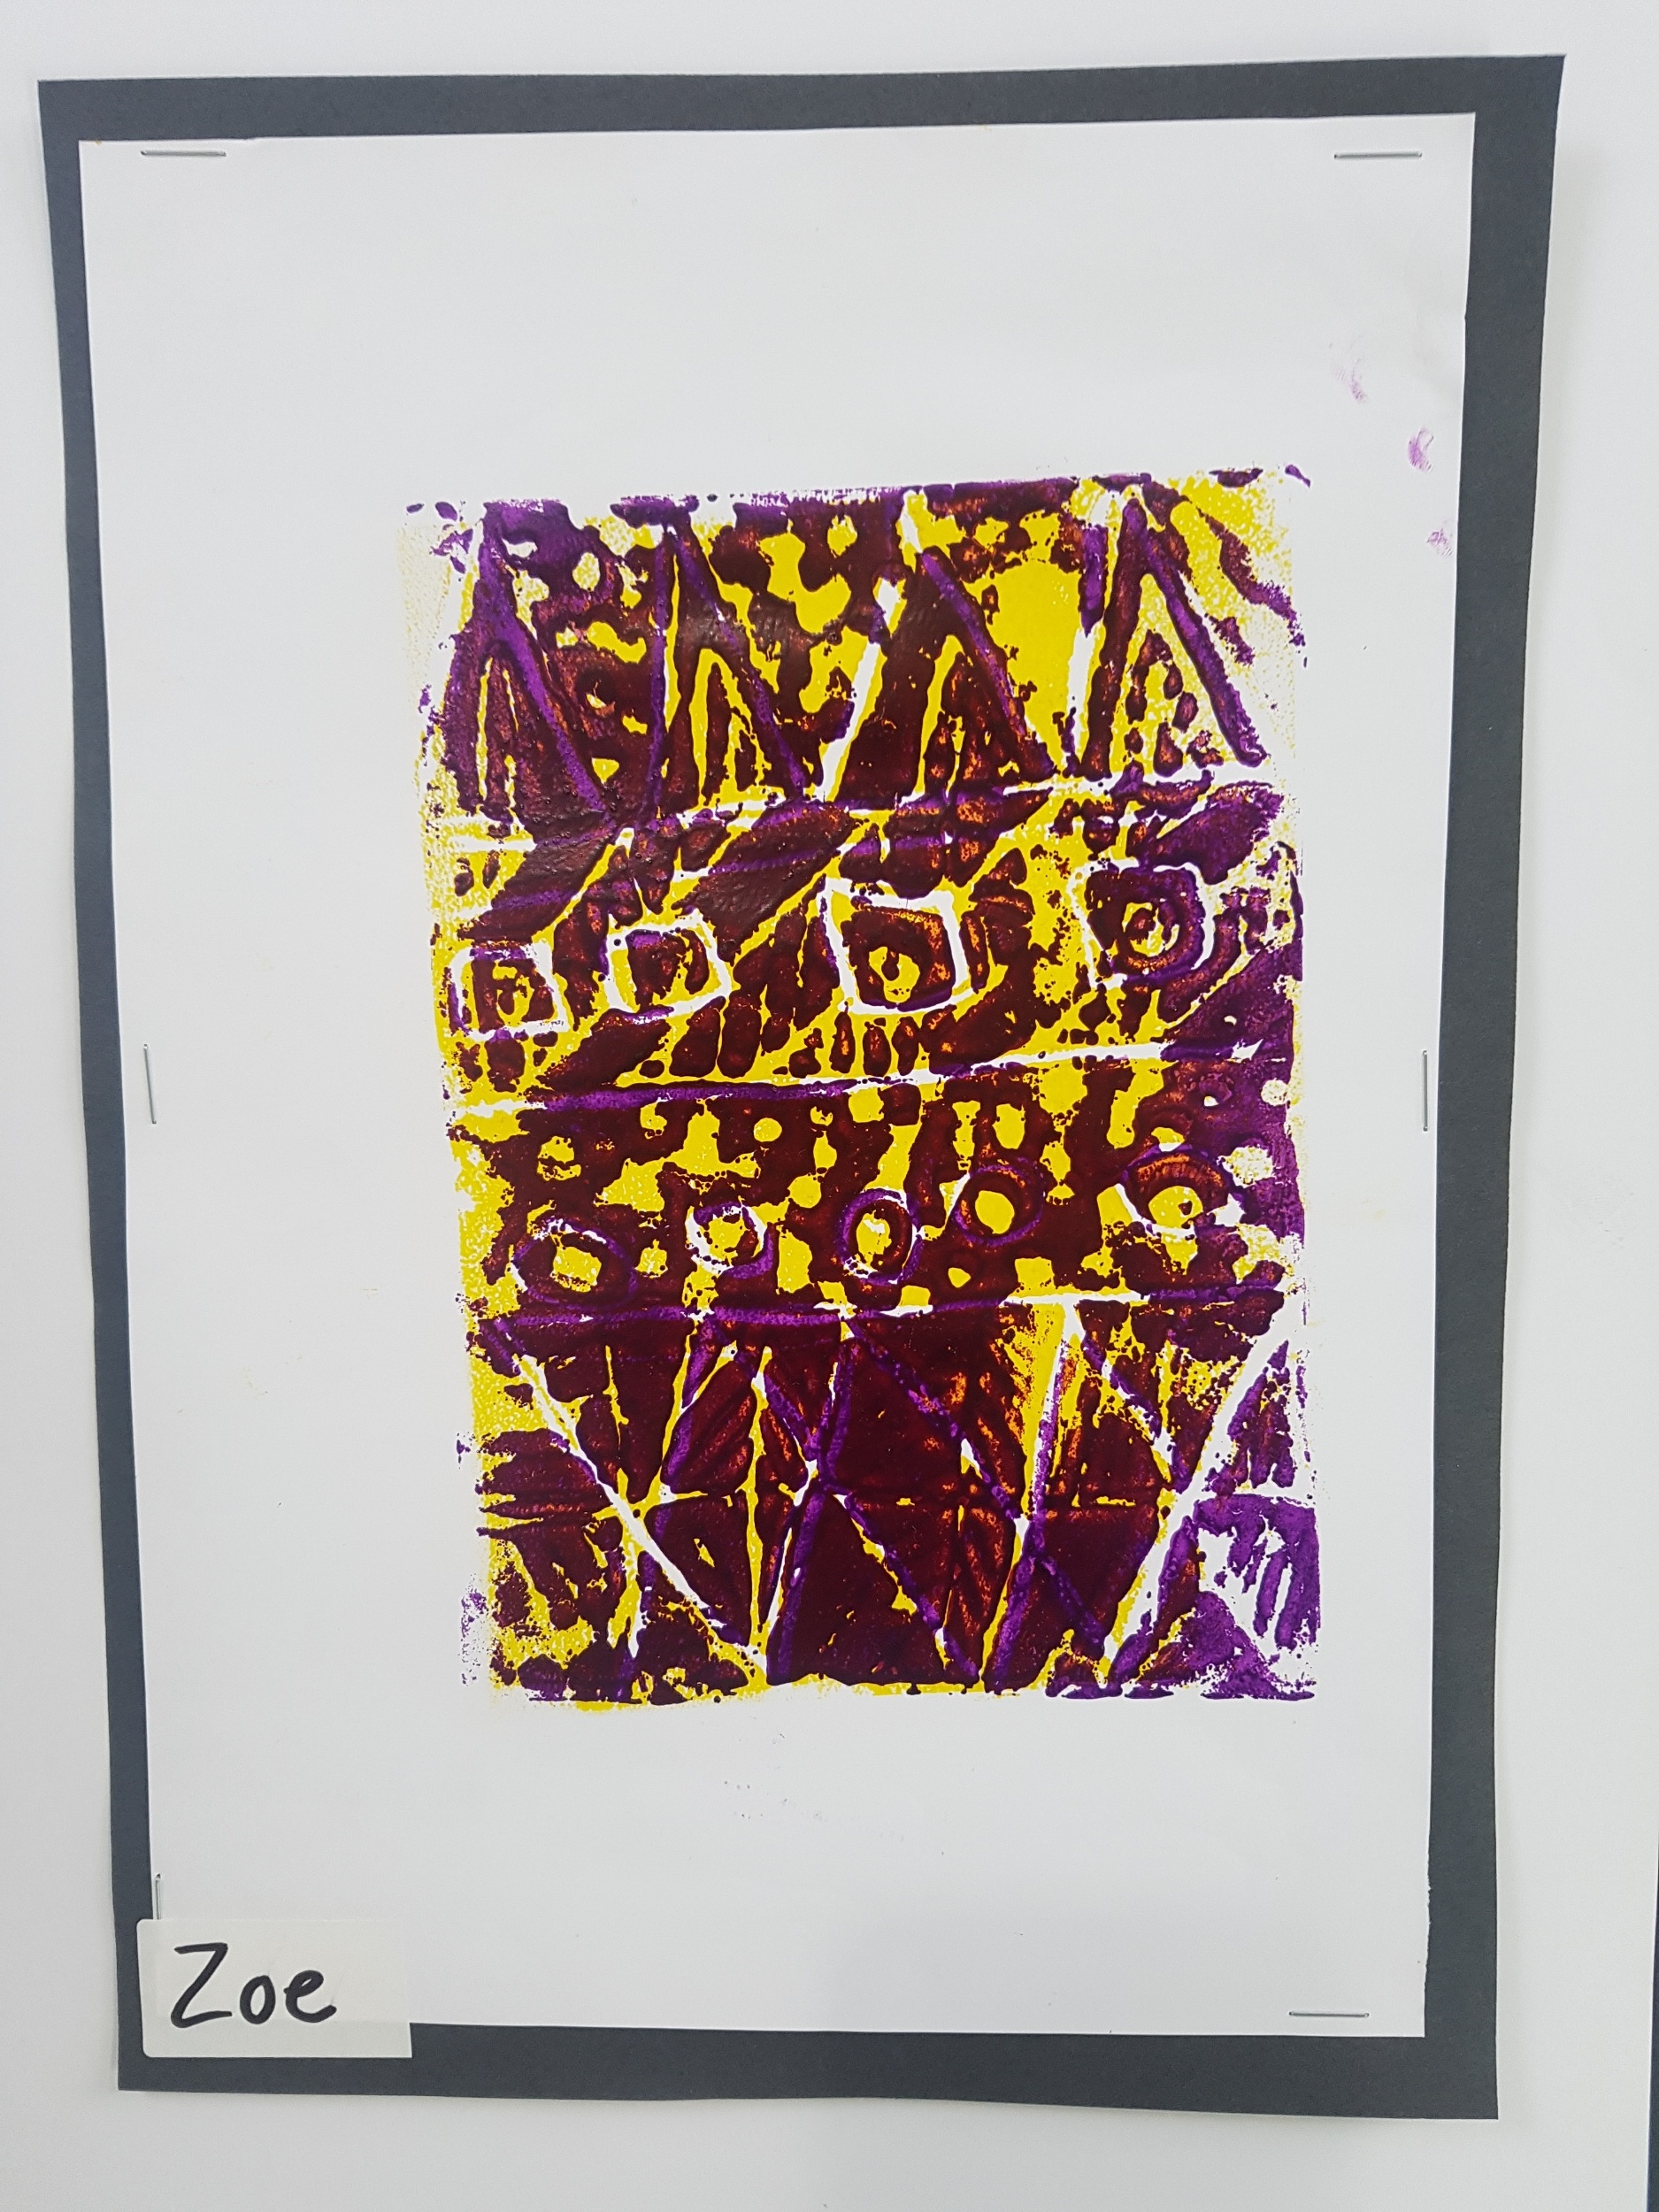
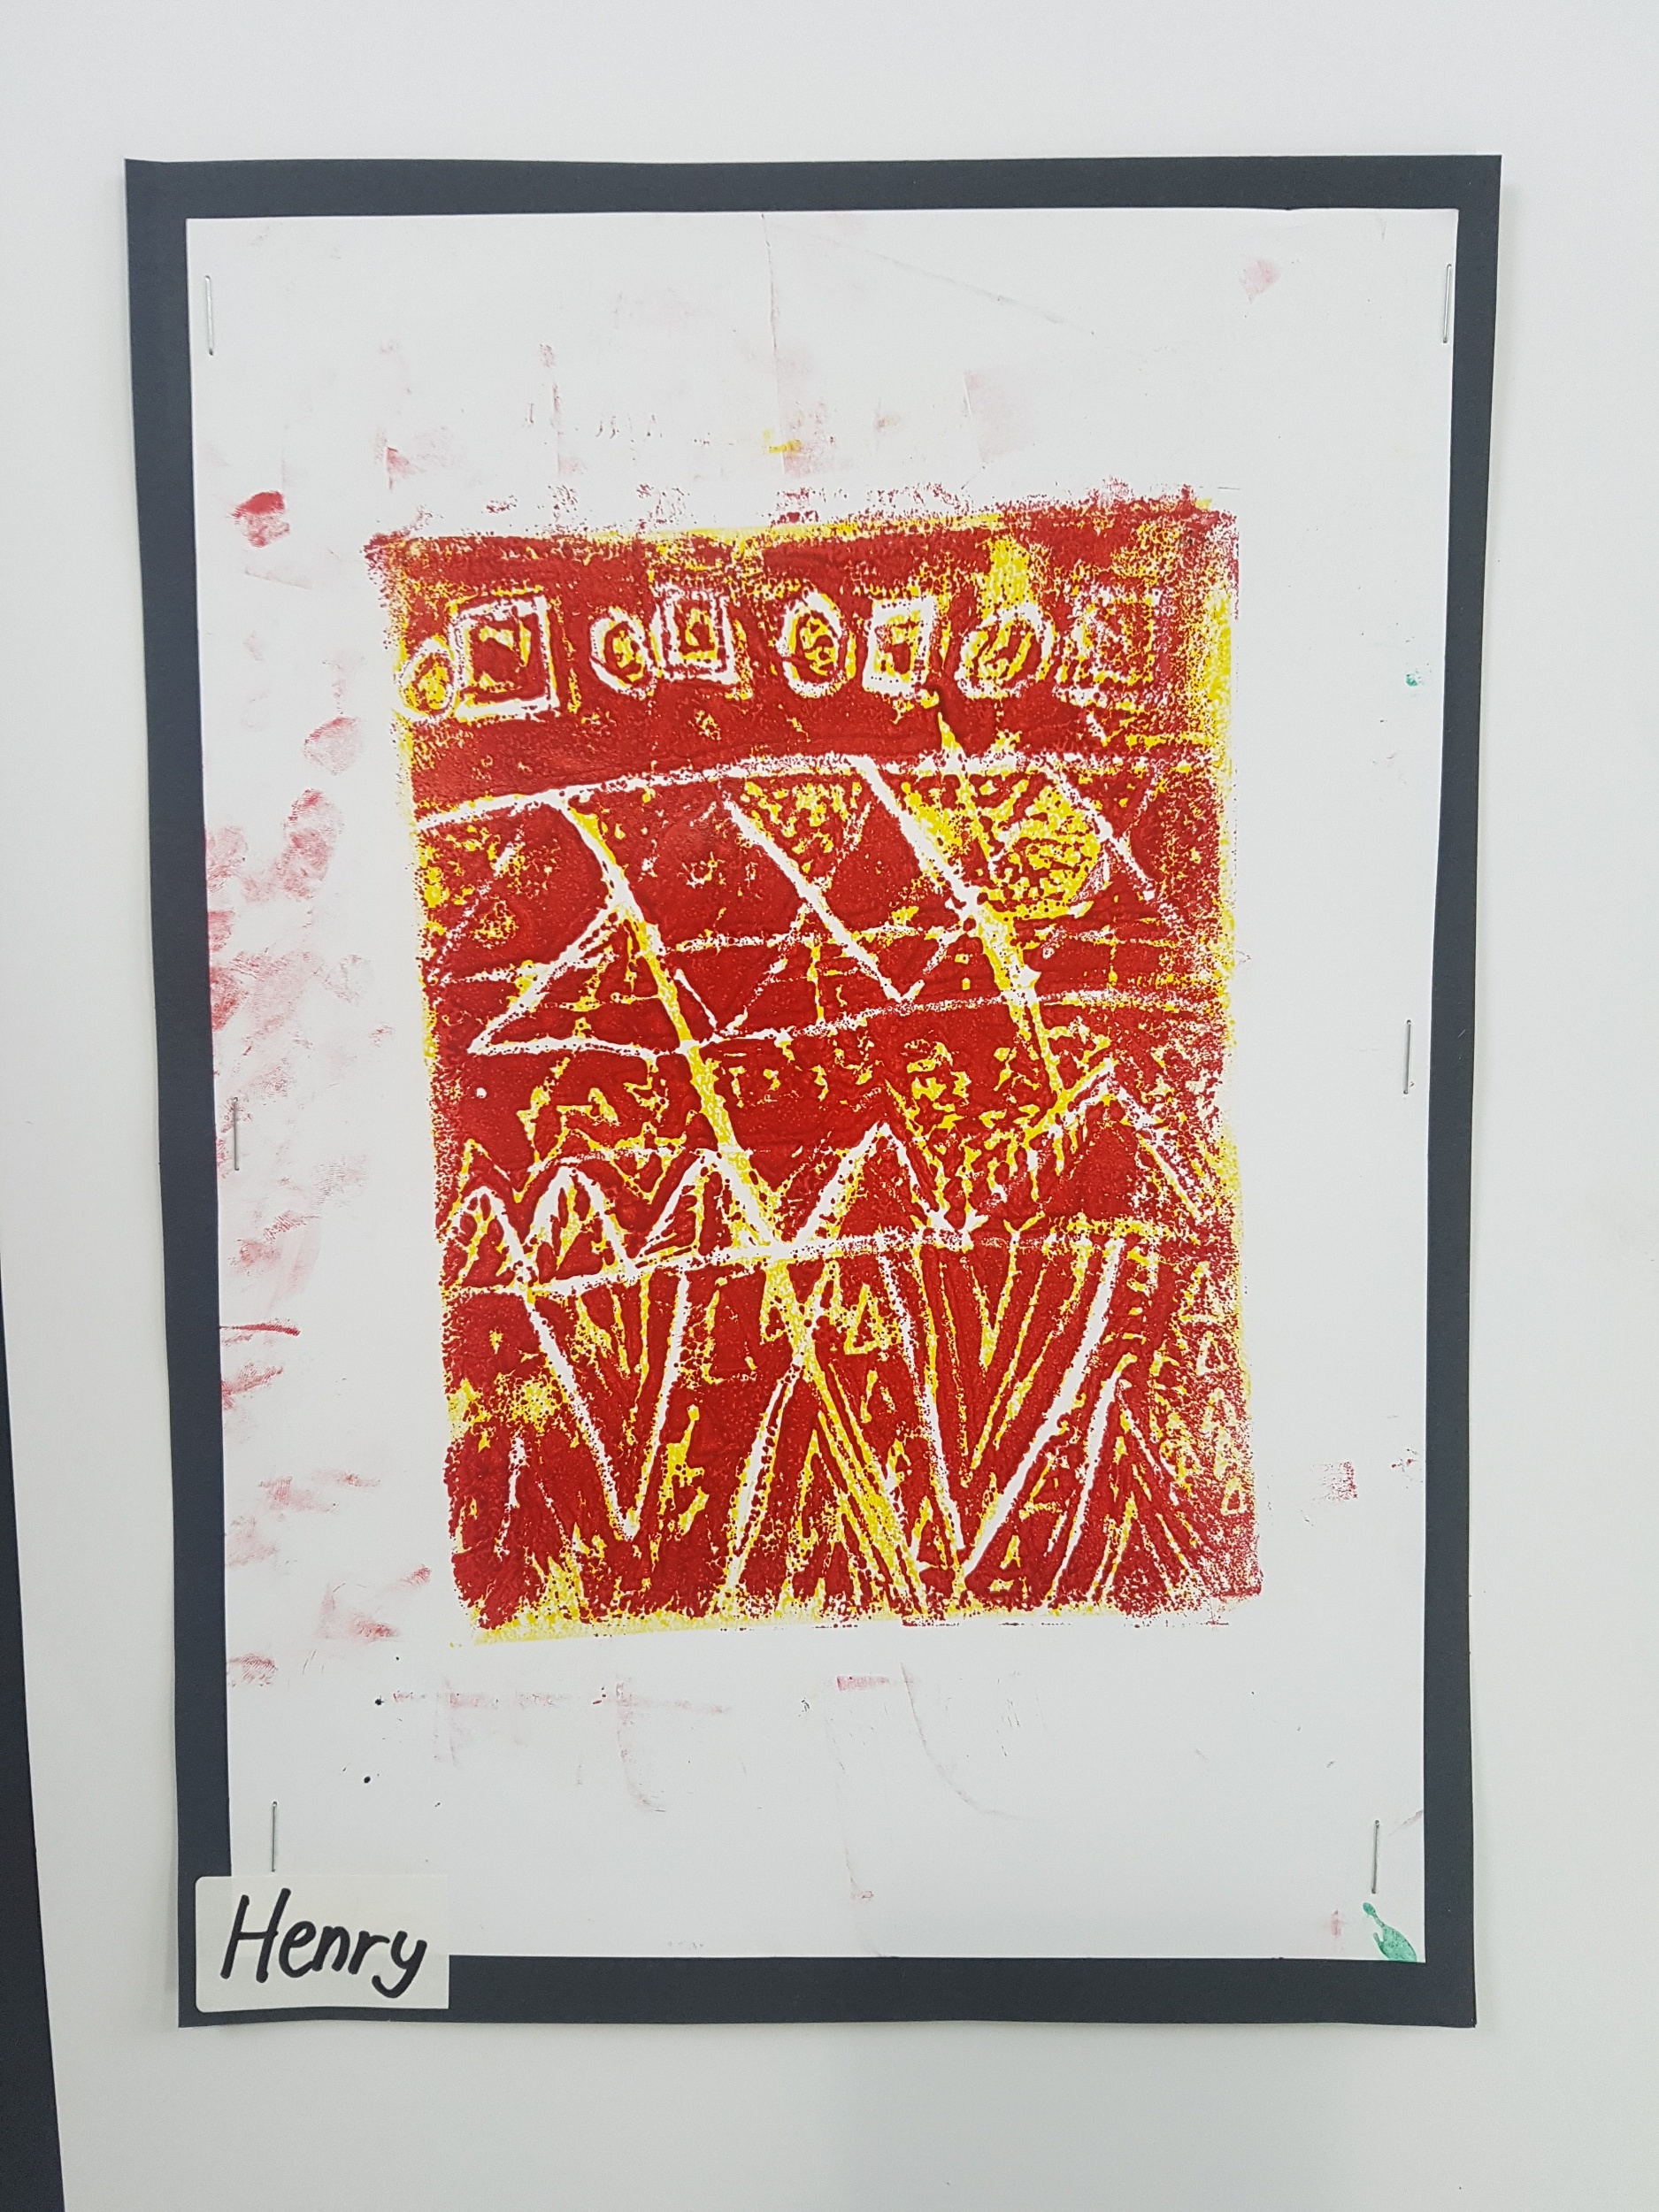
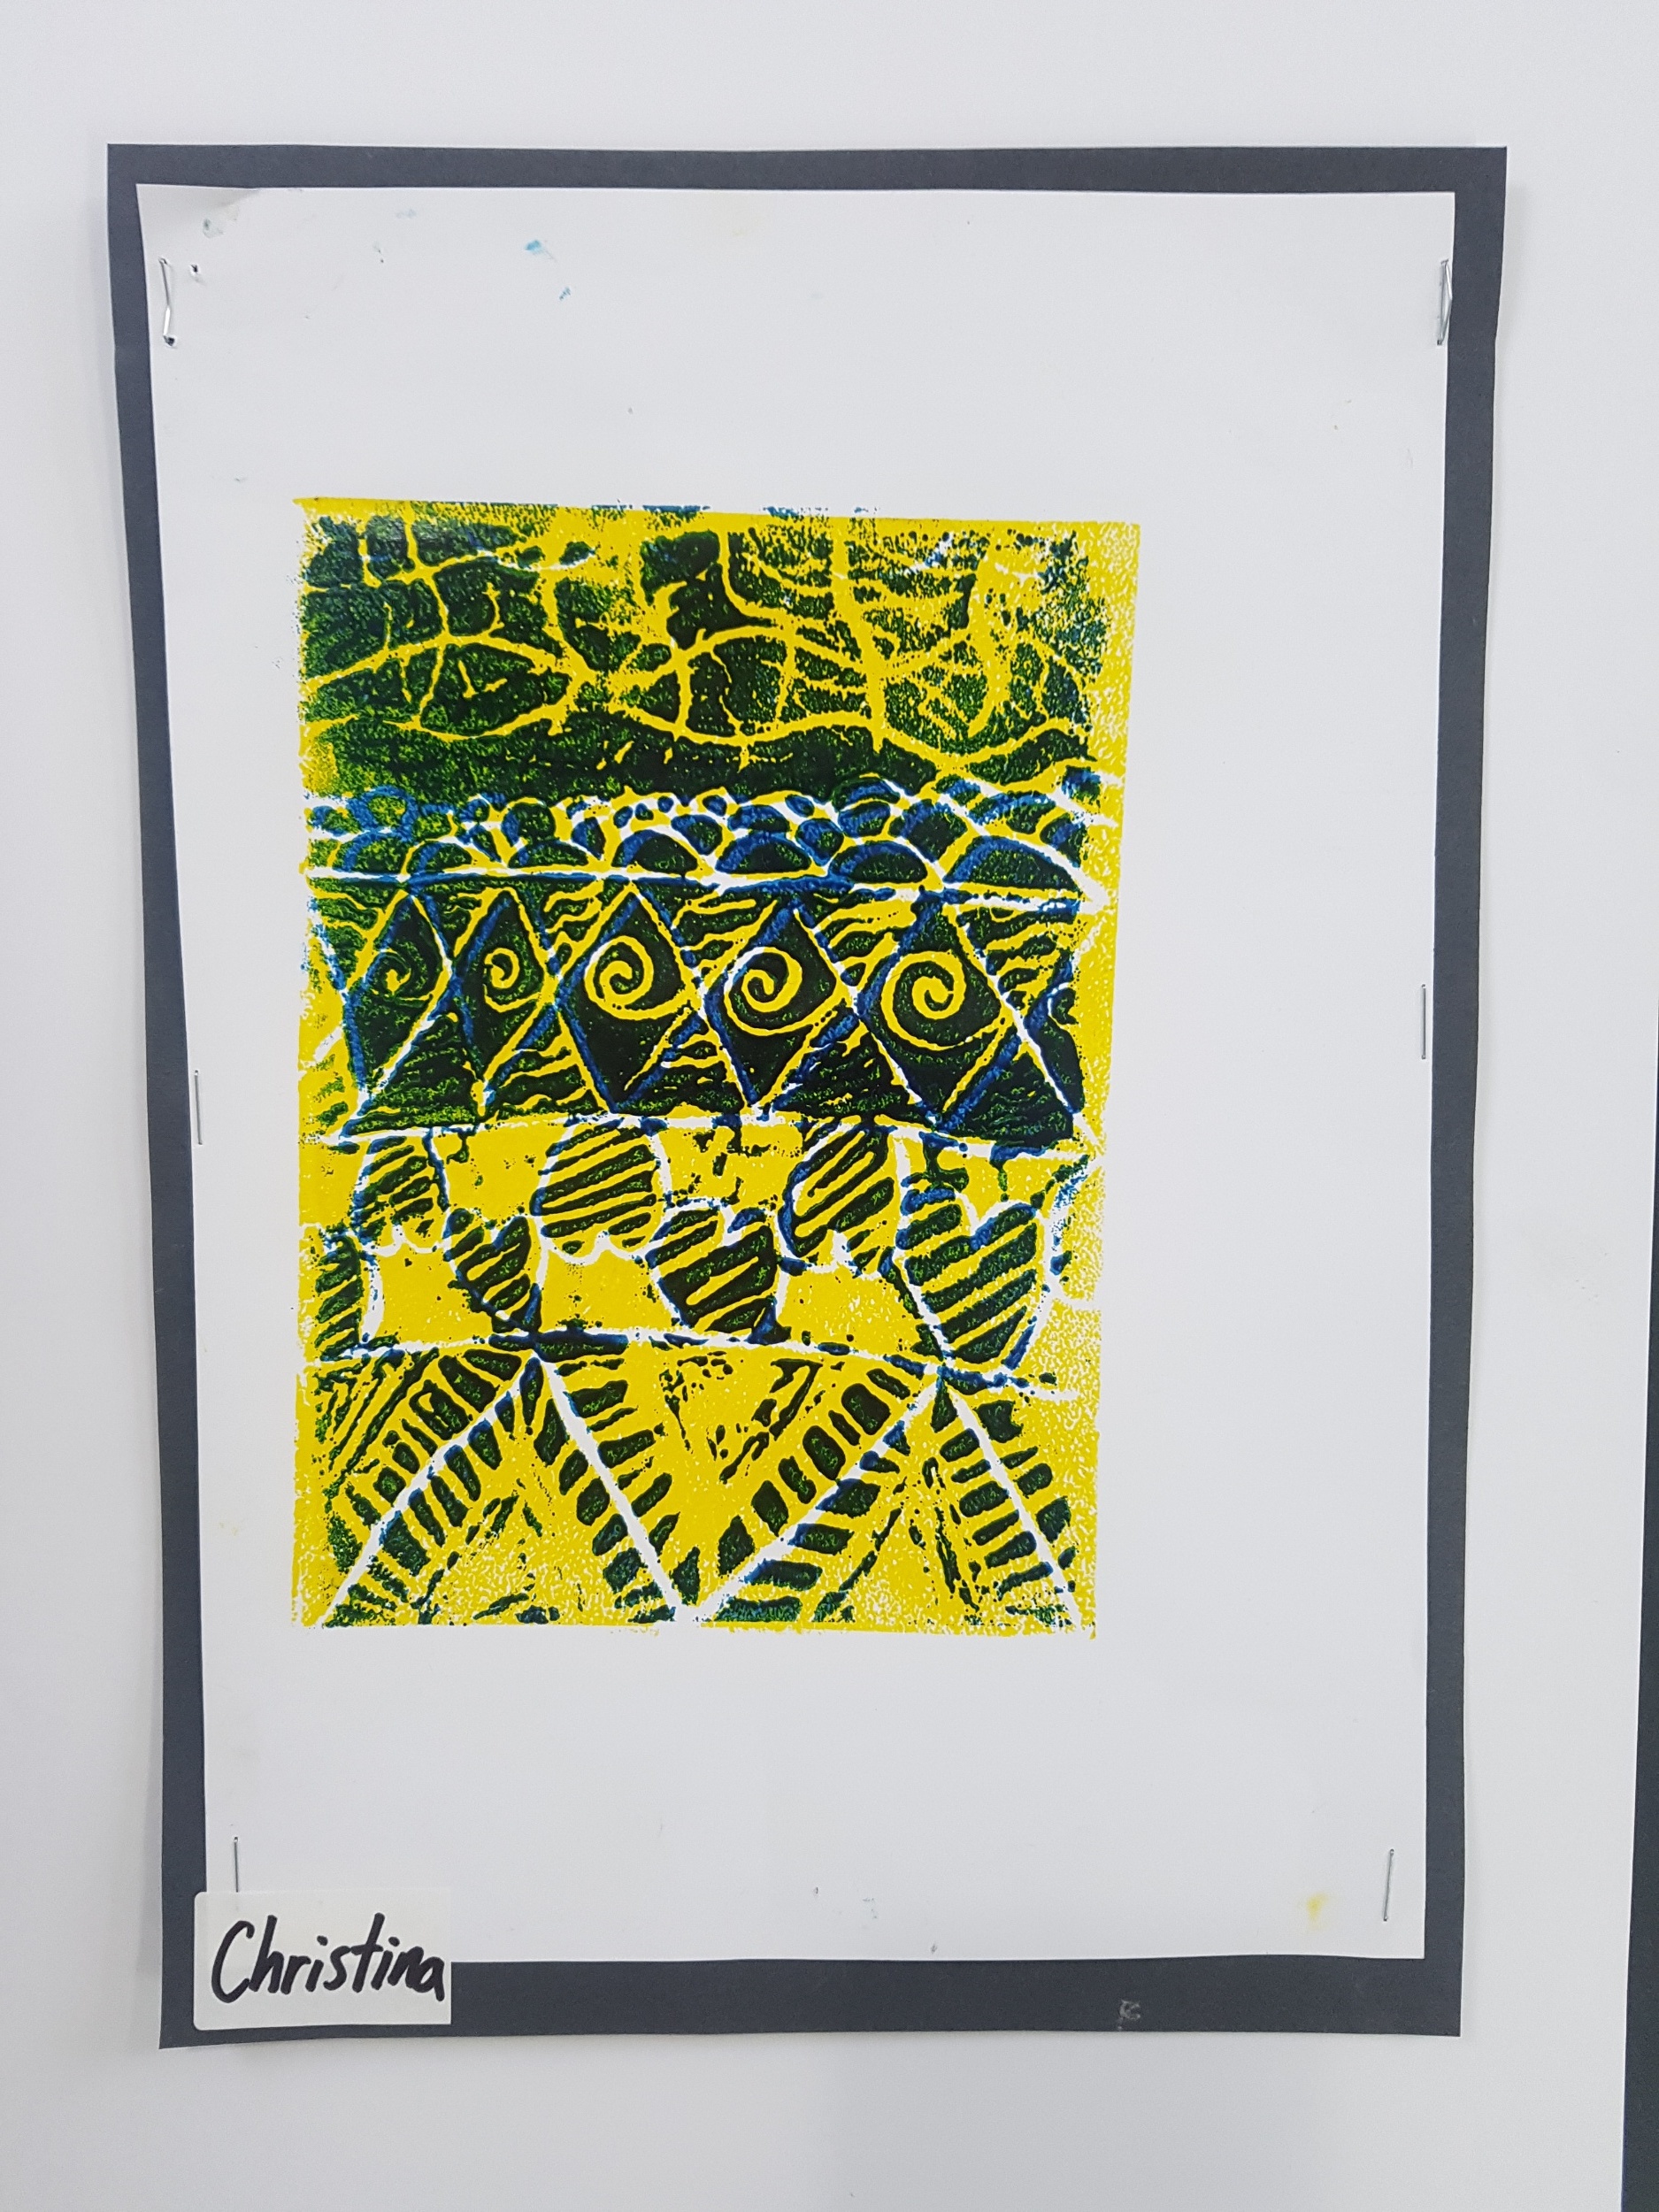
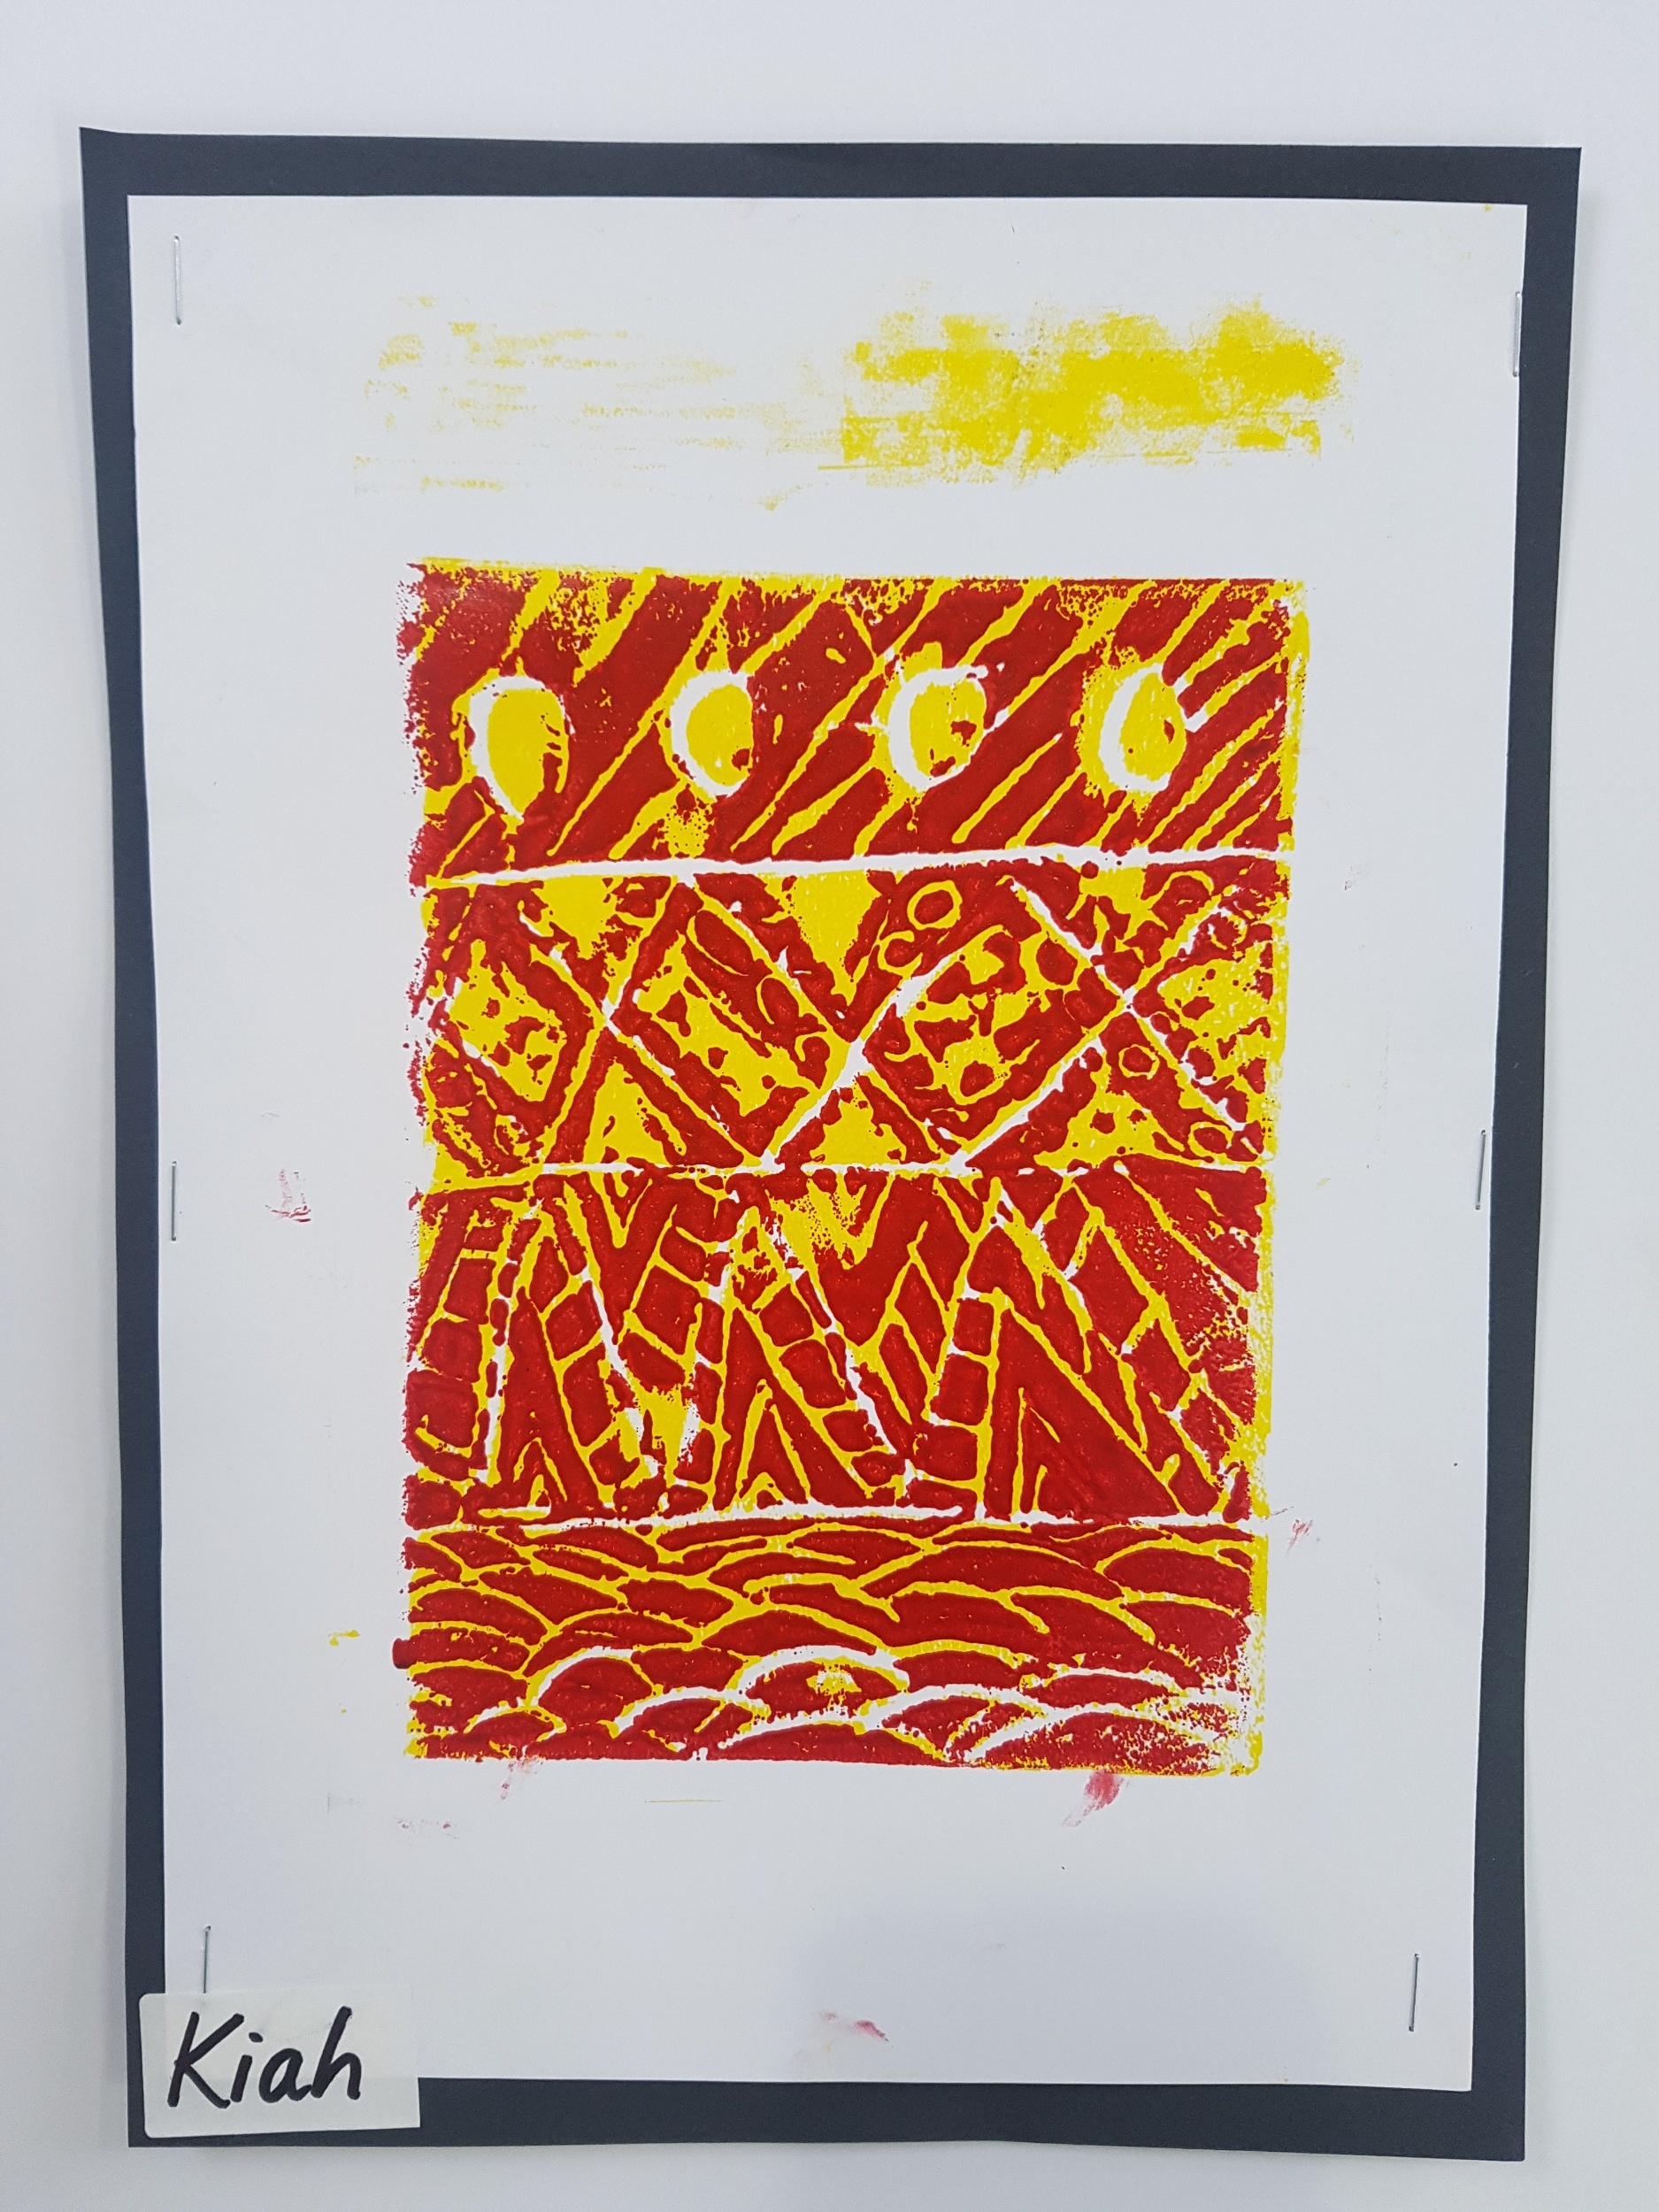
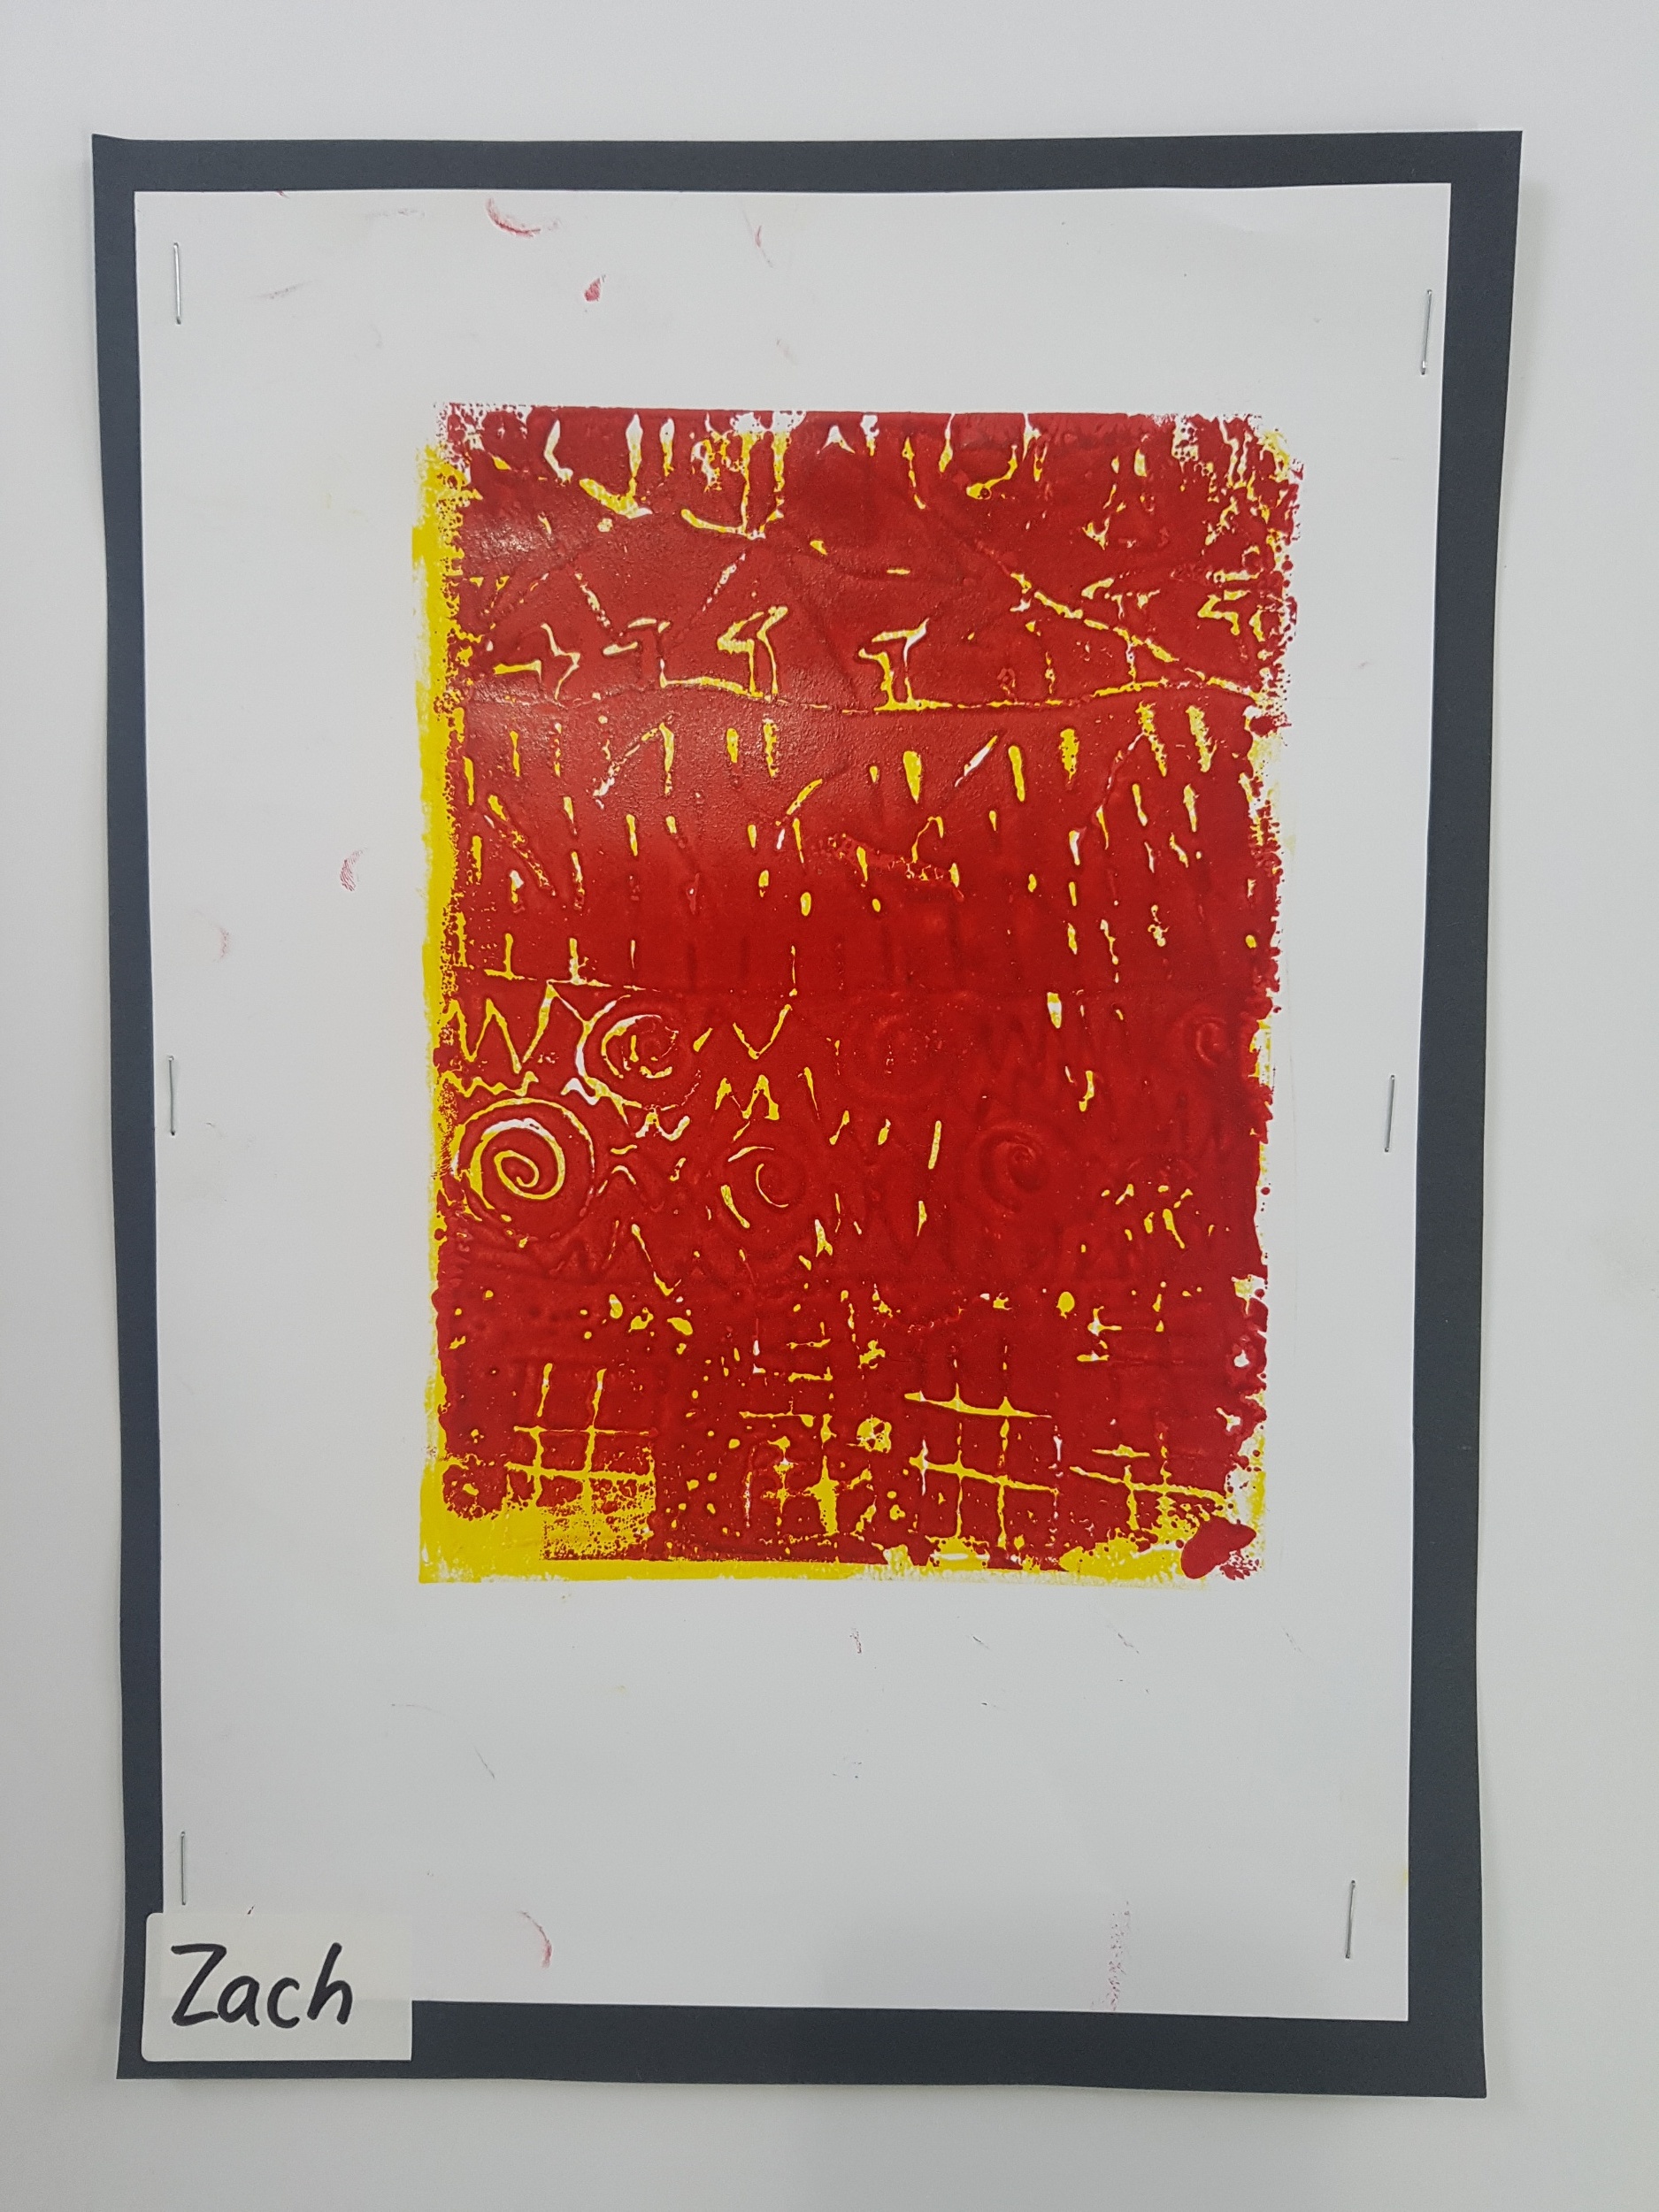
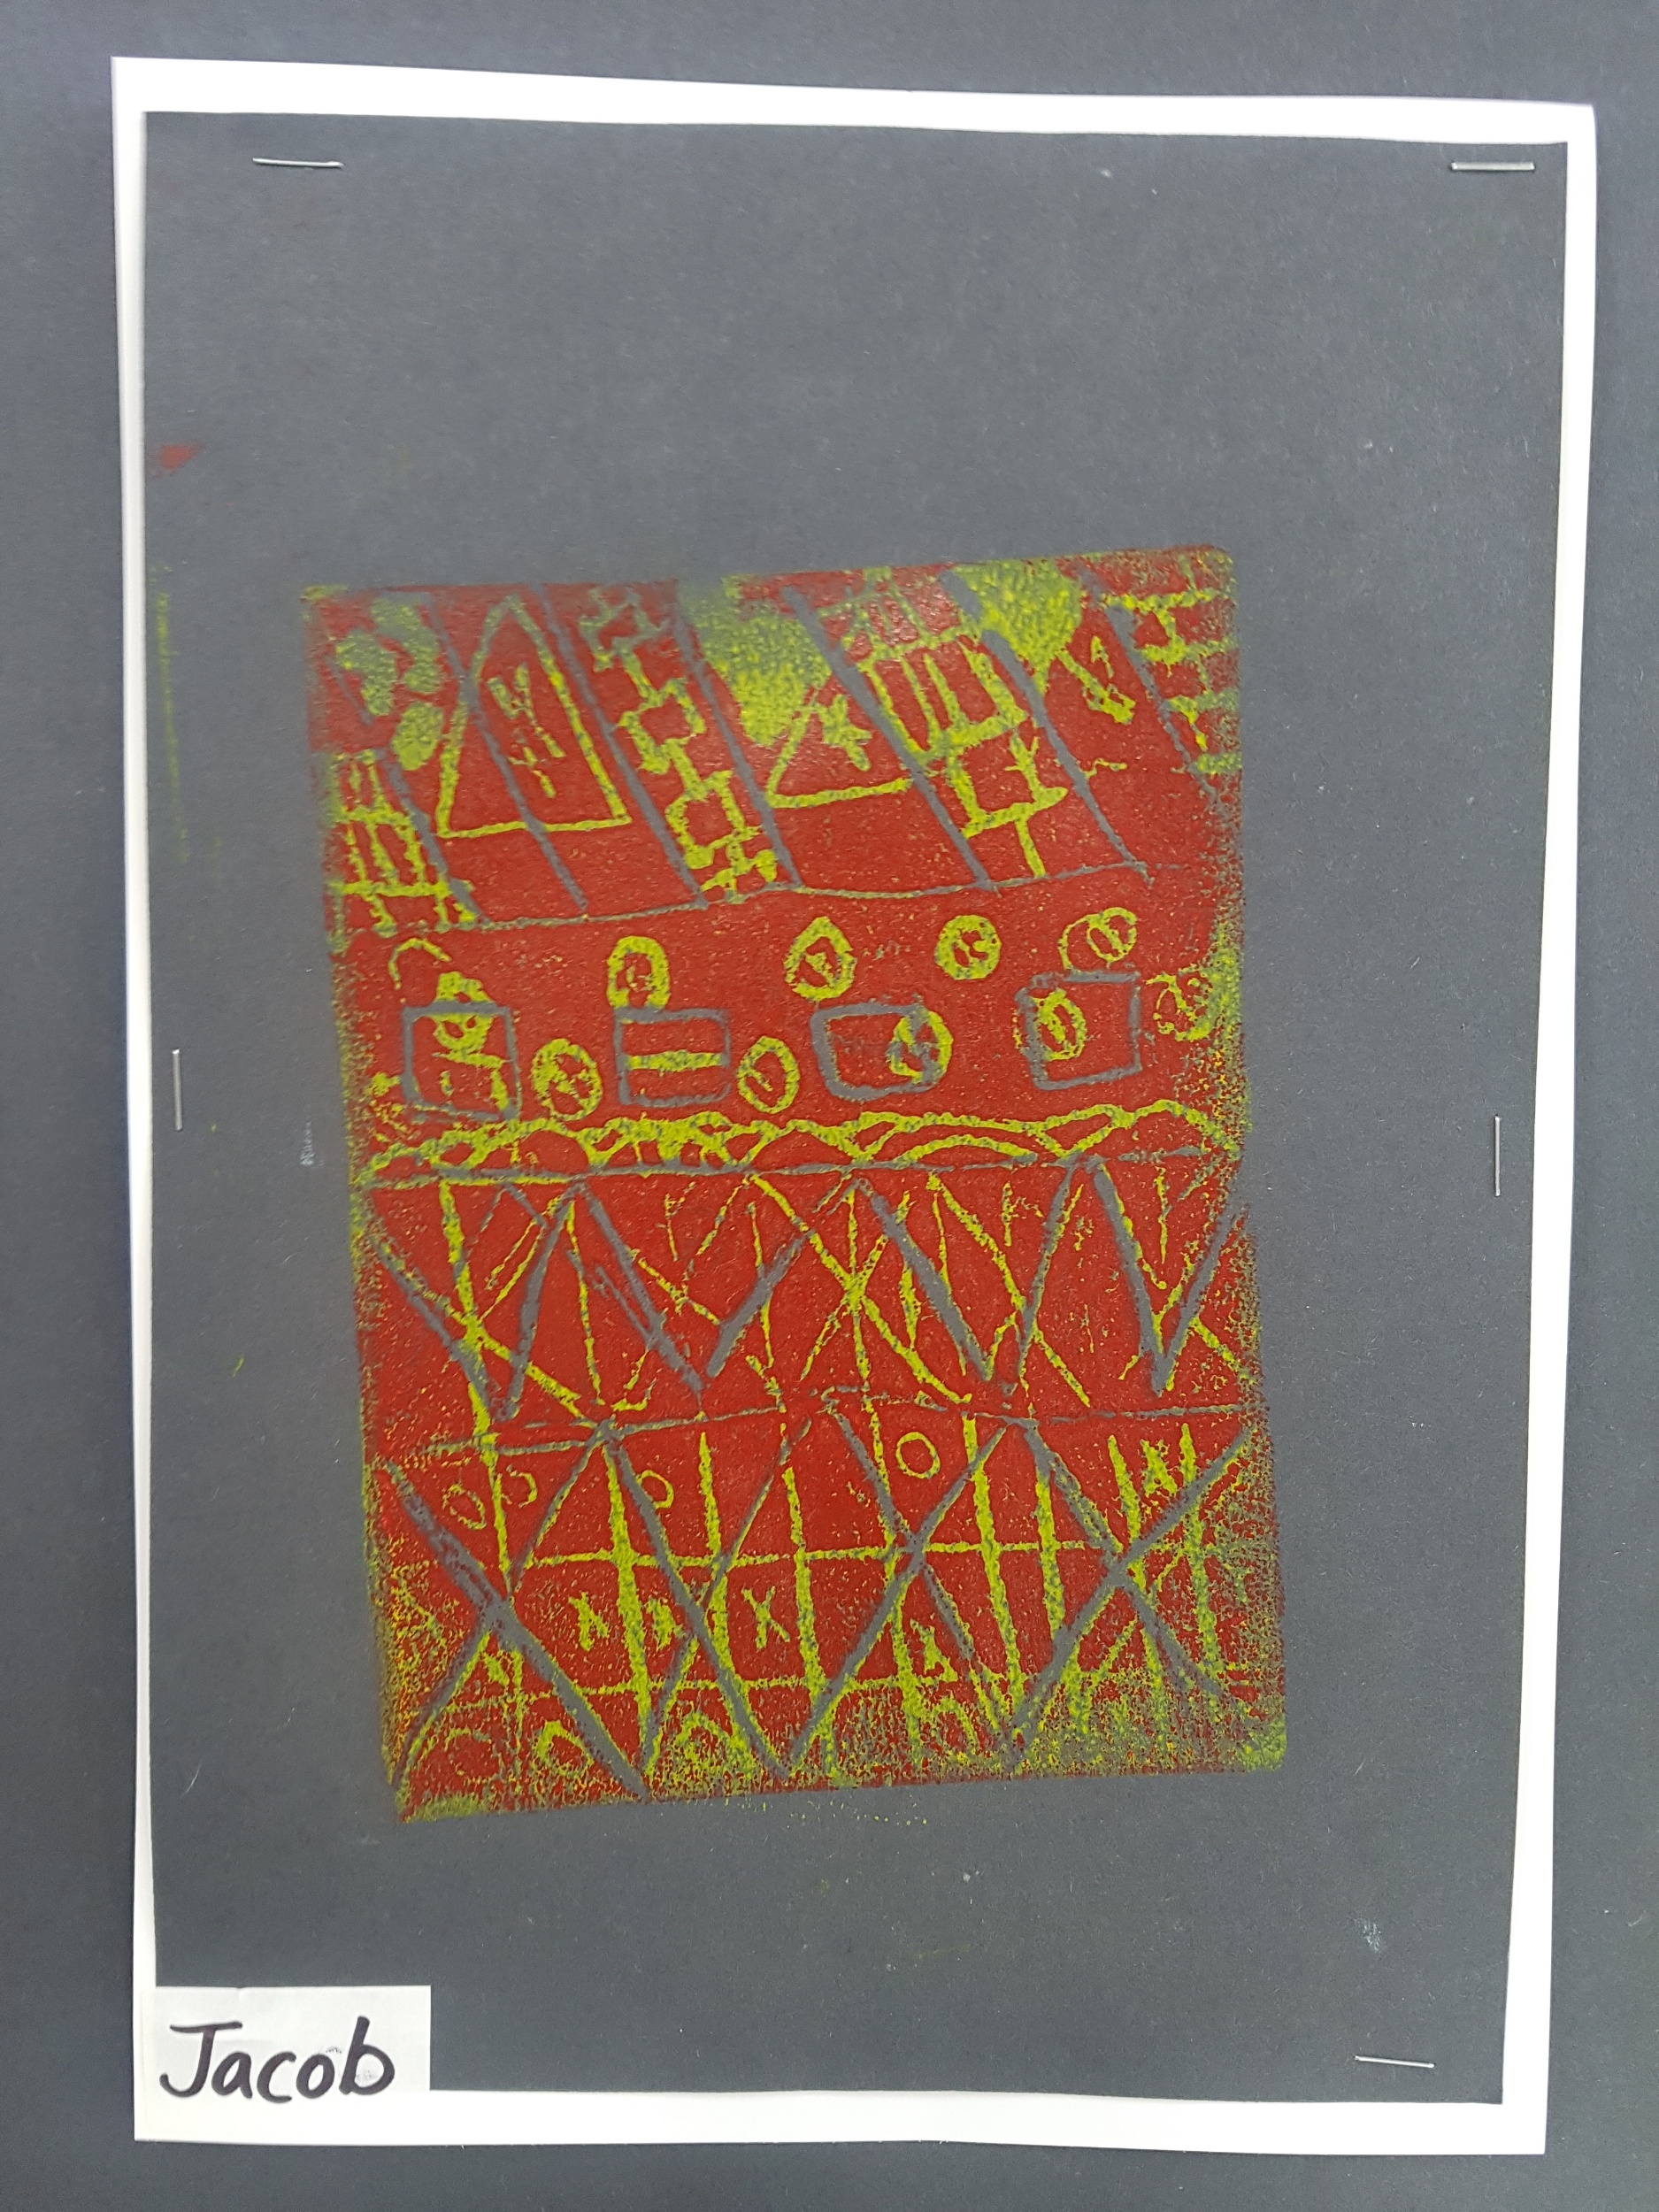
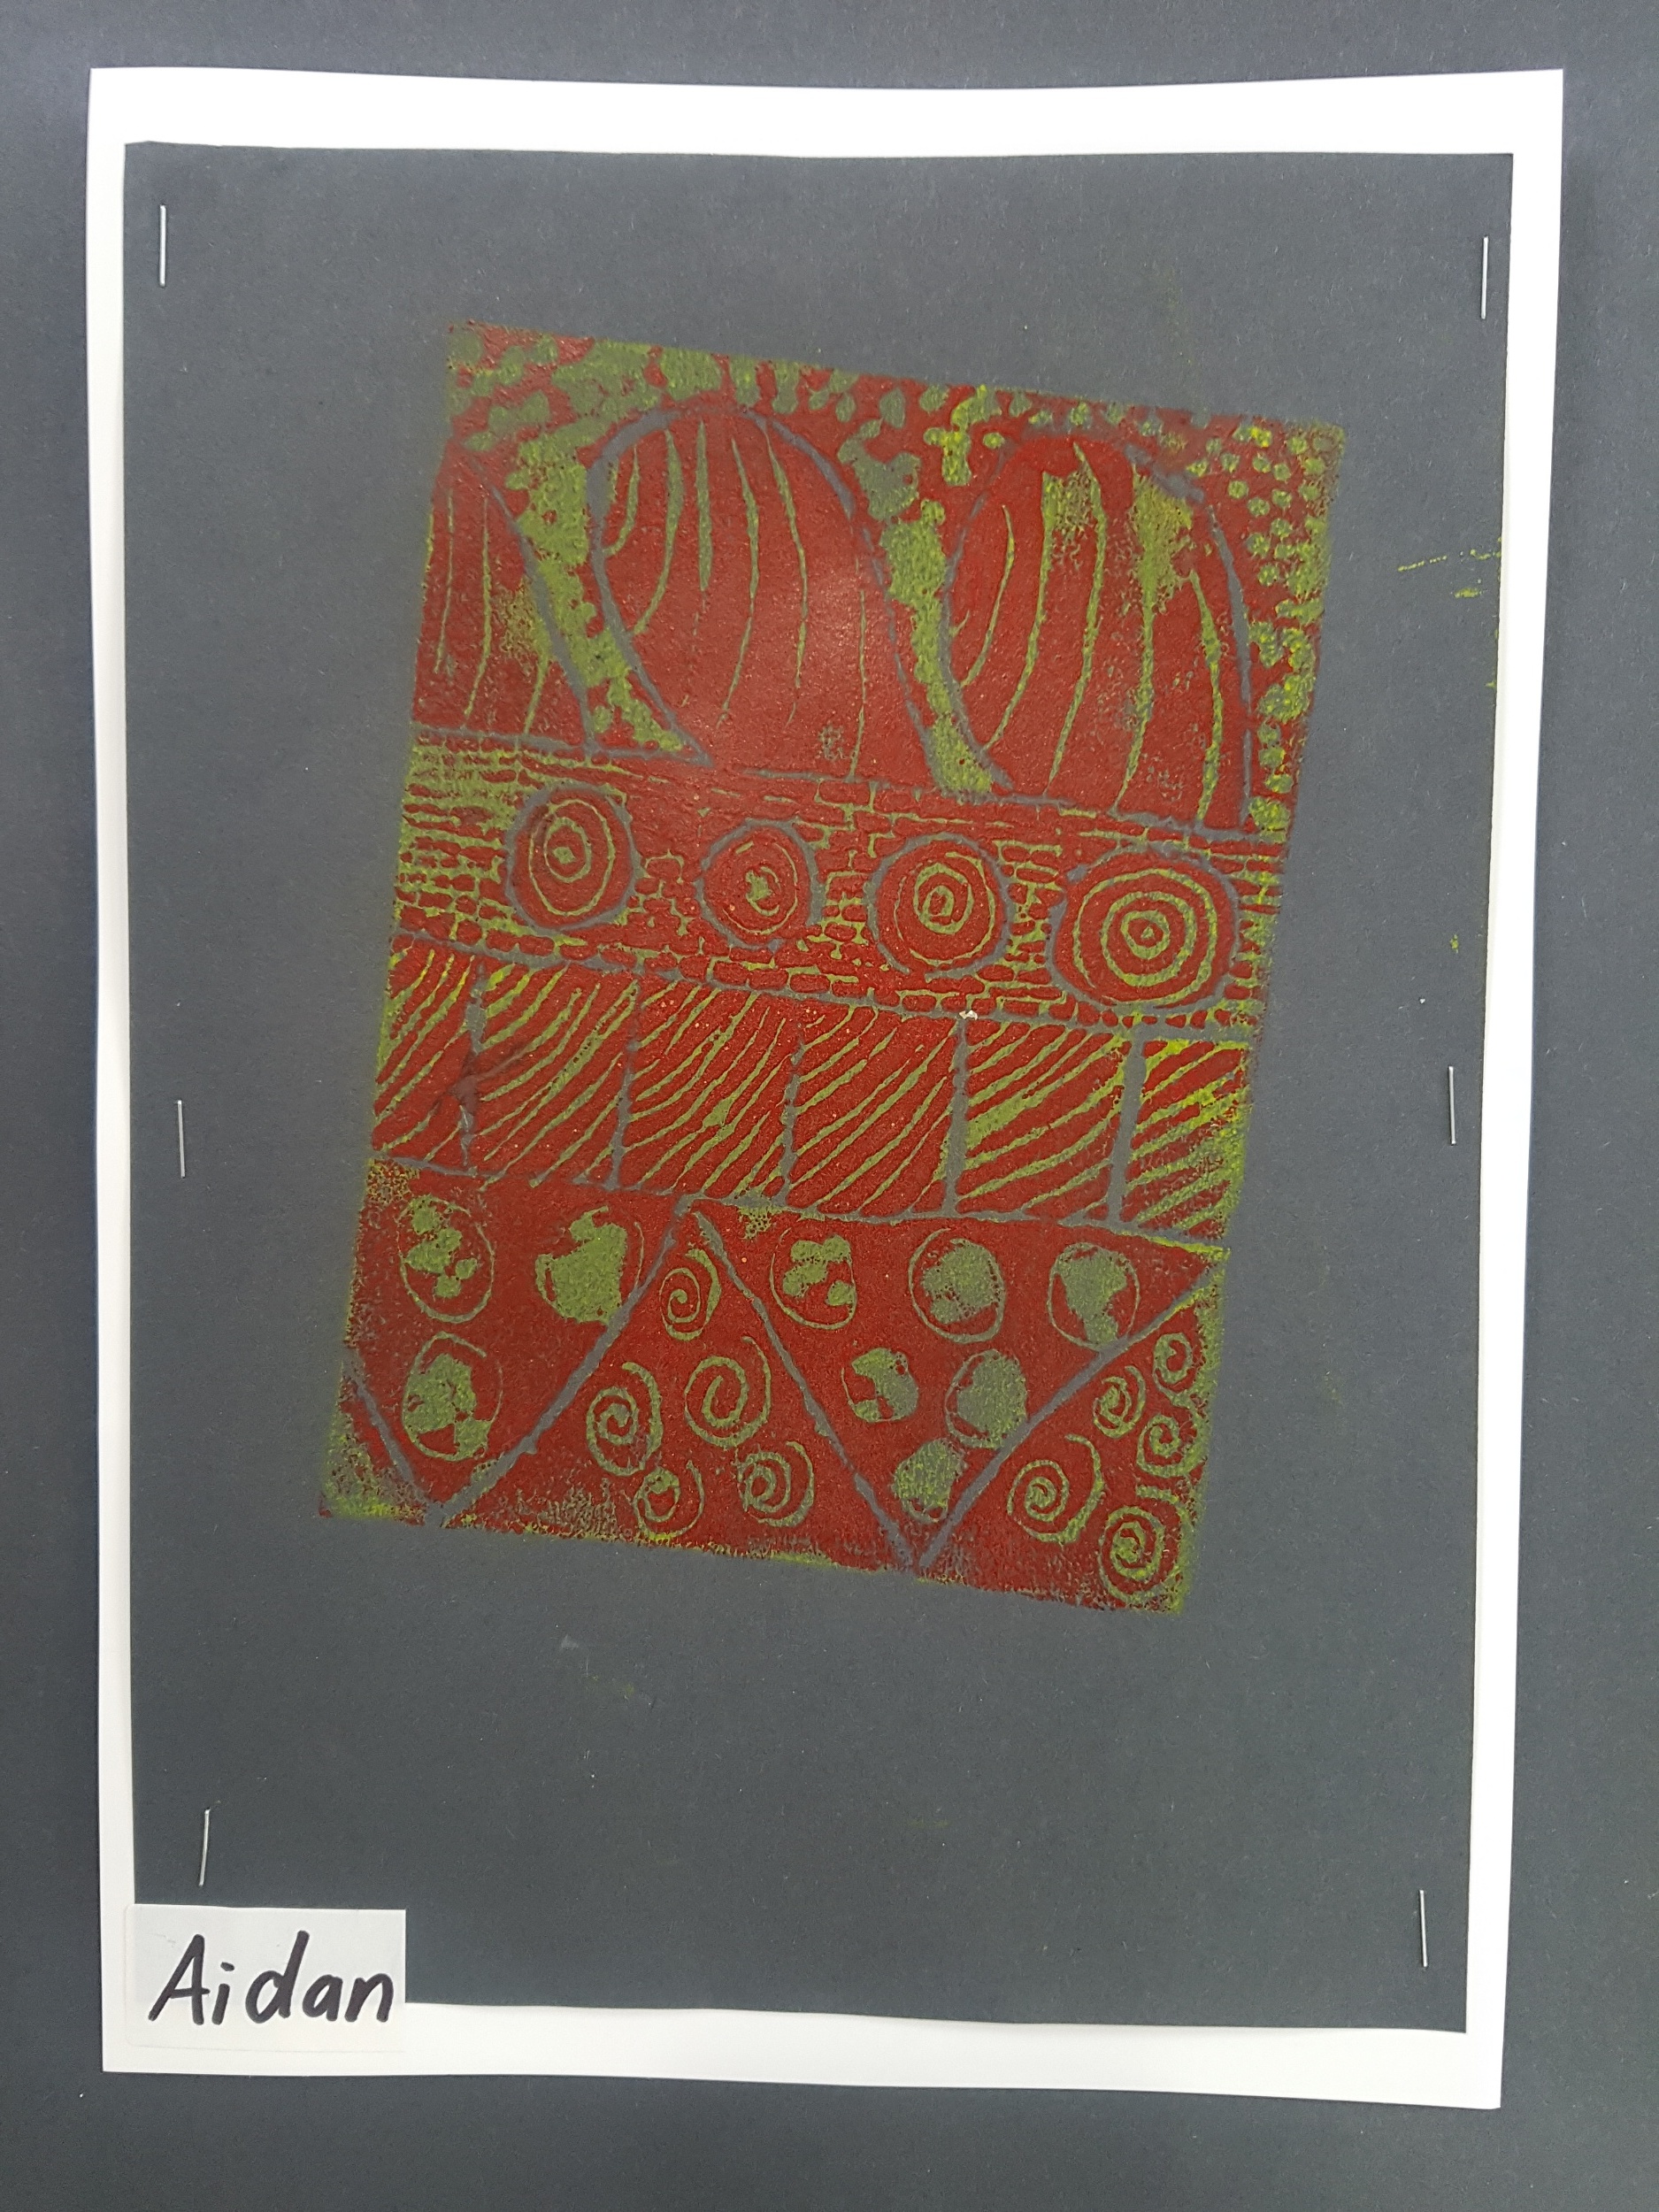
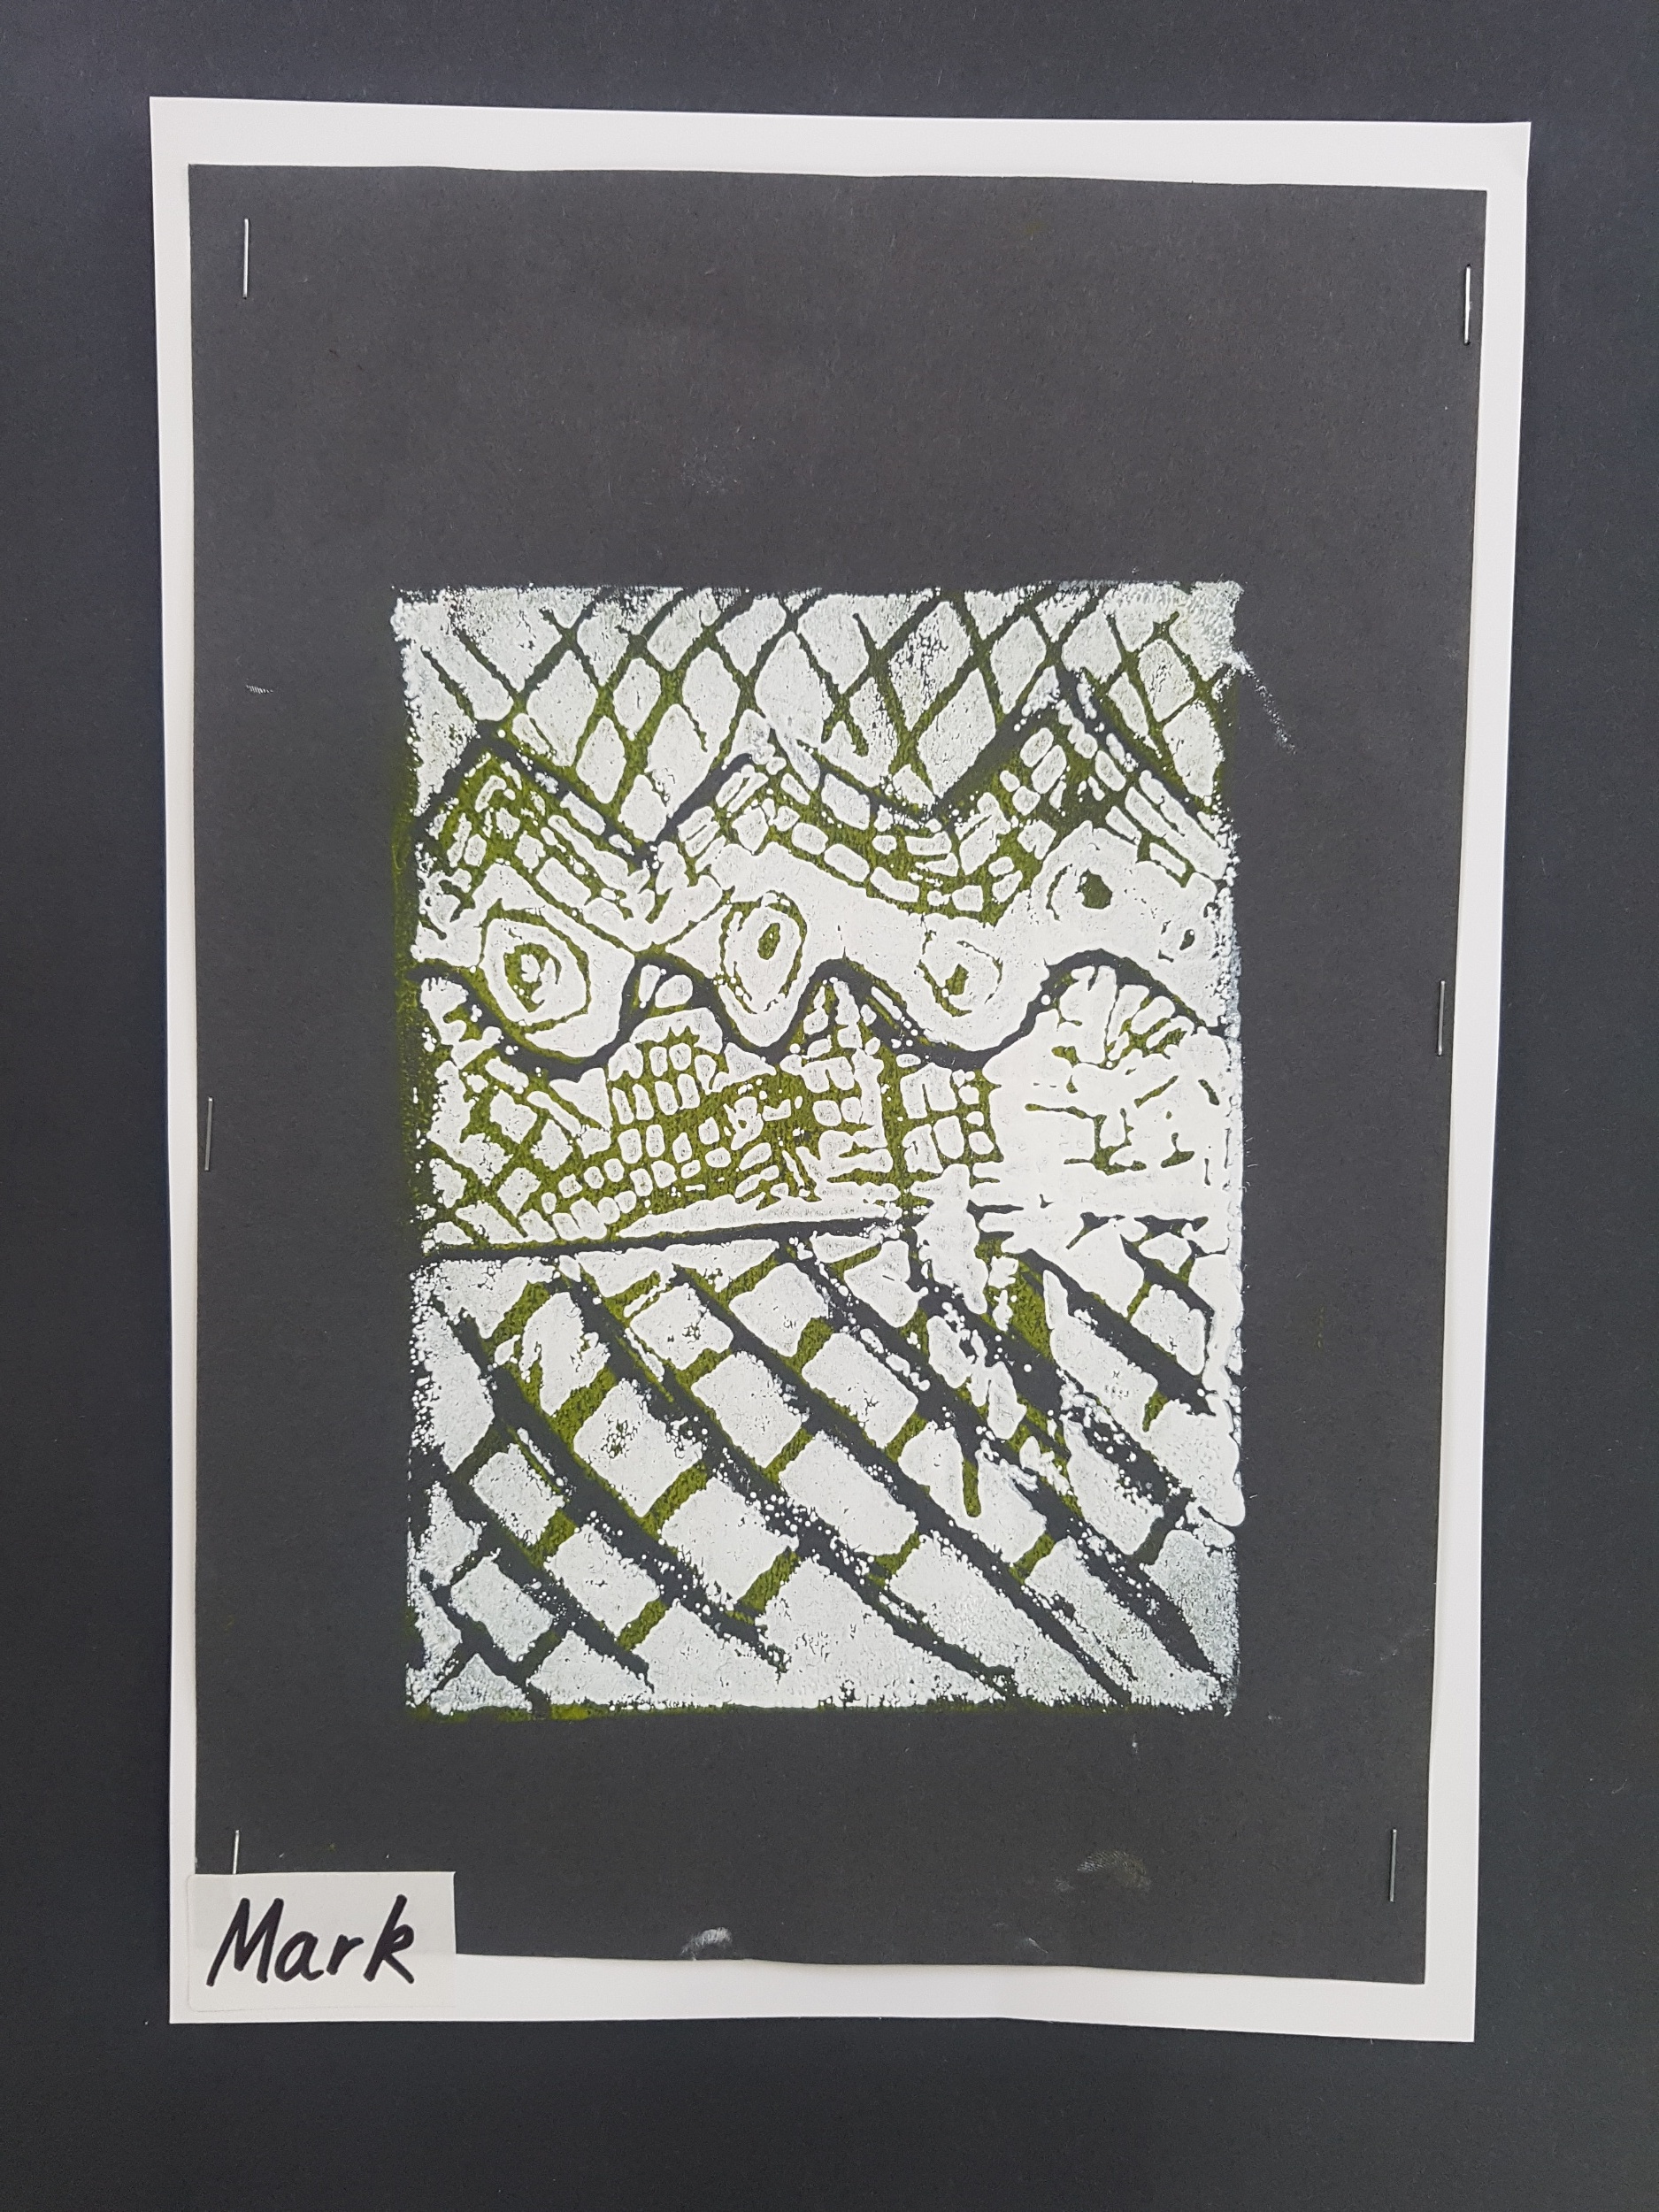
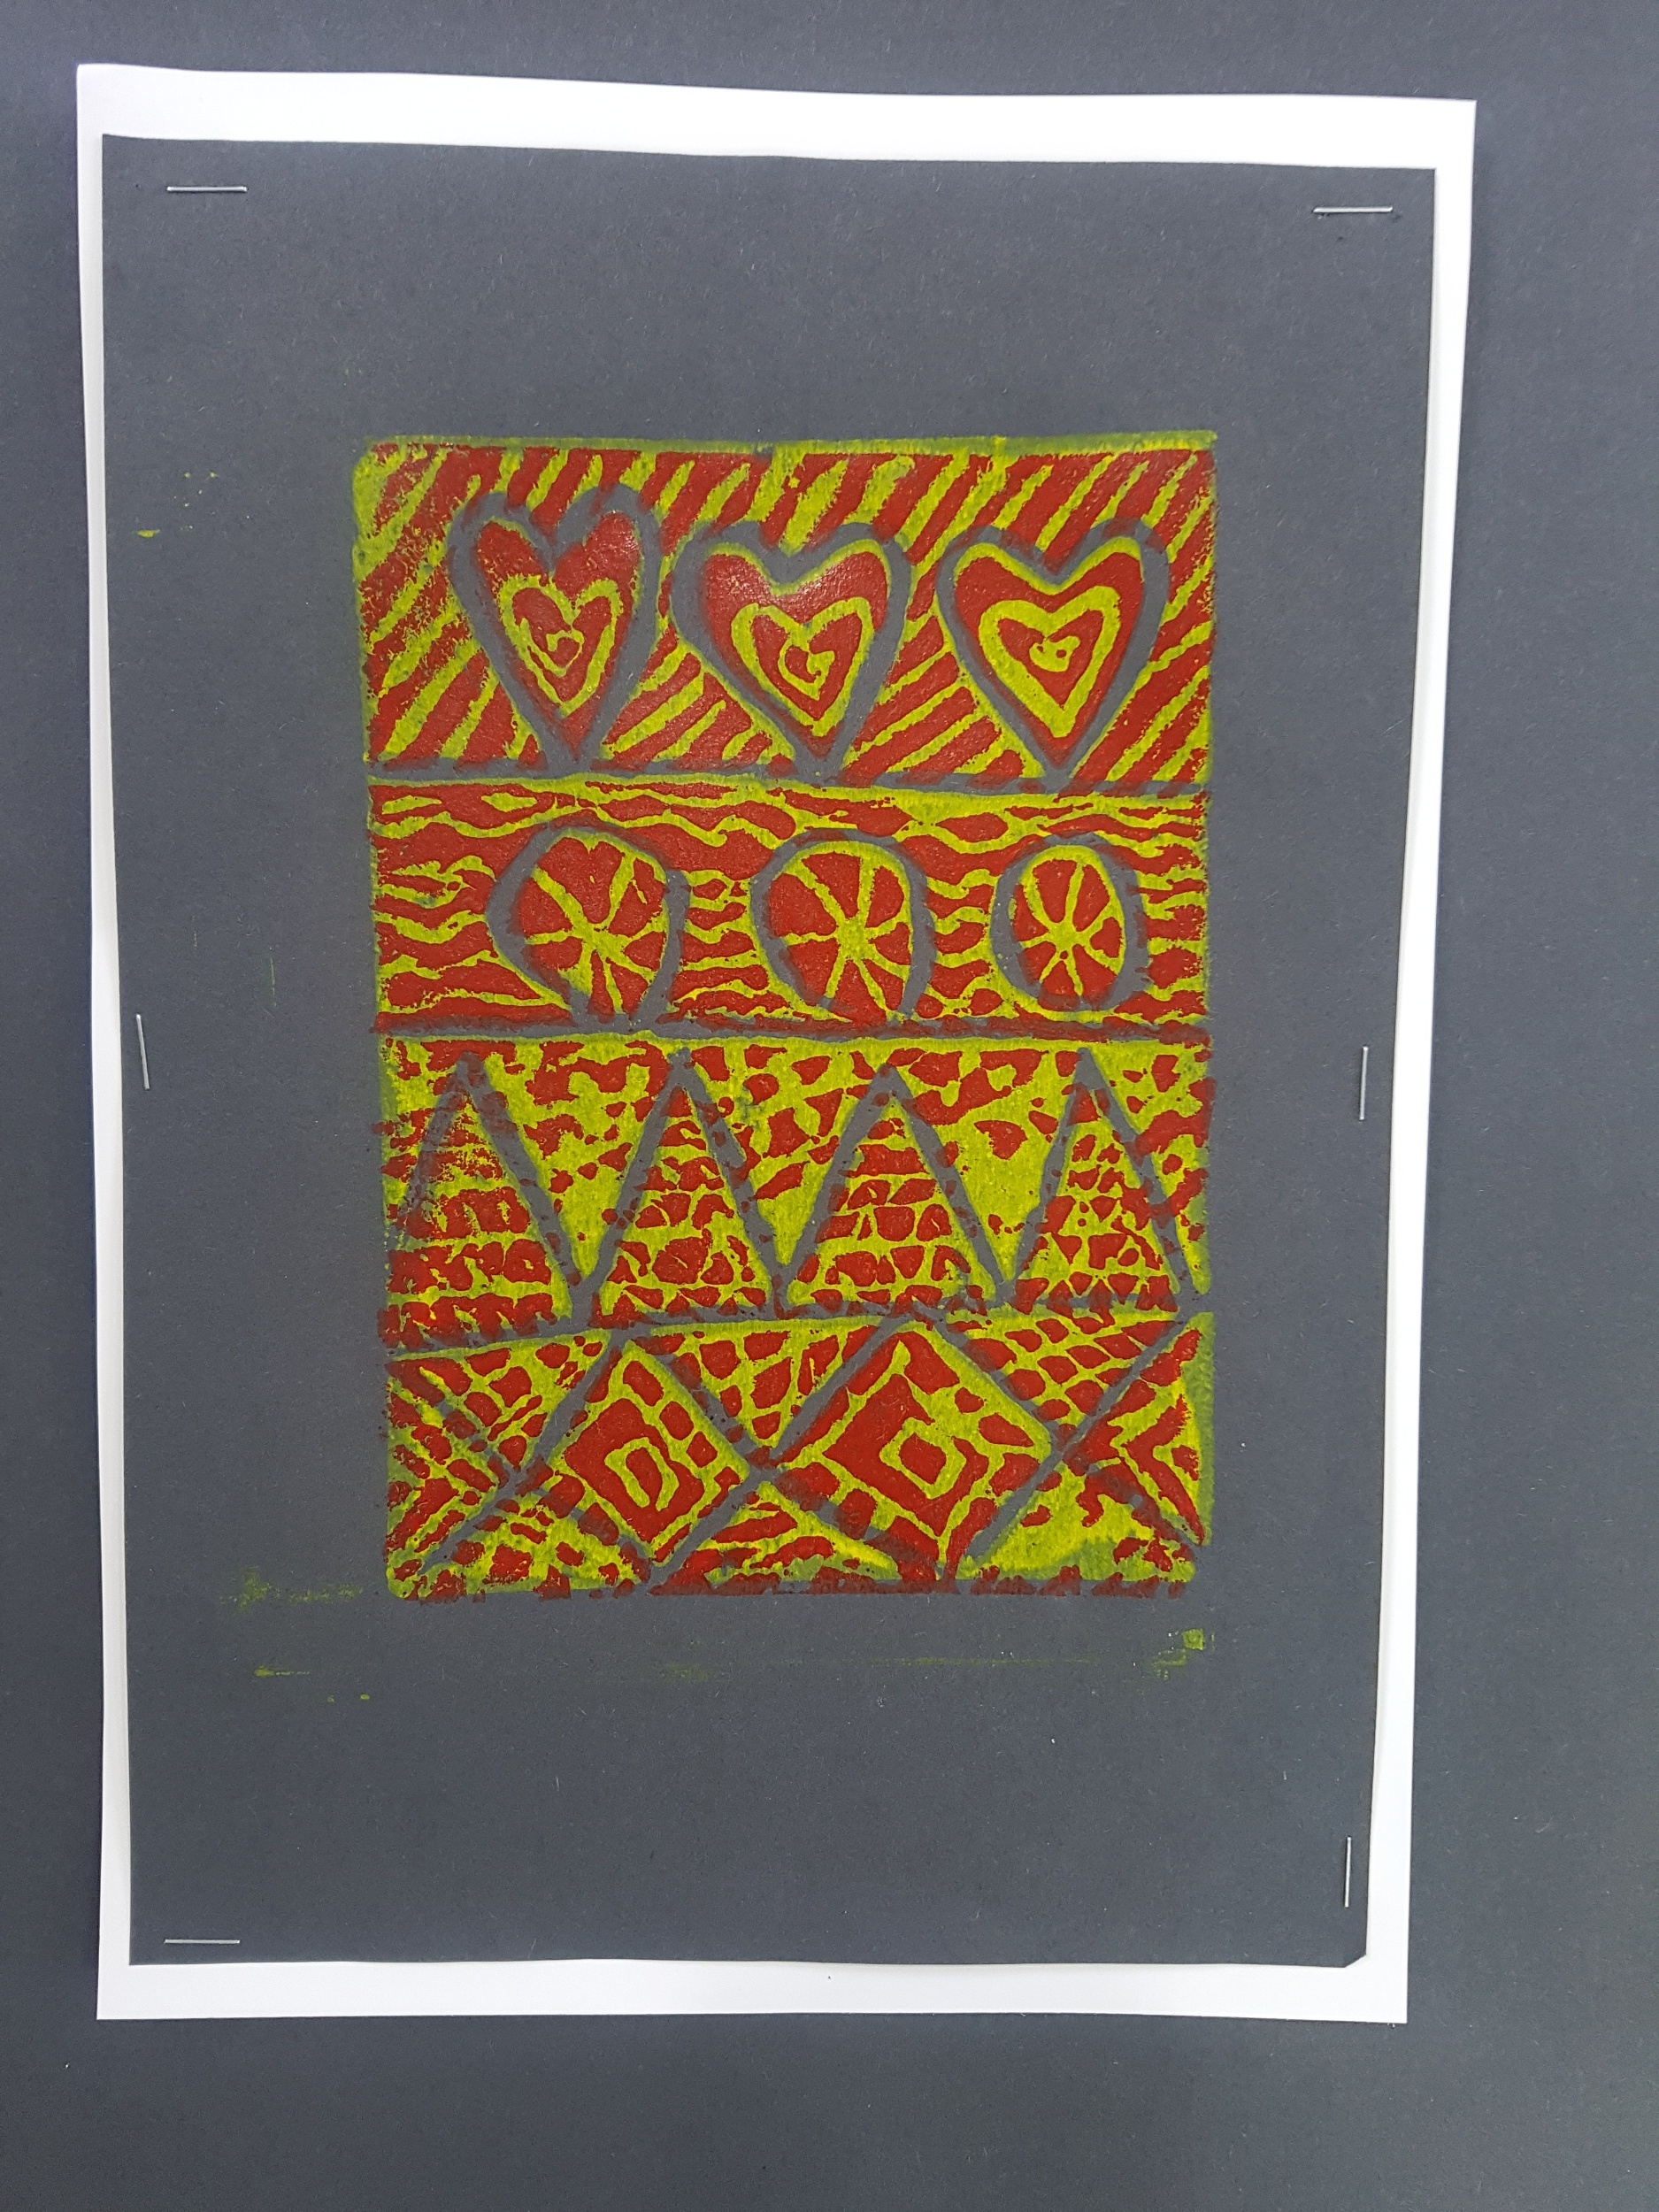
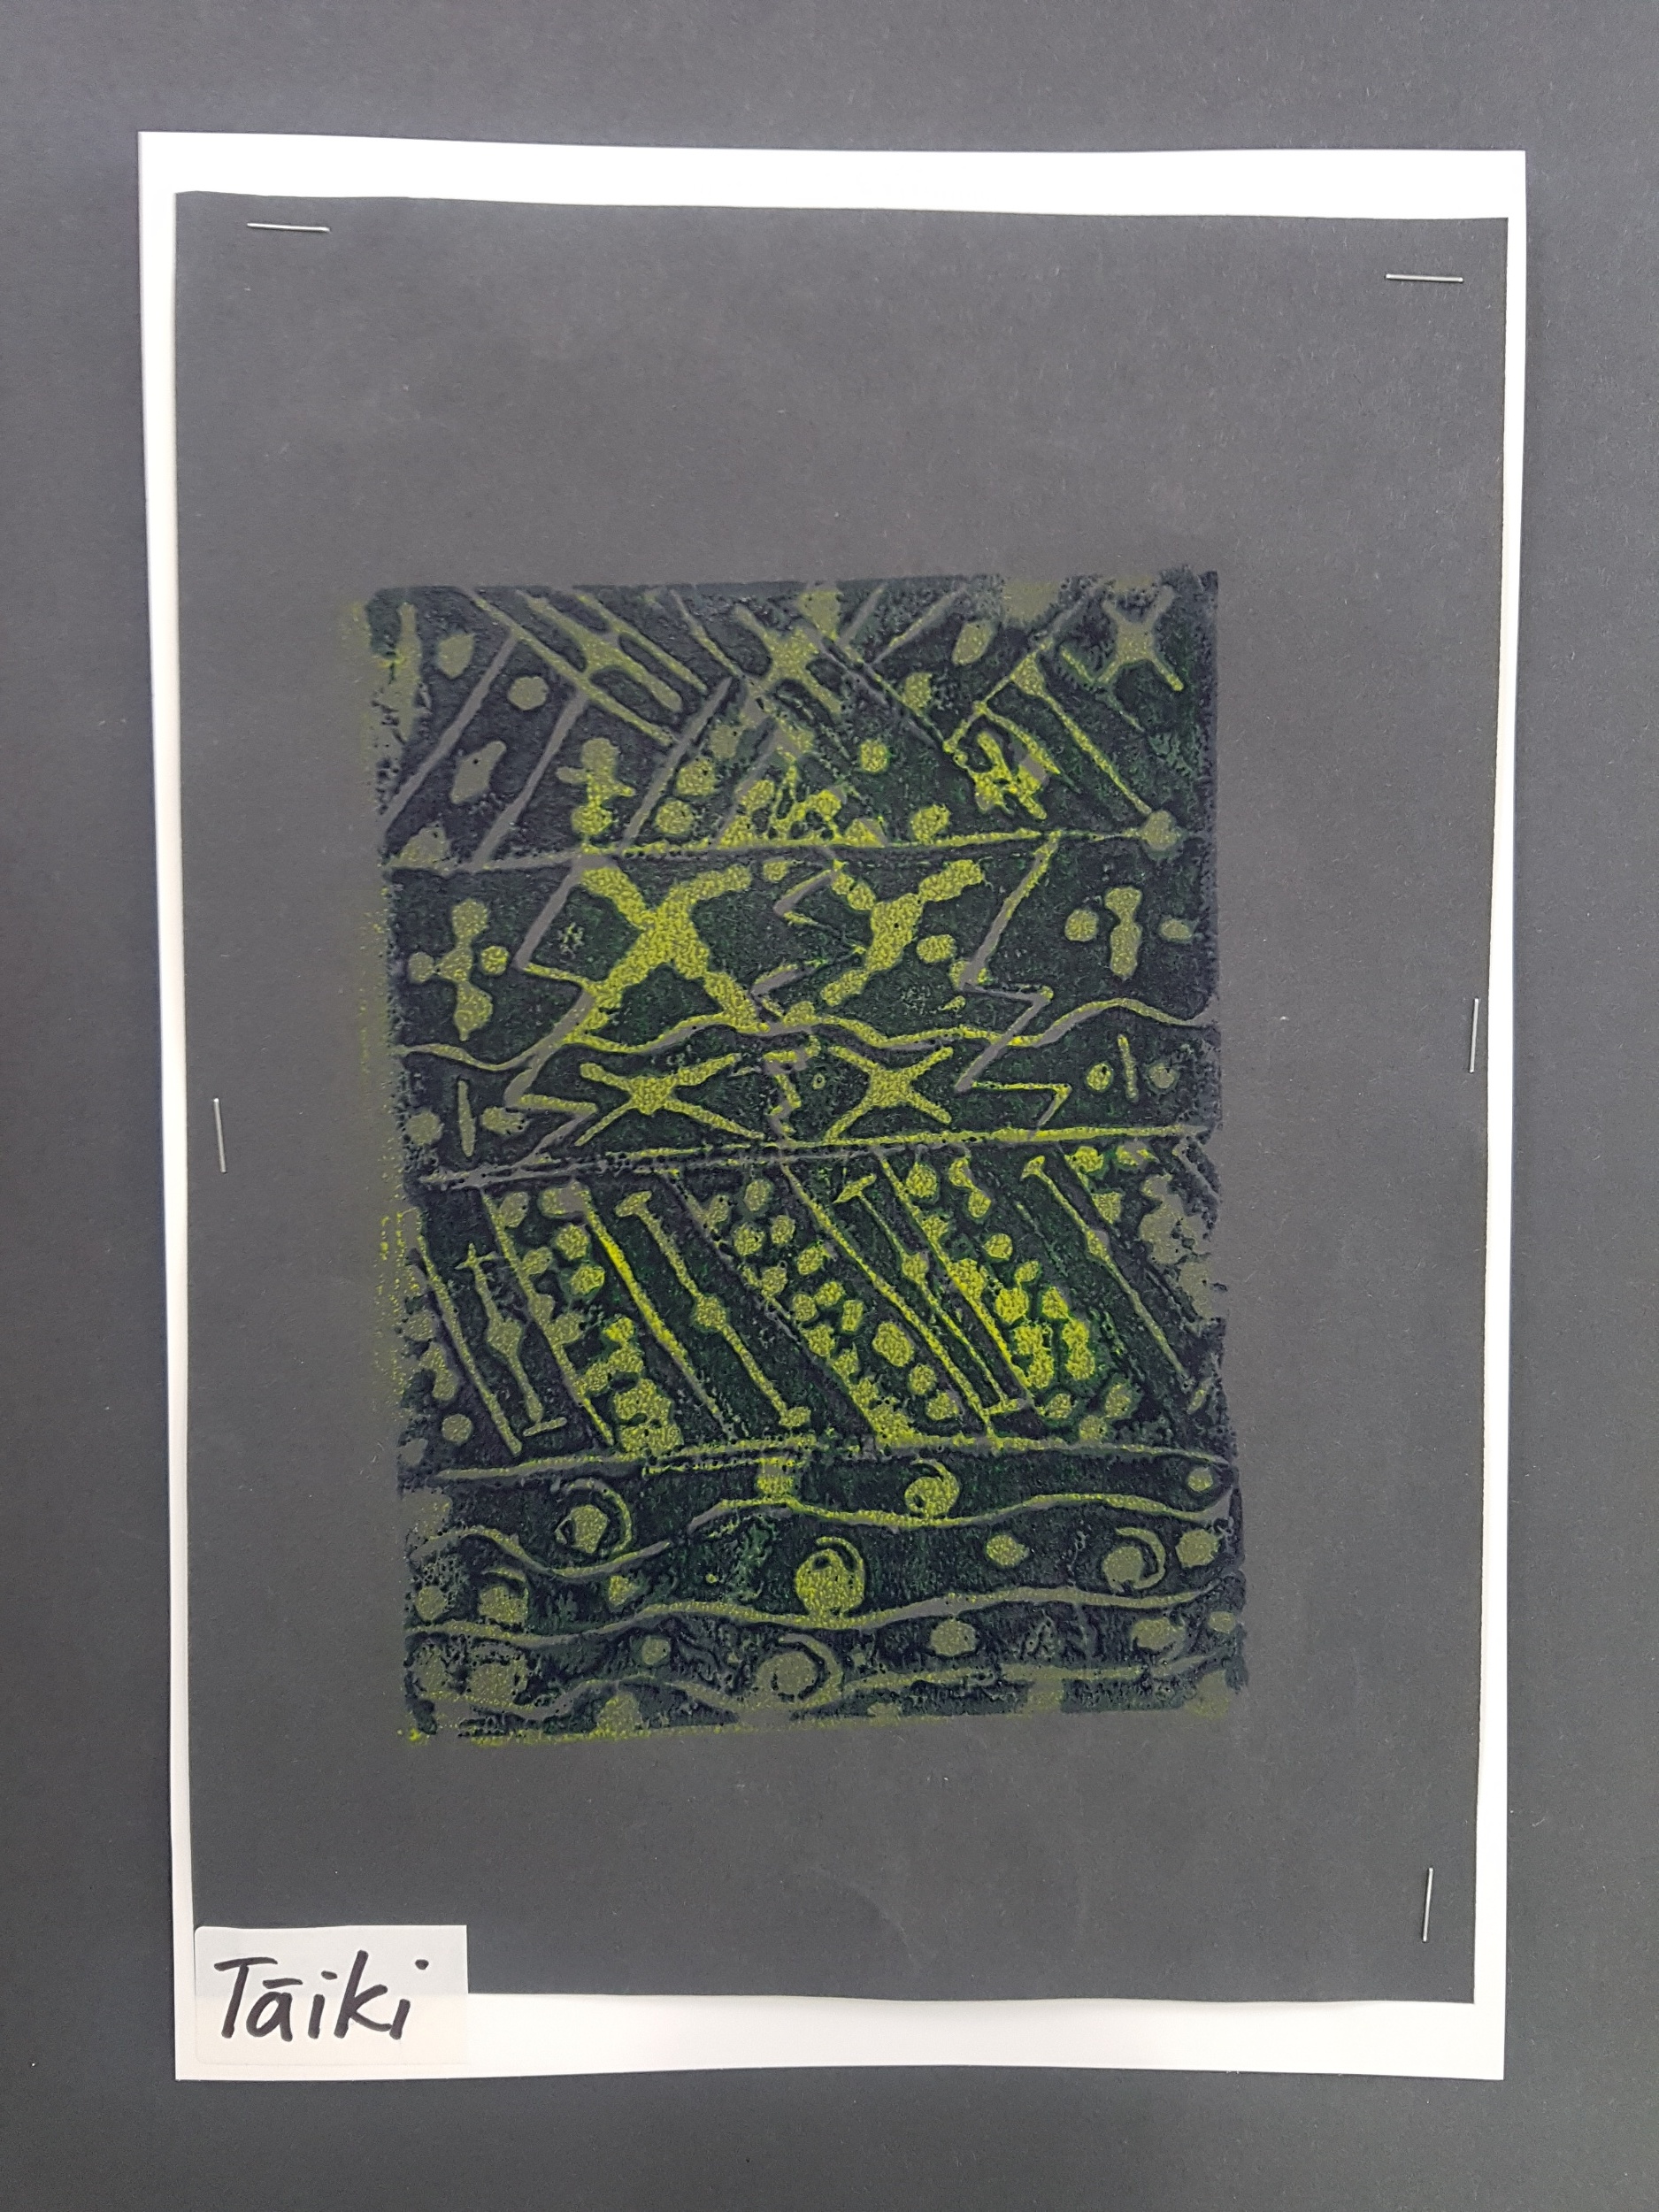
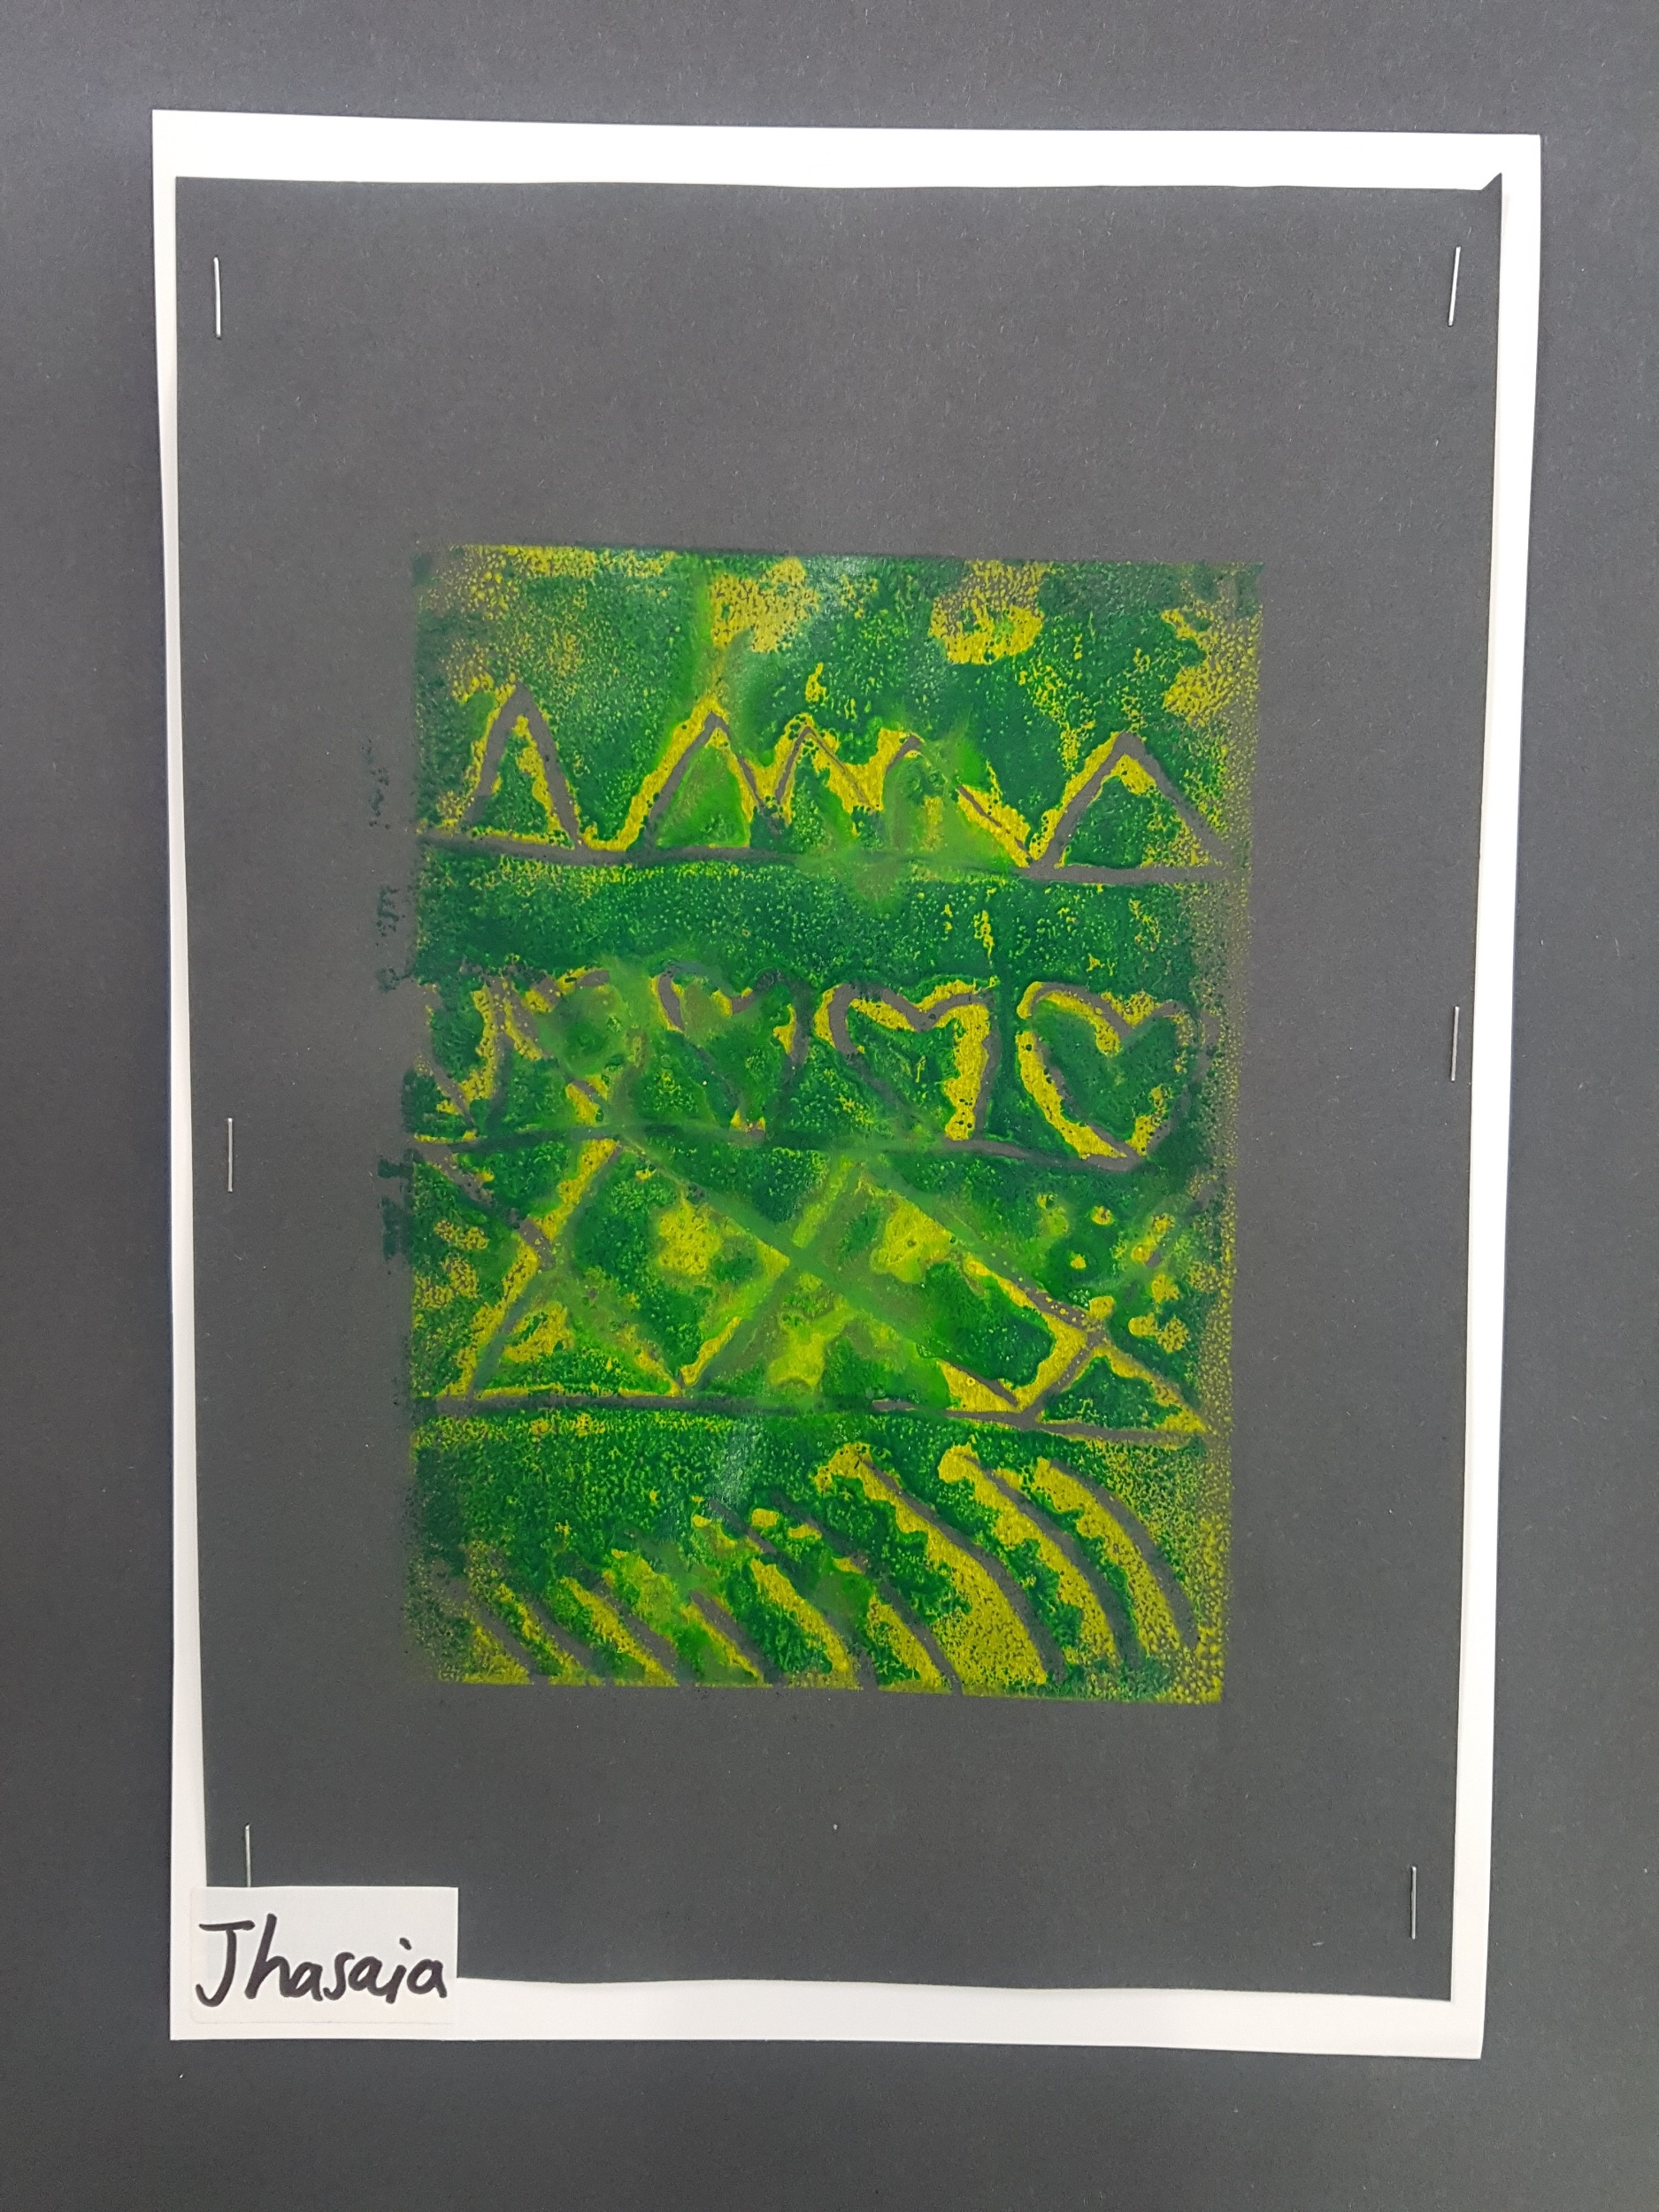
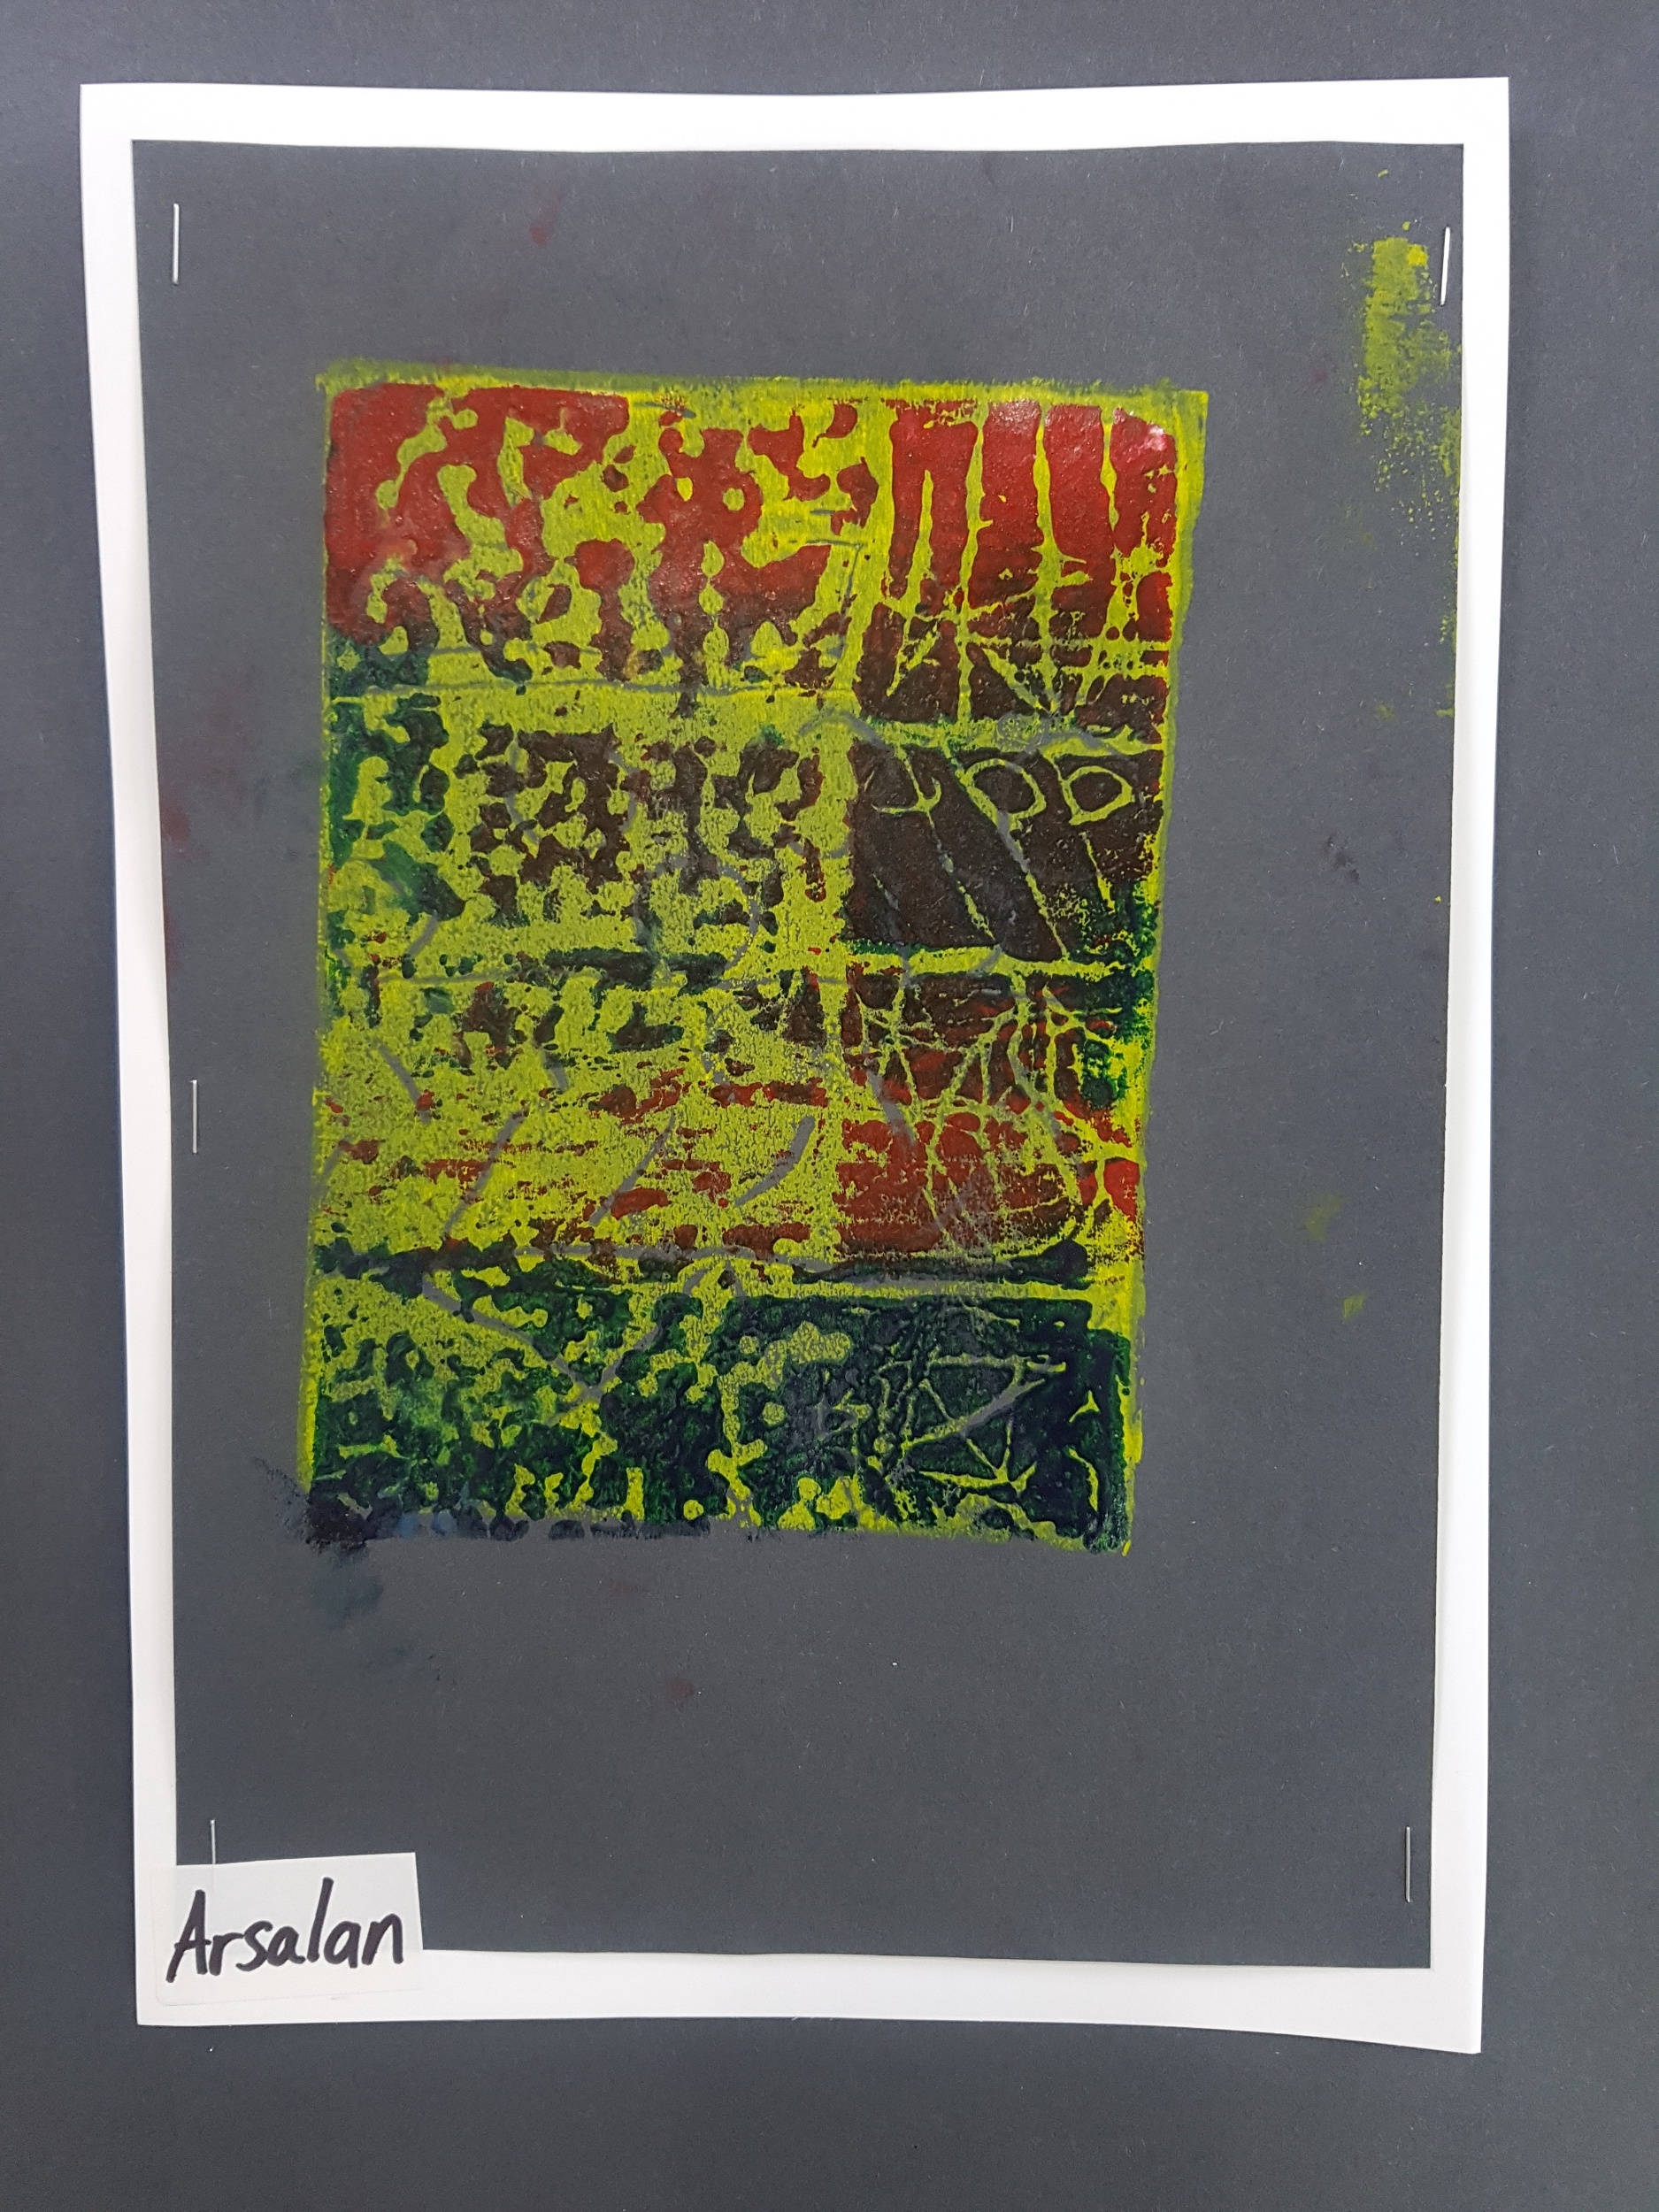
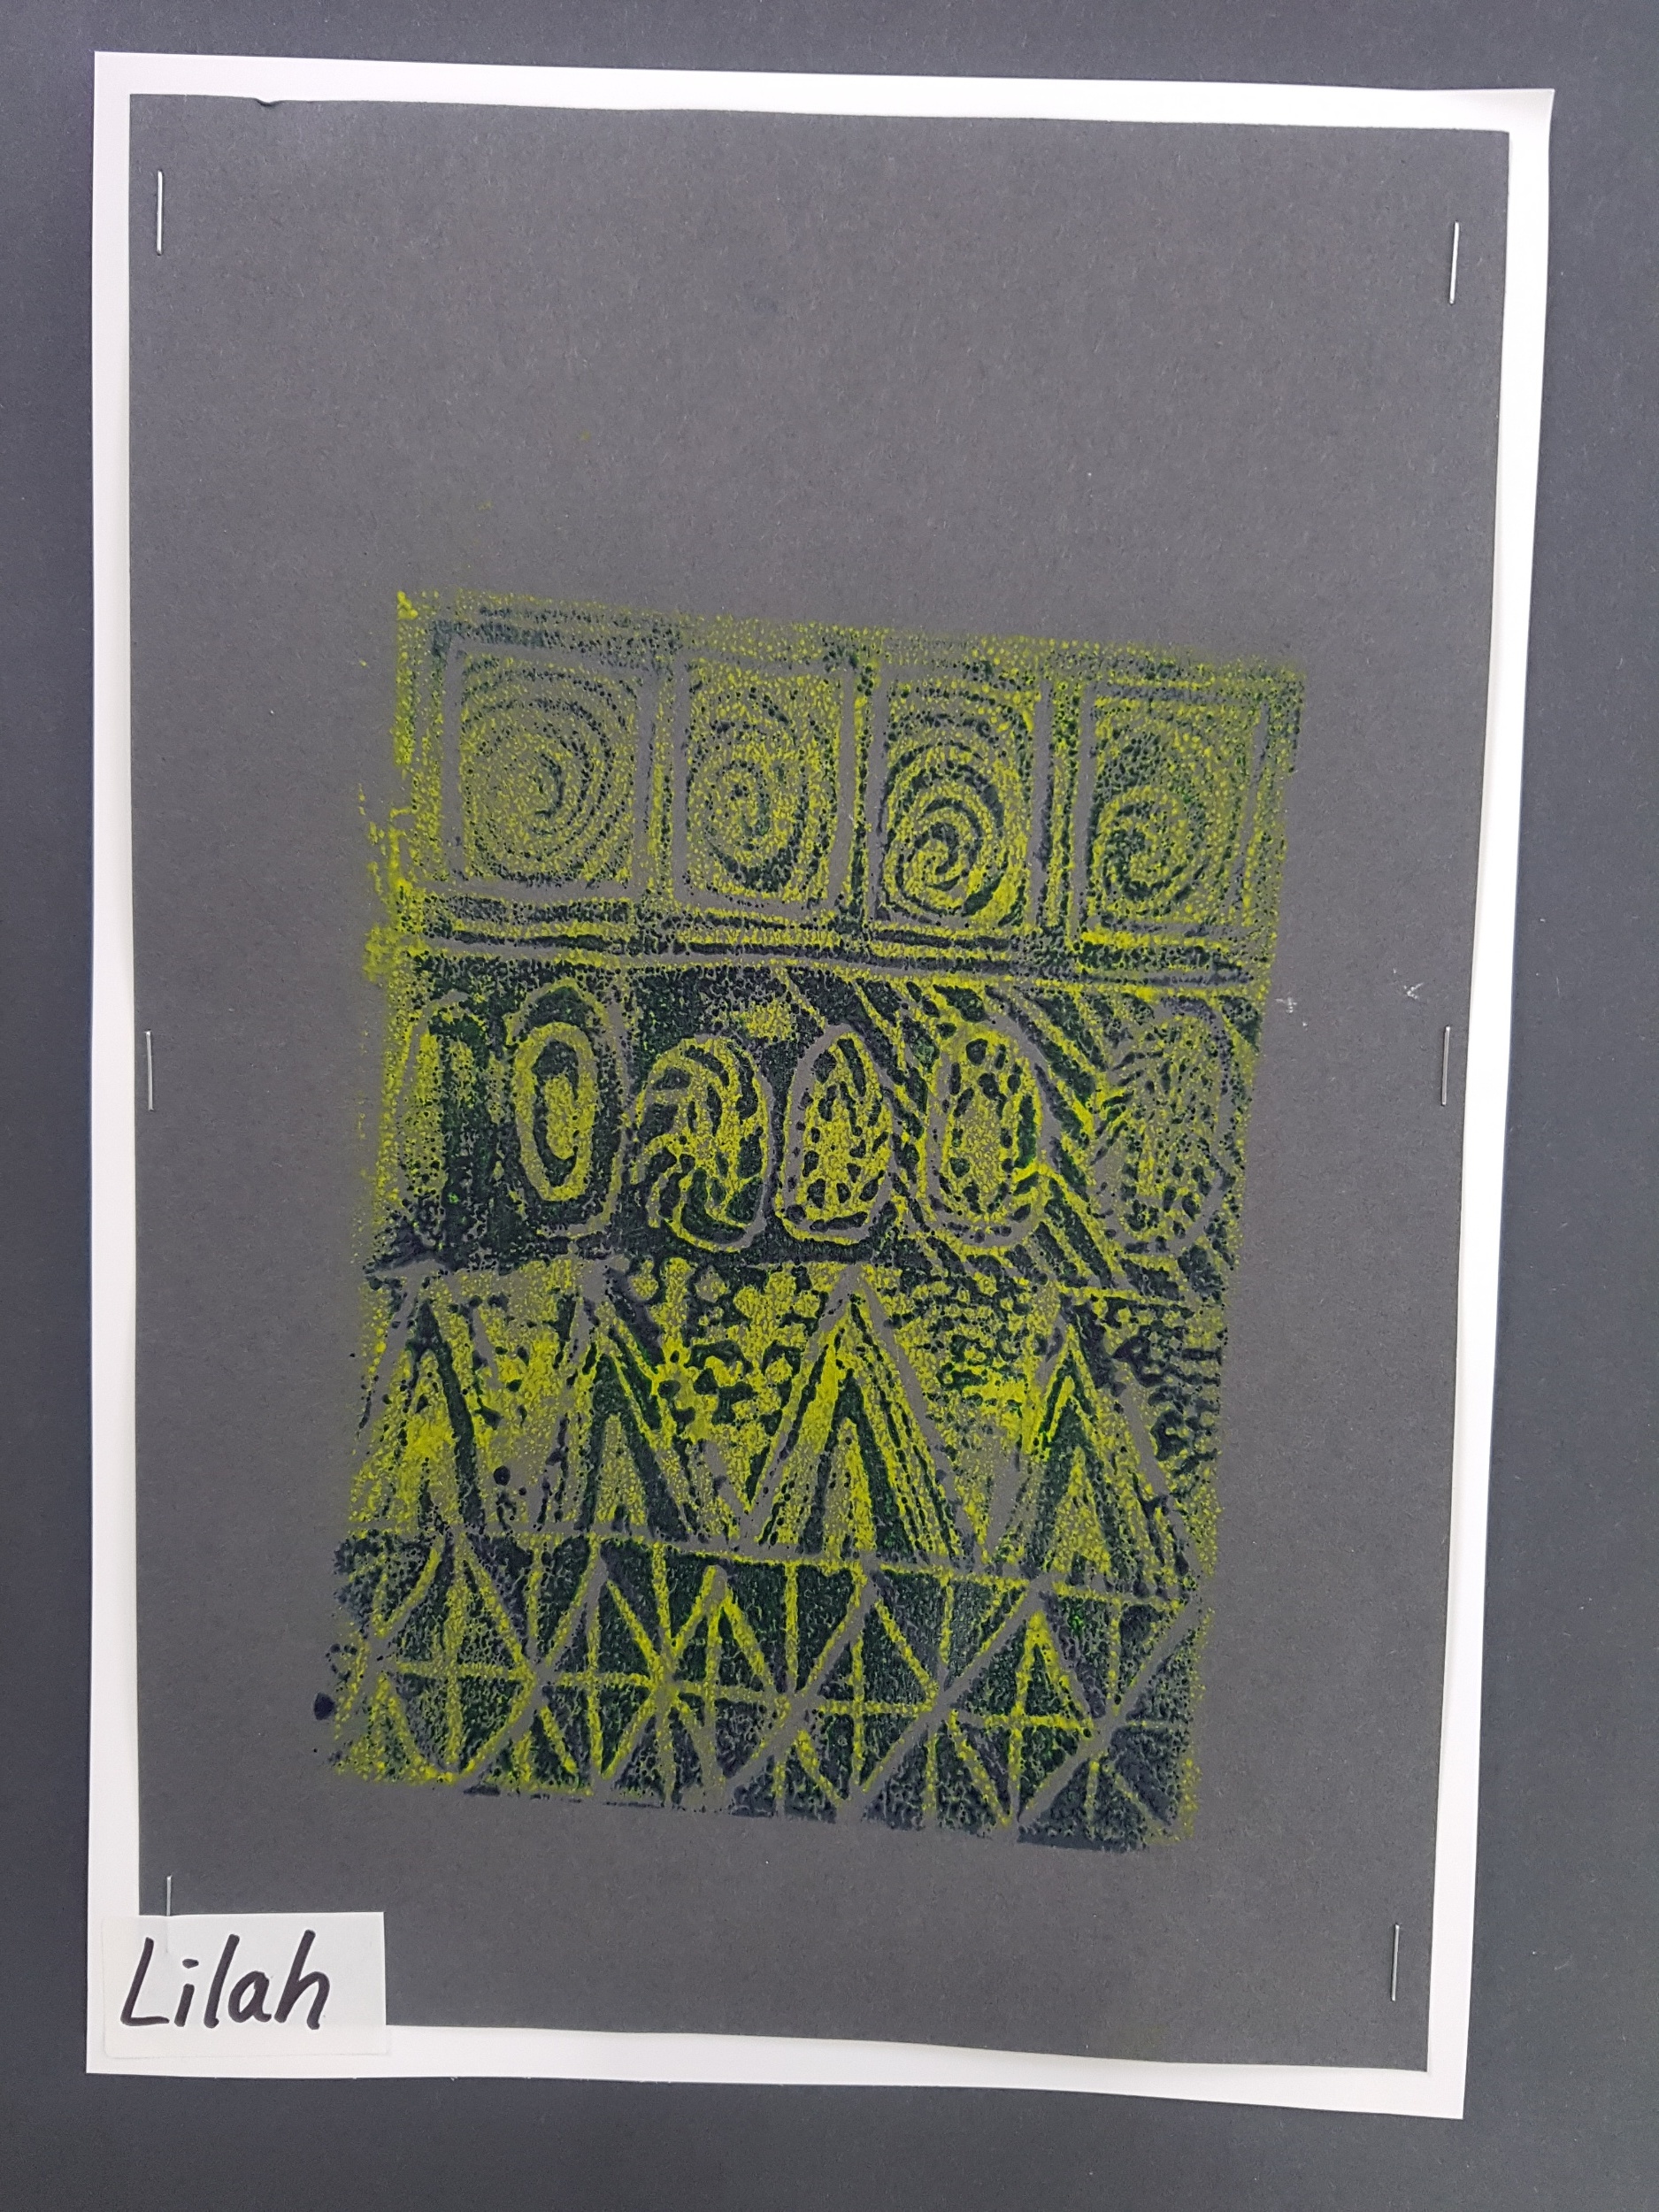
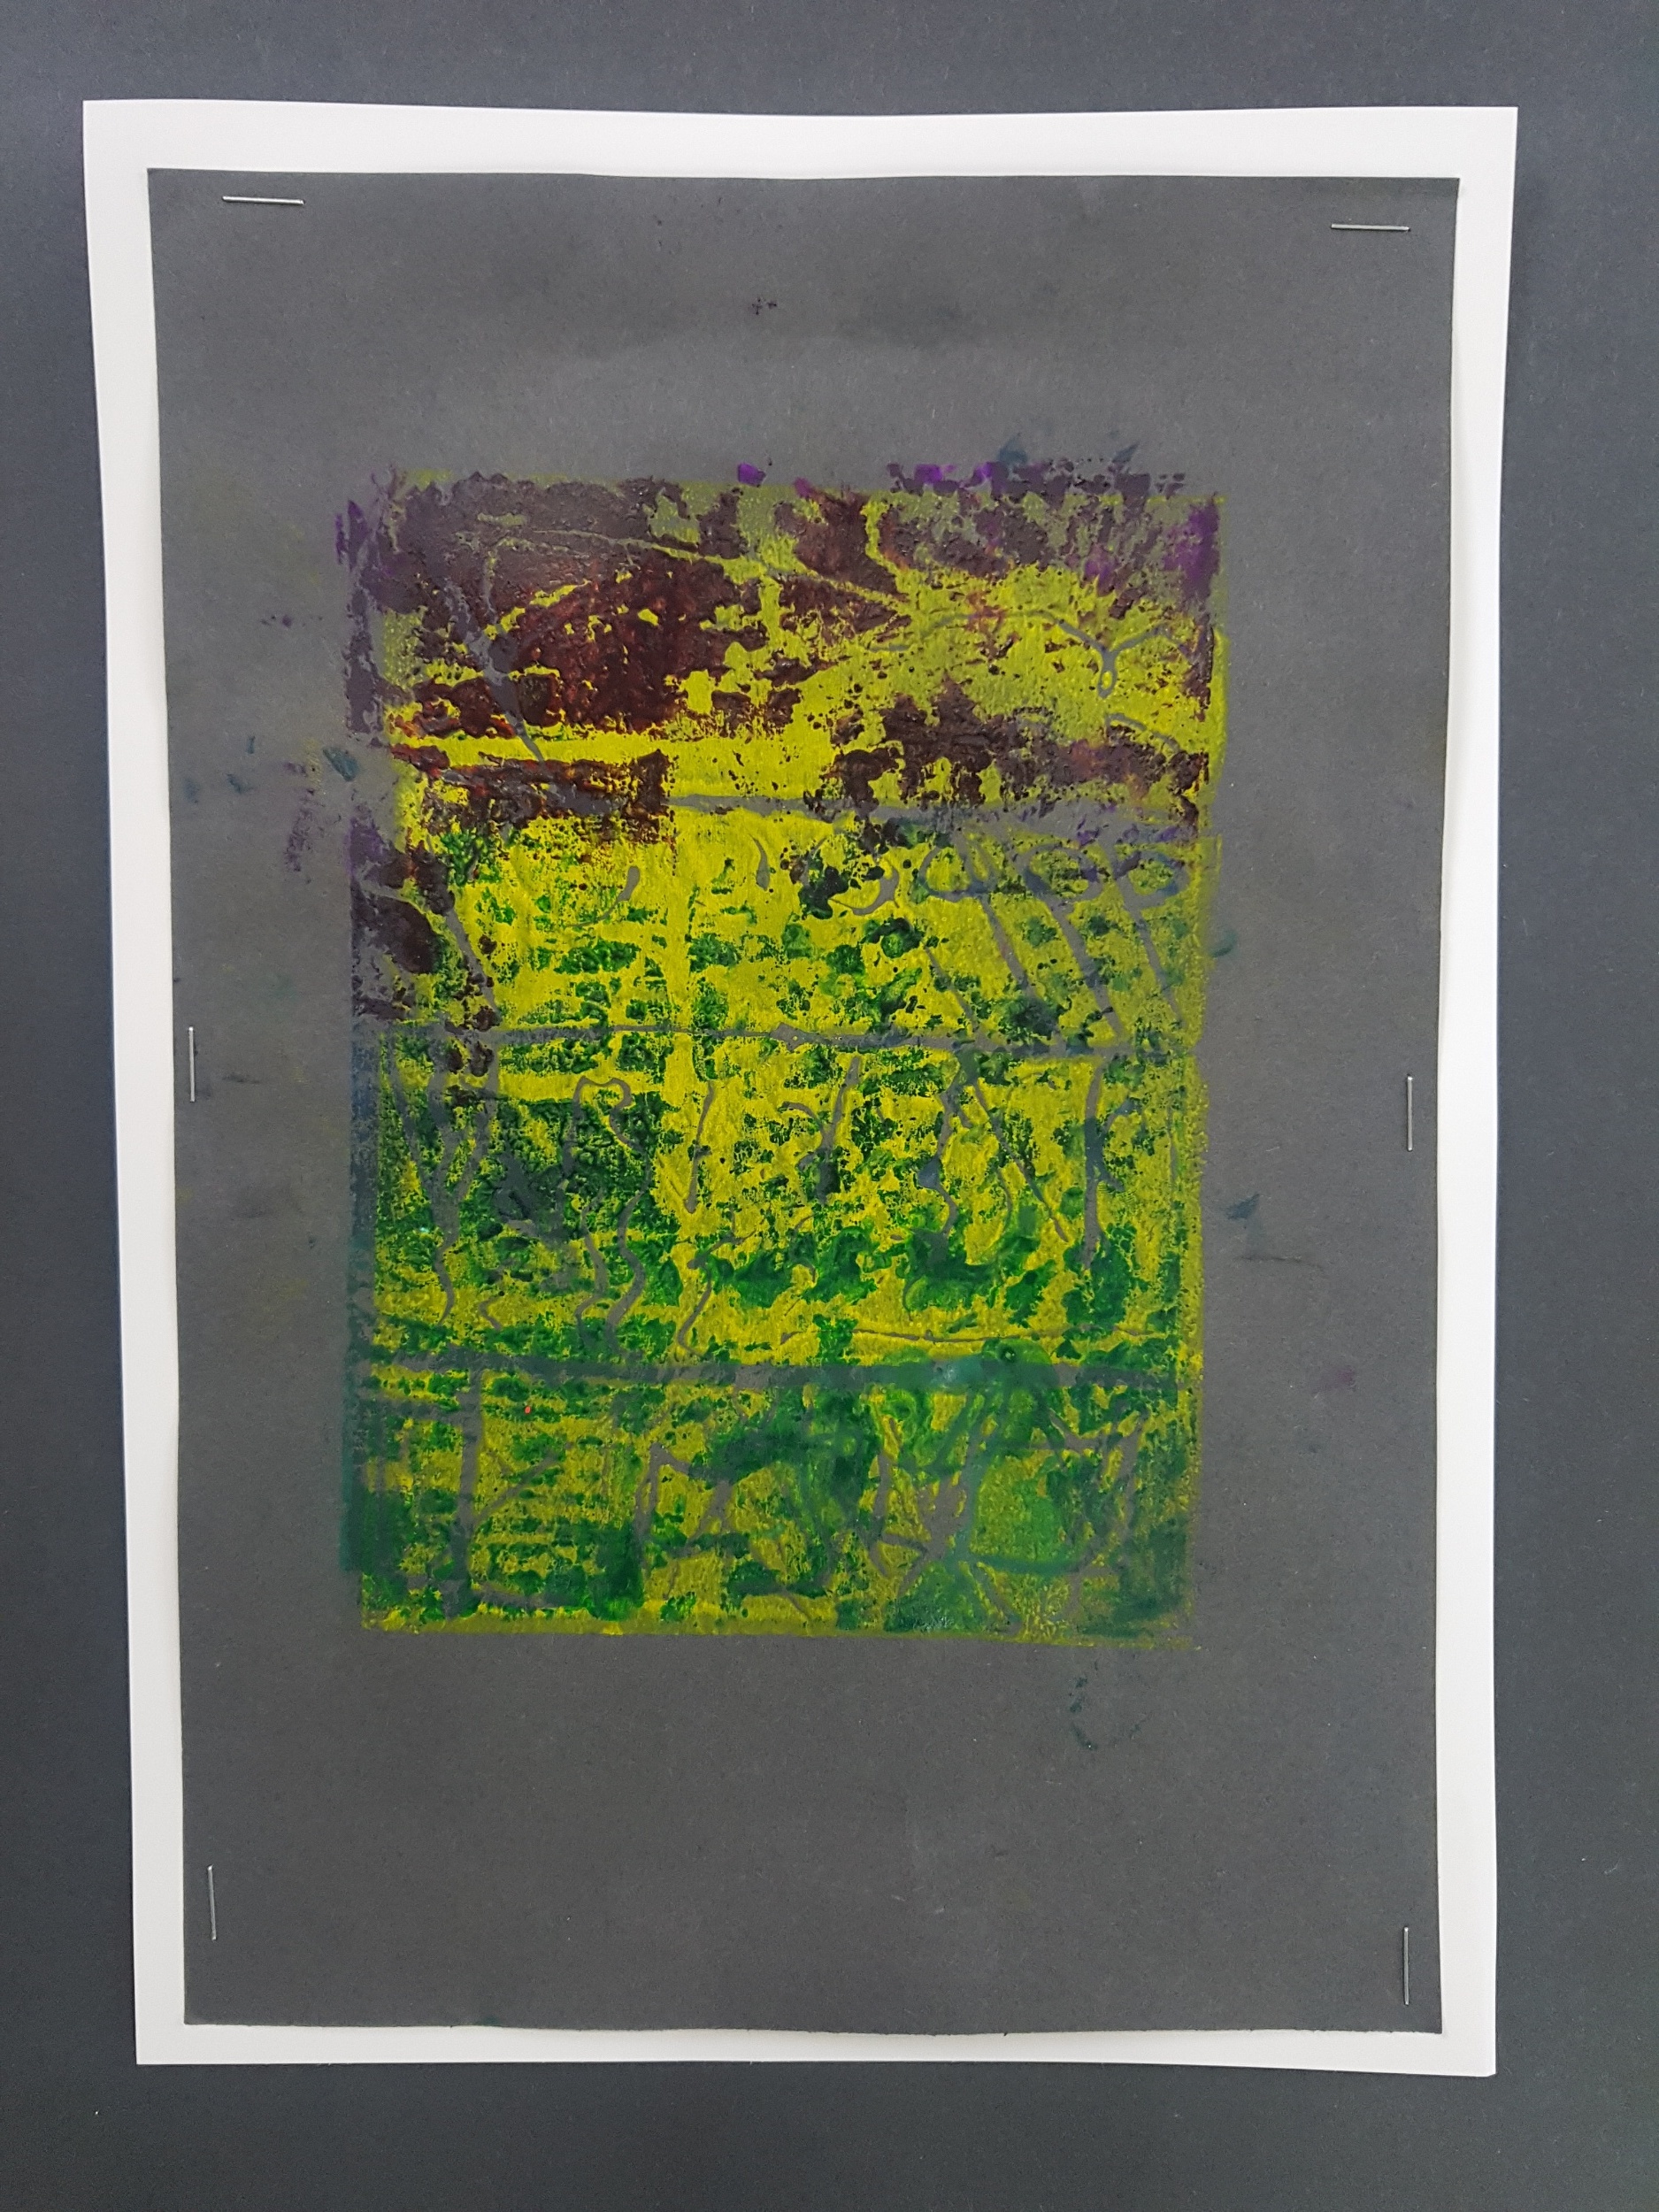
Two Colour Reduction Prints
Lizzie’s Year 3/4/5 class came to the art room today to learn about printmaking techniques. We had a fantastic day of discovery and growth. For me, this was the first time that I had attempted to make two colour reduction prints with students in just one day. I would usually get the students to print one colour on the first day, leave it to dry overnight and then print the second colour the next day. We did the whole process in one day today.
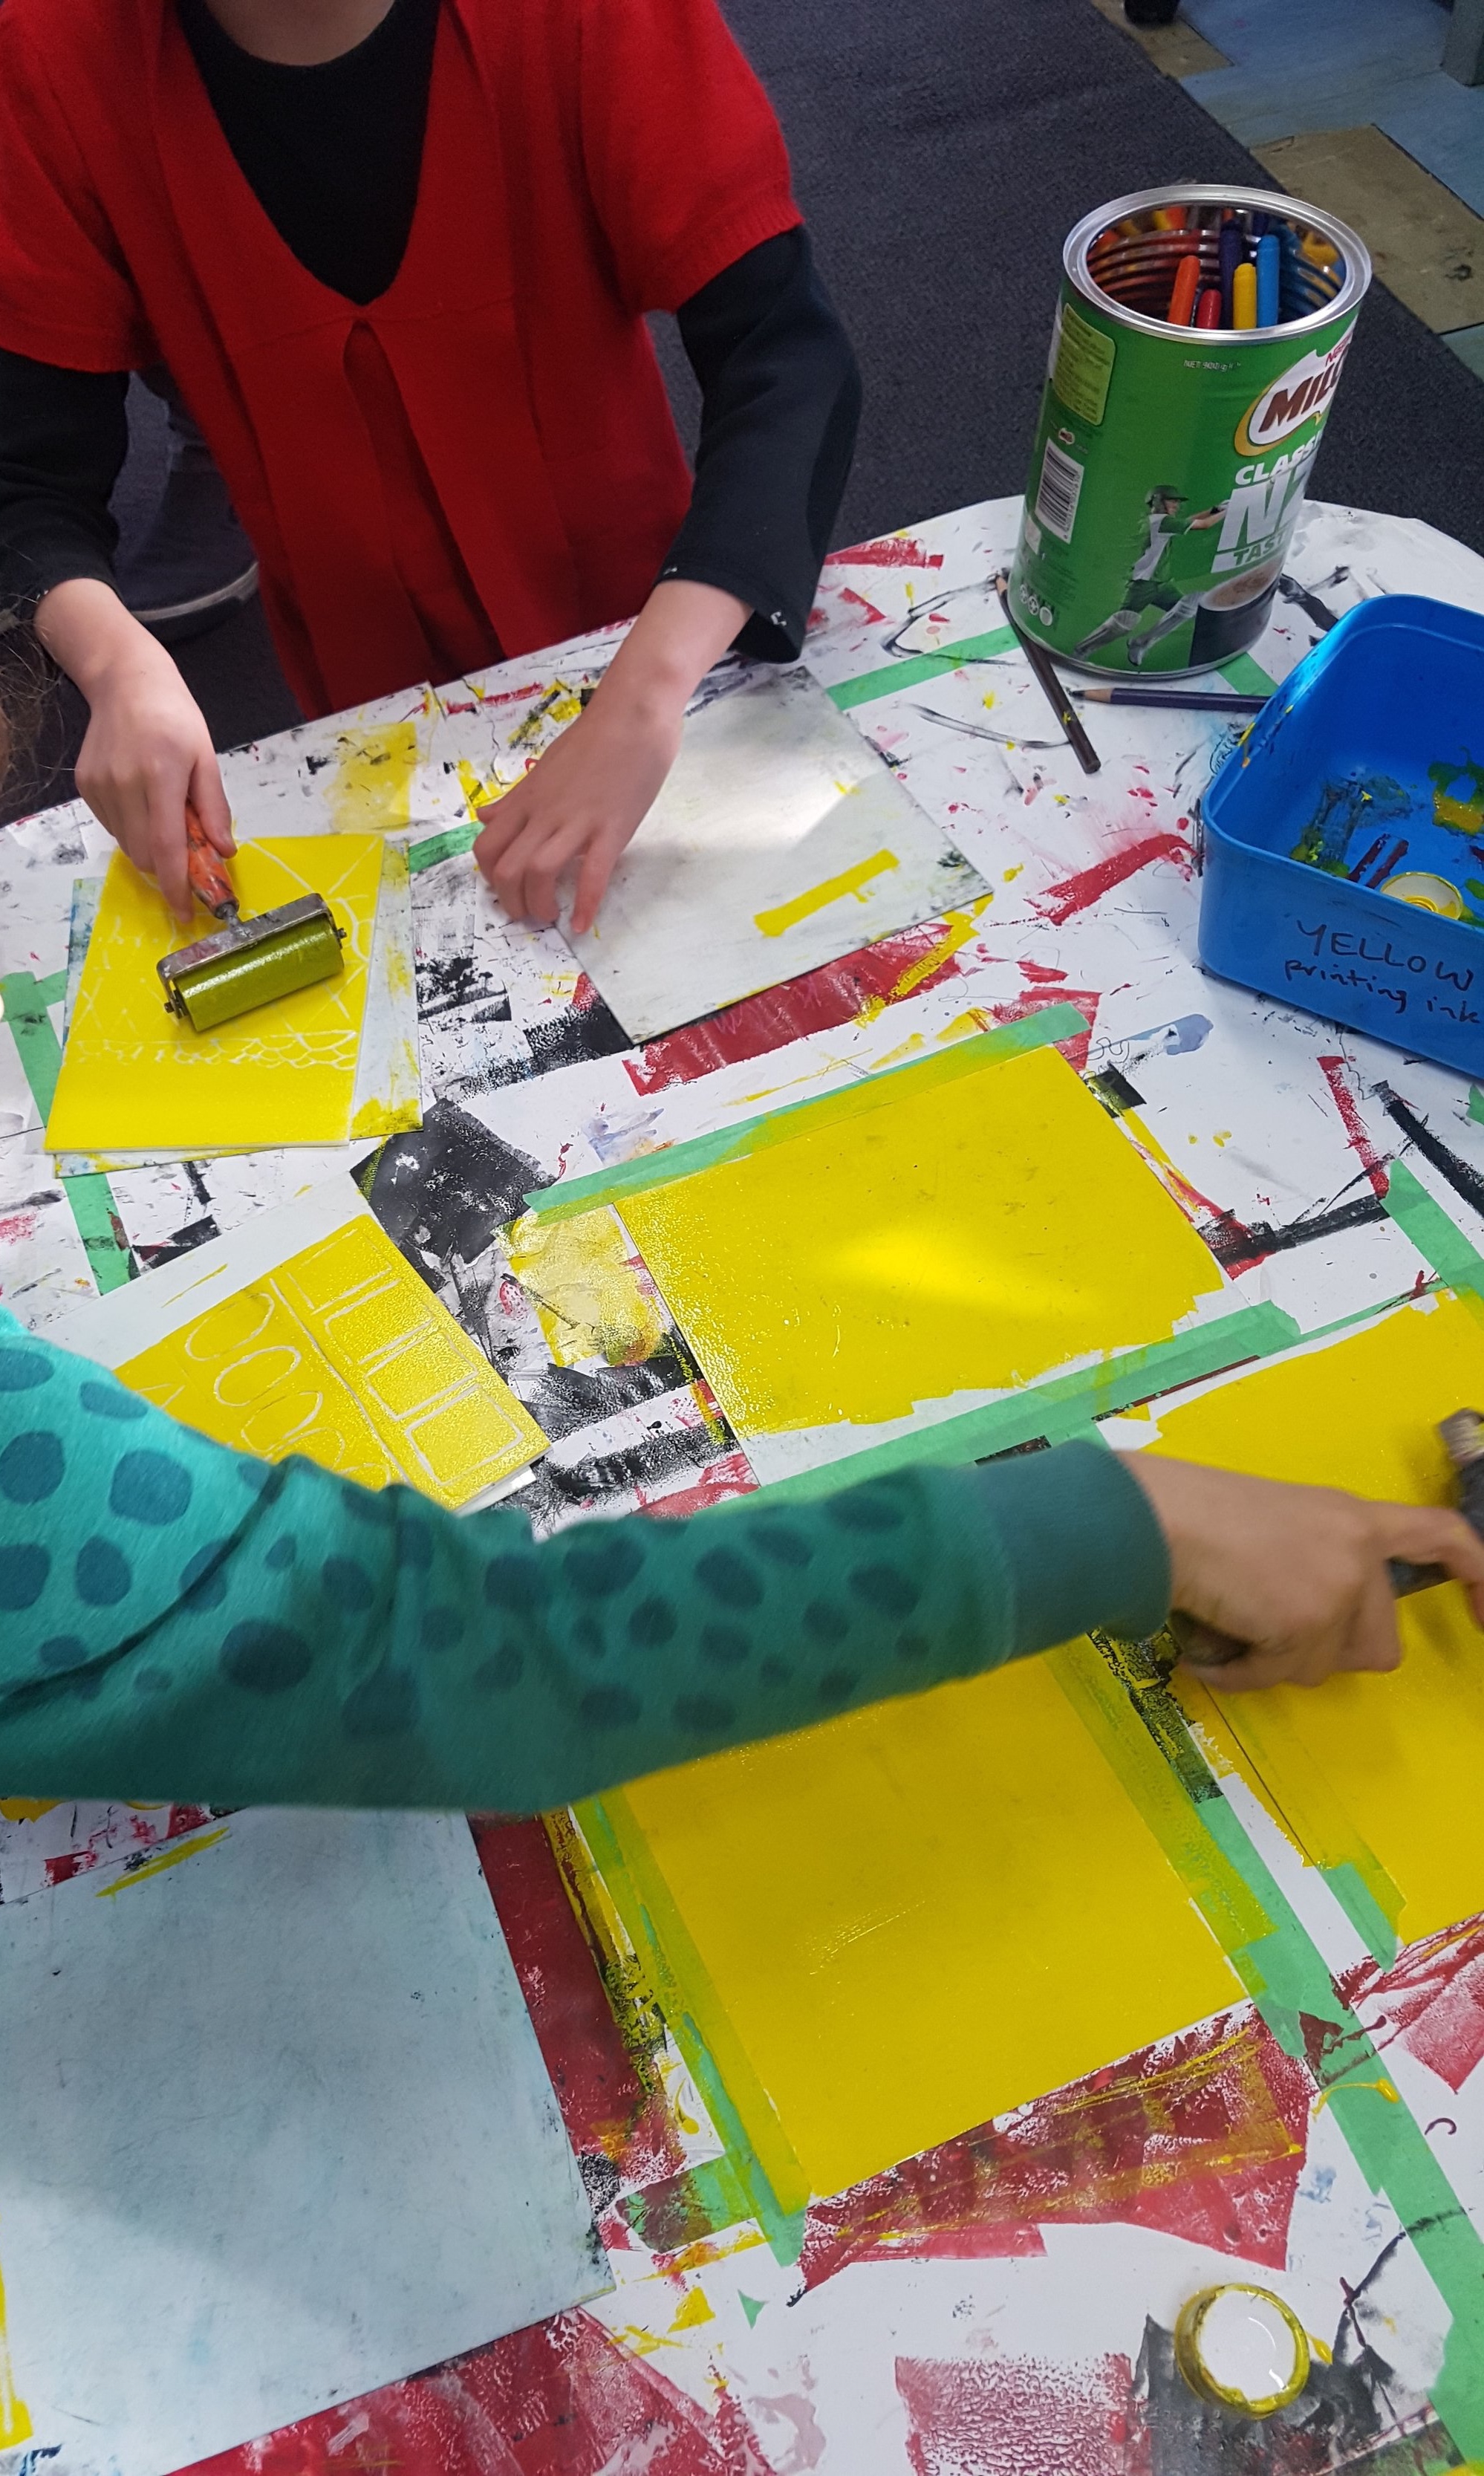
We got straight into the printmaking process as soon as the students arrived in the art room. They very quickly carved their printing blocks with the outlines of a repeating pattern, created their first prints in yellow and set them aside to dry in front of the heater. They washed and dried their printing blocks and set about reducing (carving) the printing block with extra patterns ready for the second print. It was a very busy morning!
We had time to spare while the first prints were drying so I let the students experiment with the printing inks. They used their prepared printing block to create single layer multi-coloured prints. This was a chance to see what their printing block would look like once printed as well as learn about mixing inks on the block. We printed onto neon coloured paper which helped add to the fun.
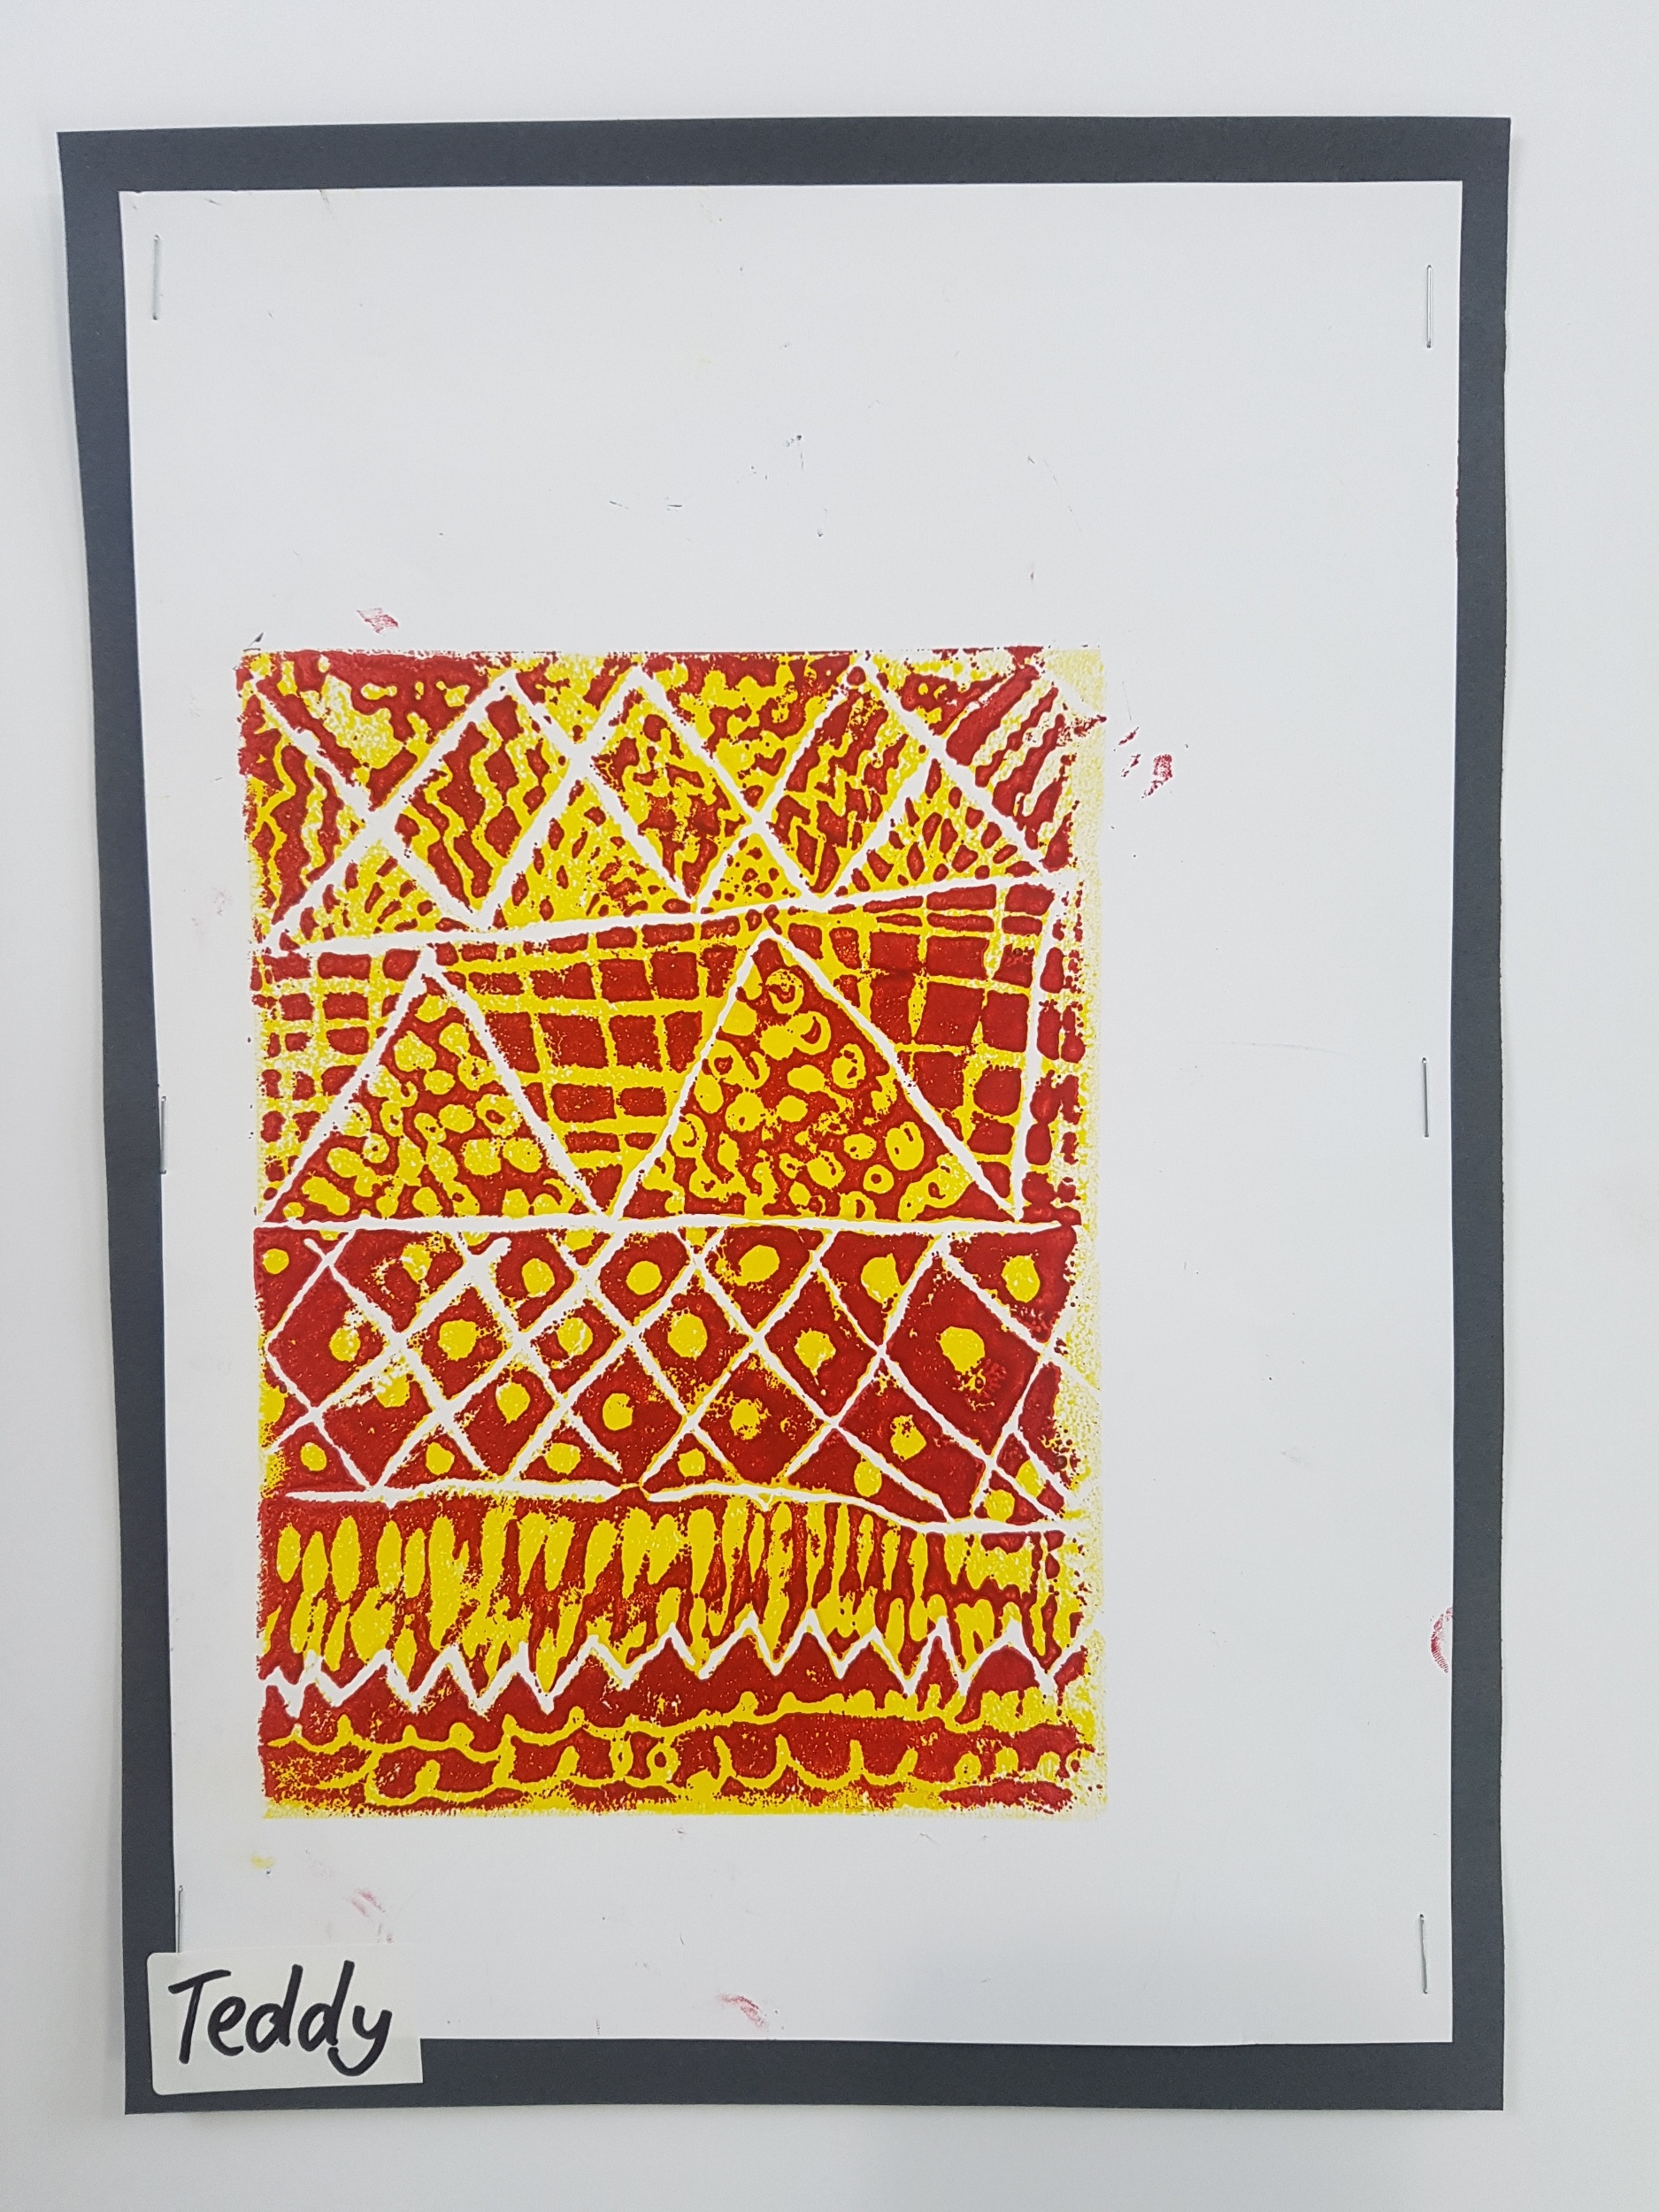
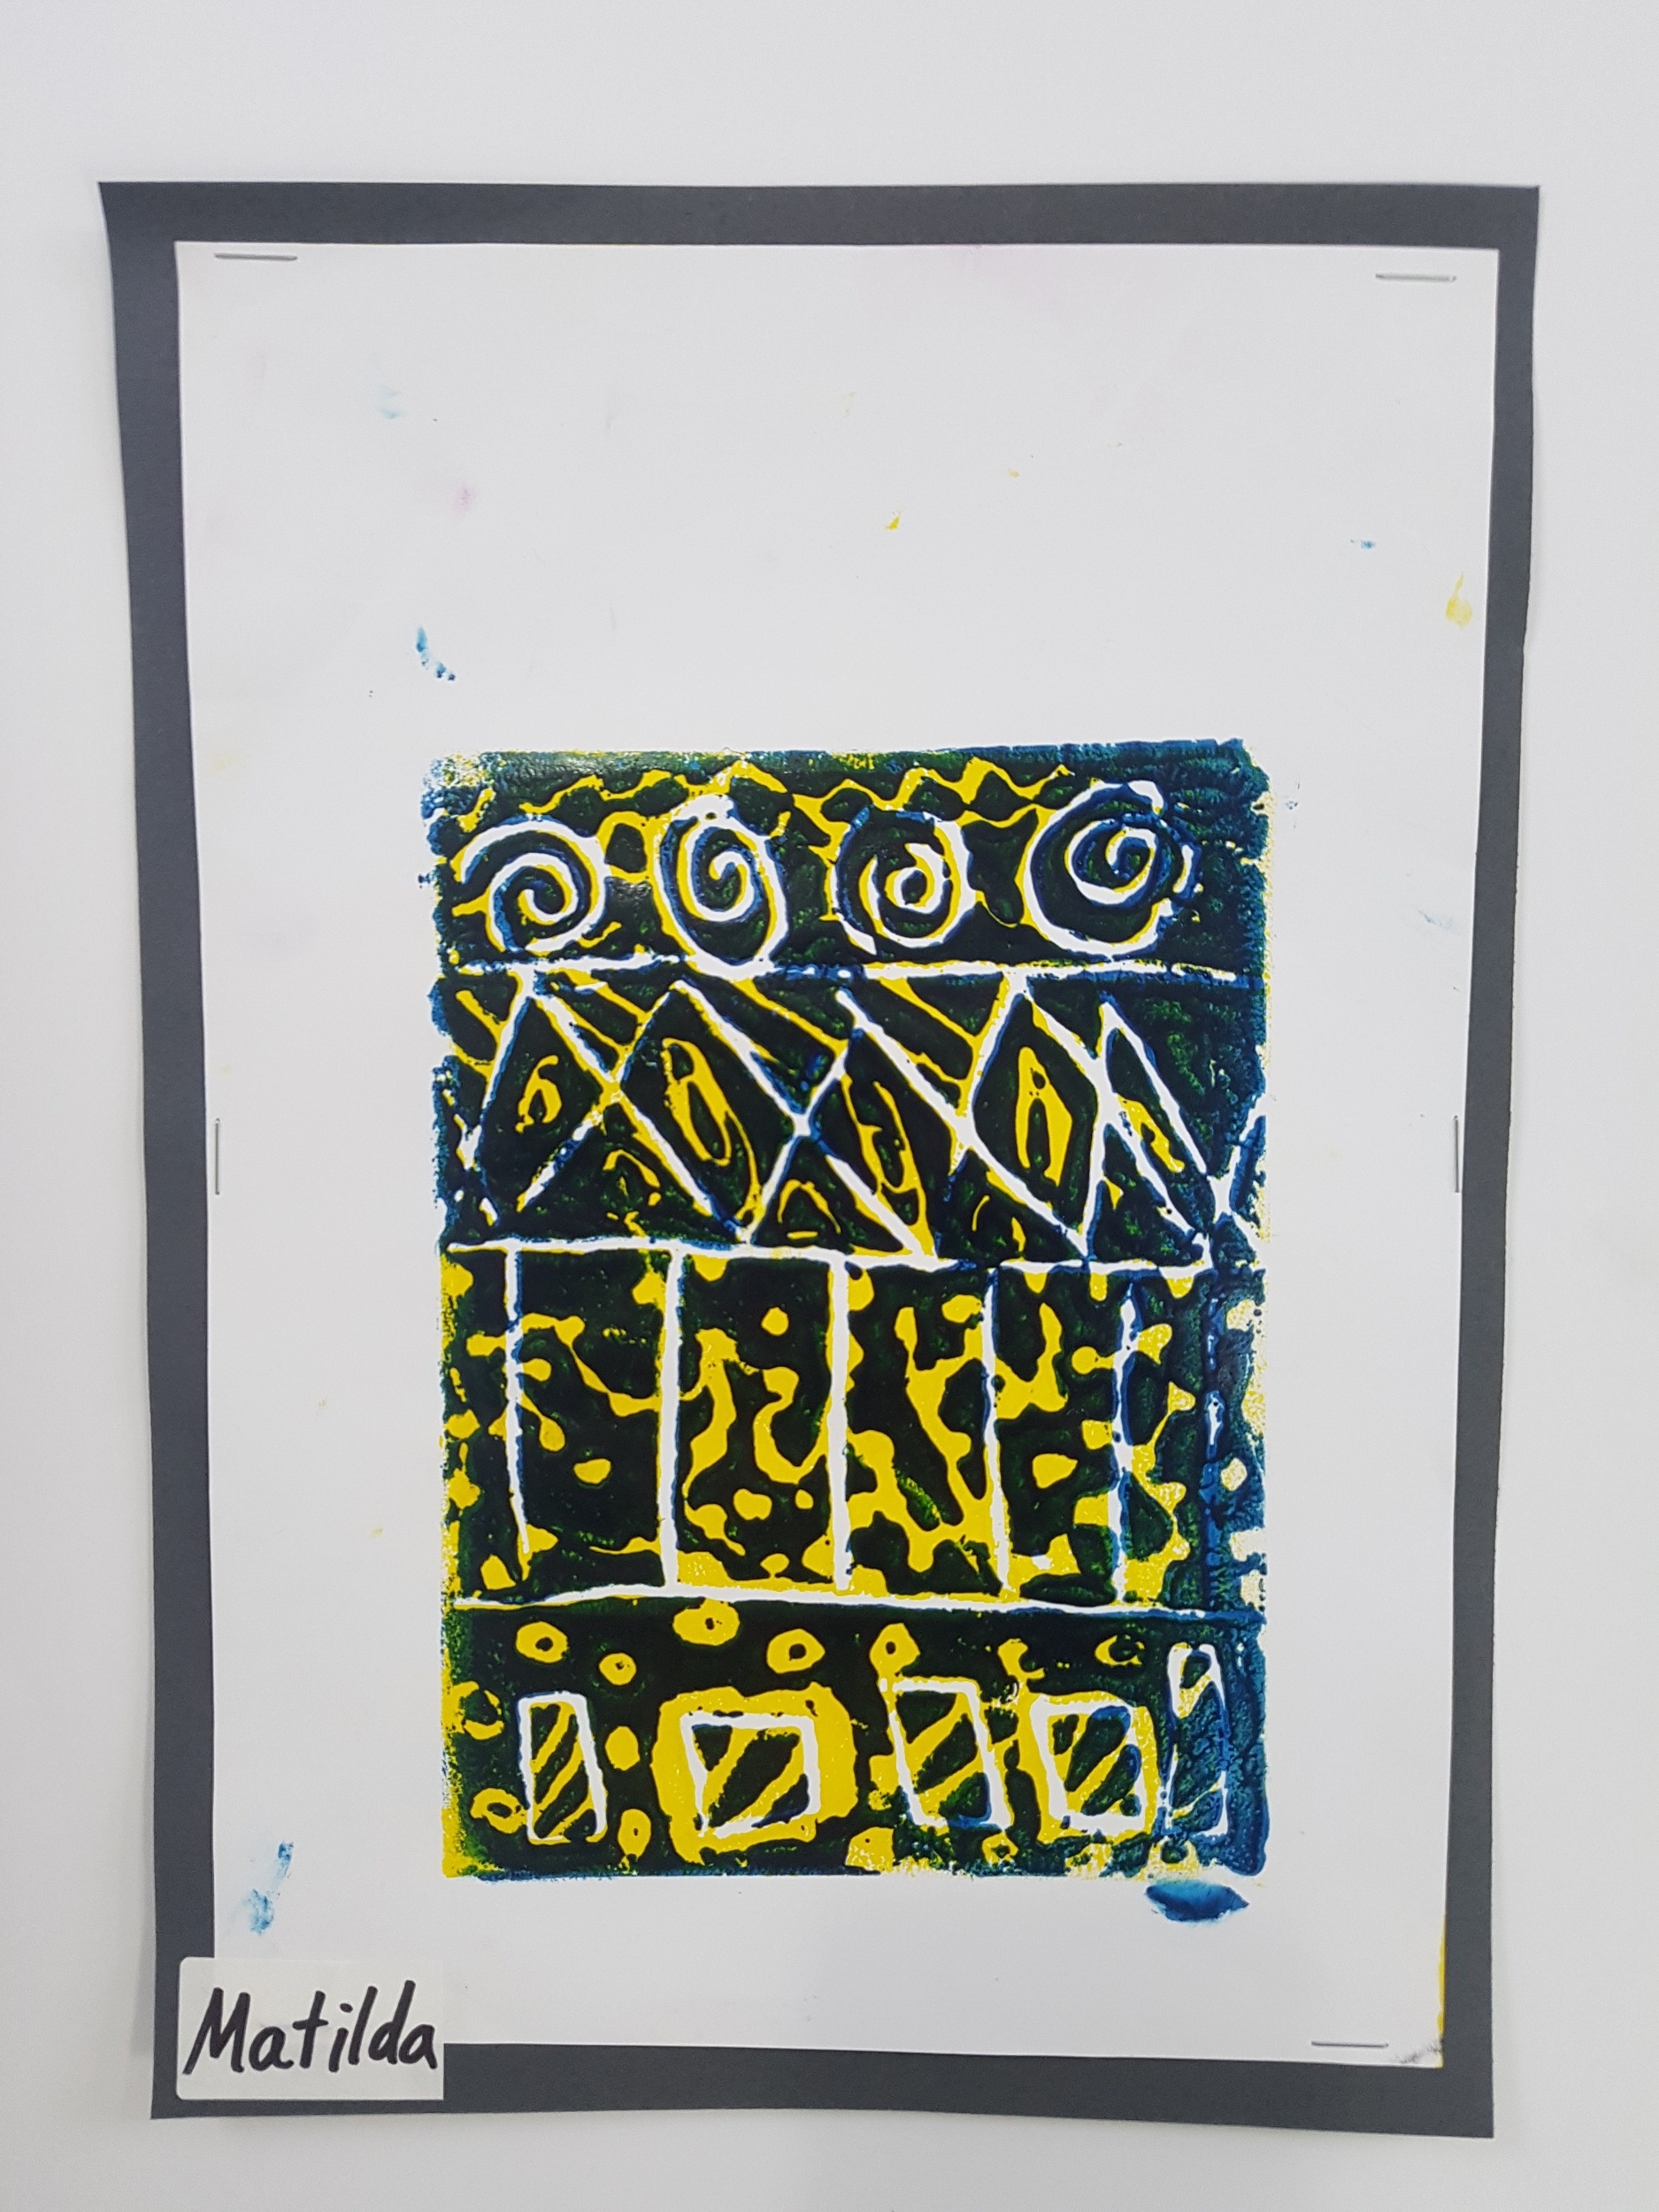
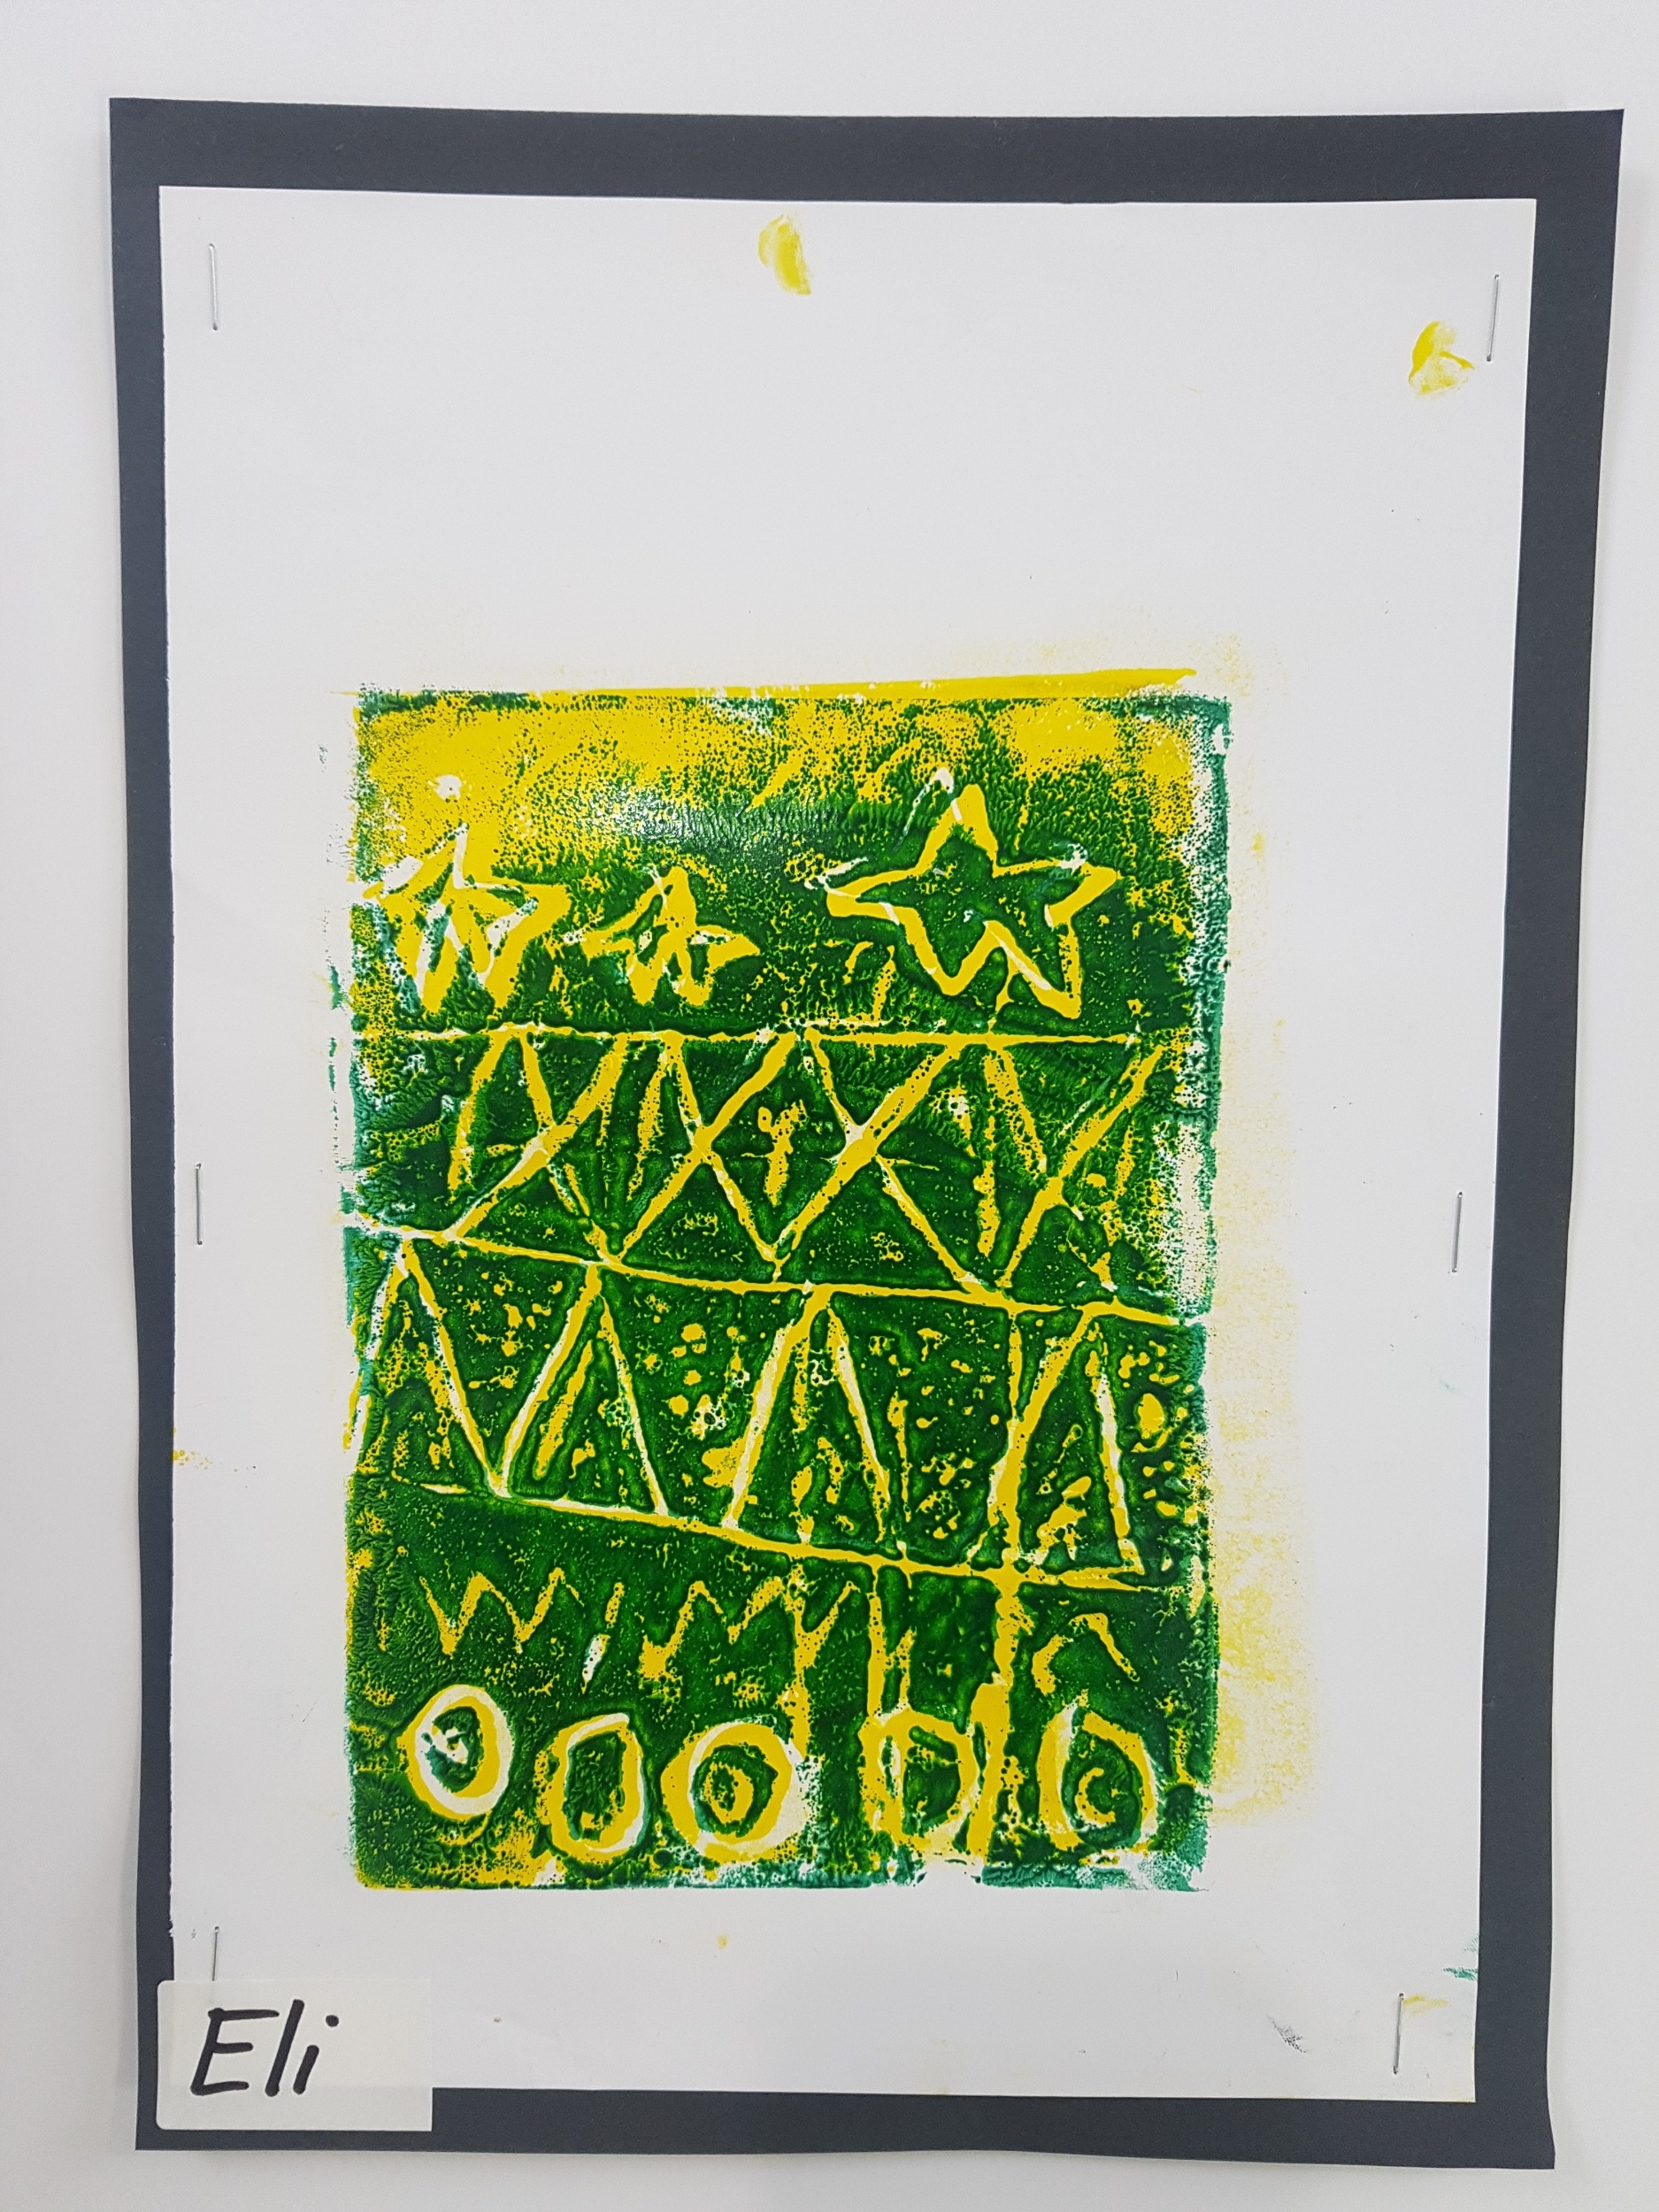
The first prints had dried enough throughout the day that they were ready to print over after the lunch break. The students prepared their printing blocks with a second printing colour, lined up their printing block with their original print, used a brayer to burnish the image and pulled their prints. I kept one print from each student and mounted them for a display, the students took the other prints home with them.
Today was one of my highlights of the year so far. The two colour prints are stunning, the students learnt a lot about the process of printmaking and they had a great time experimenting with the printing inks. All in all it was a great day of learning.

